FIG. 3
FIG. 4
Player End
Player End
H8
H5
4
4
5
5
5
5
Center
13
3
FIG.3
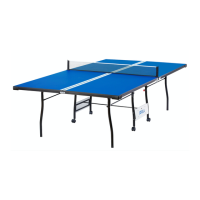
the table edge at the Player end of the table using the eight
Screws (#H5) per End Apron. There are pre-drilled holes for
the screws.
the table using seven Screws (#H5) per Side Apron. There are
pre-drilled holes for the screws.
NOTE: Make sure that all the Aprons are inside the Plas�c
Corners.
FIG.3
nivel con el borde de la mesa en el lado "Player" (i.e.,
jugador) de la mesa. Use ocho tornillos (#H5) para sujetar
cada panel frontal usando los agujeros pretaladrados.
nivel con el borde de la mesa en el lado "Player" (i.e.,
jugador) de la mesa. Use siete tornillos (#H5) para sujetar
cada panel frontal usando los agujeros pretaladrados.
FIG.4
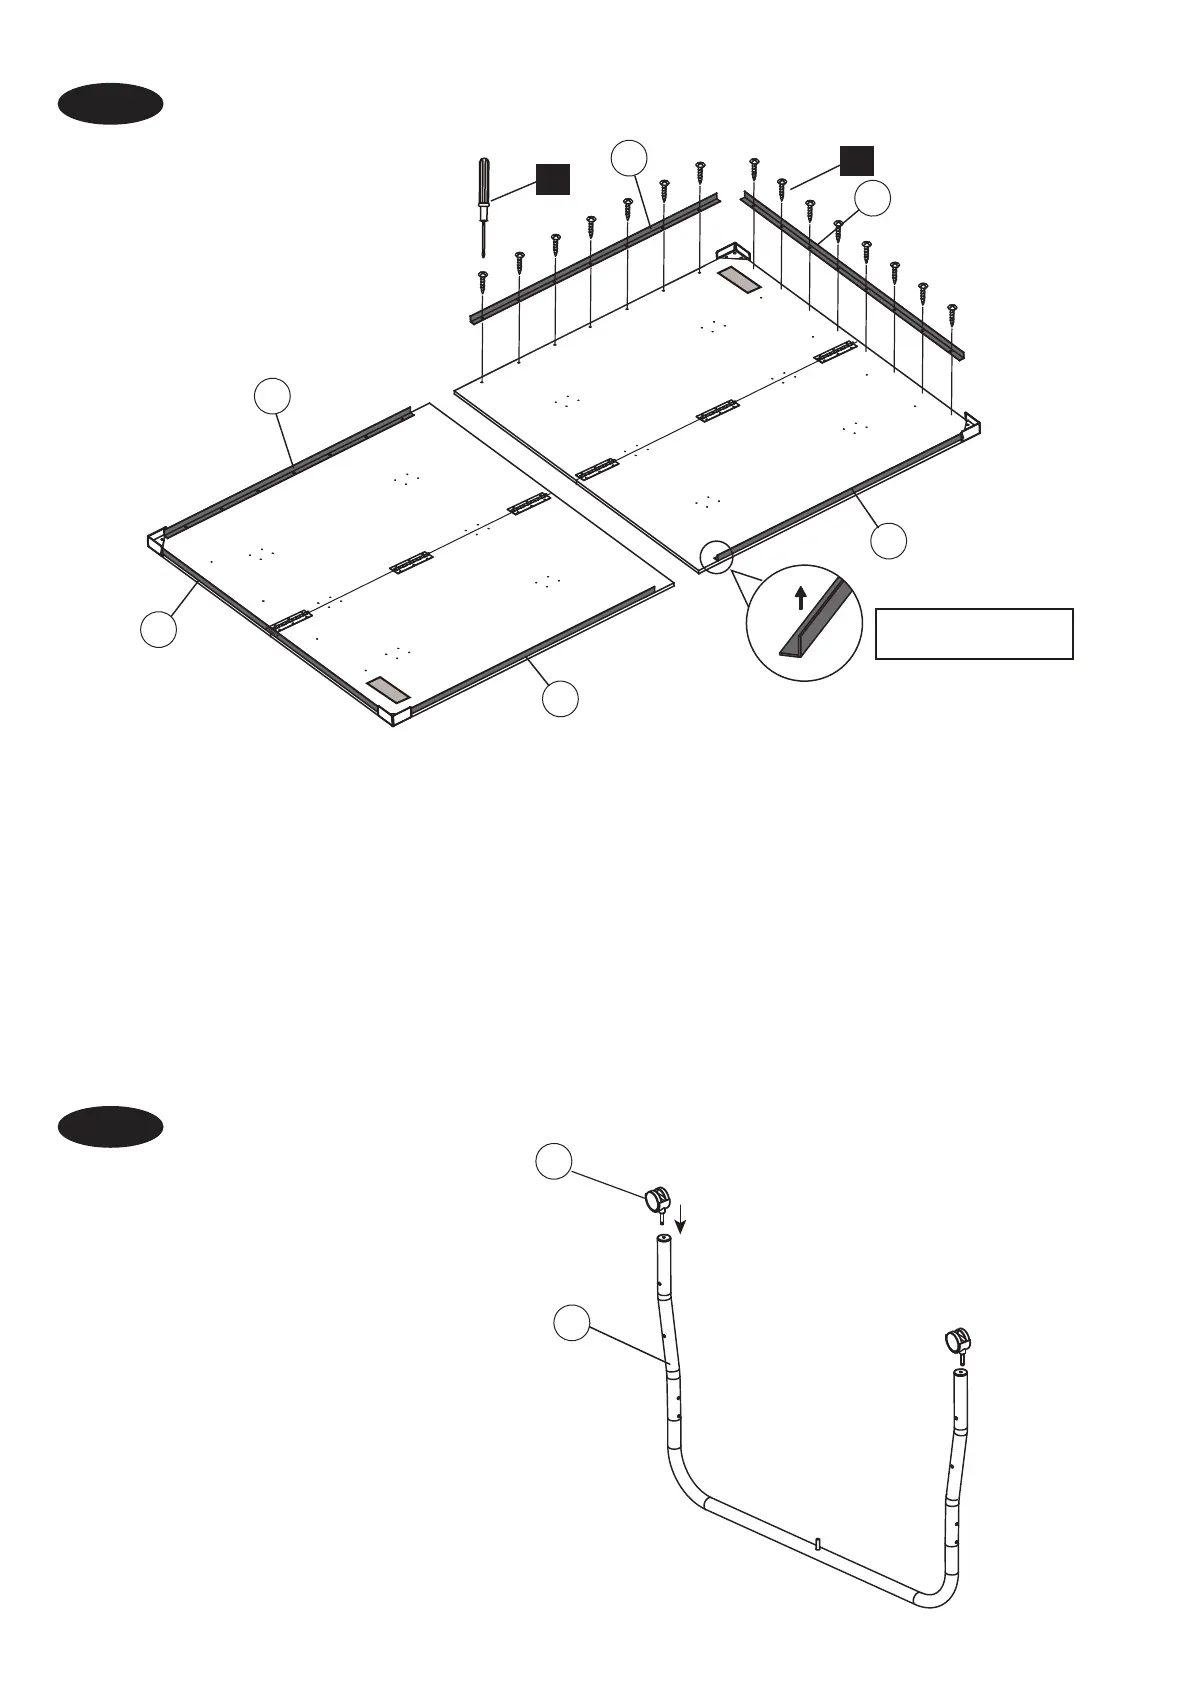
7. Place the Wheel (#13) into the Legs
(#3). See FIG. 4.
FIG.4
7. Ponga las ruedas (#13) en las patas
interiores (#3) de la mesa. Vease
Figura 4.
Note: Make sure the top of
the L shape is facing up.
 Loading...