9
4.2 Installation
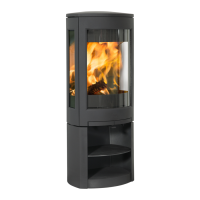
Jøtul F 371 Advance - with base
Fig. 5
A
A
B
B
B
B
C
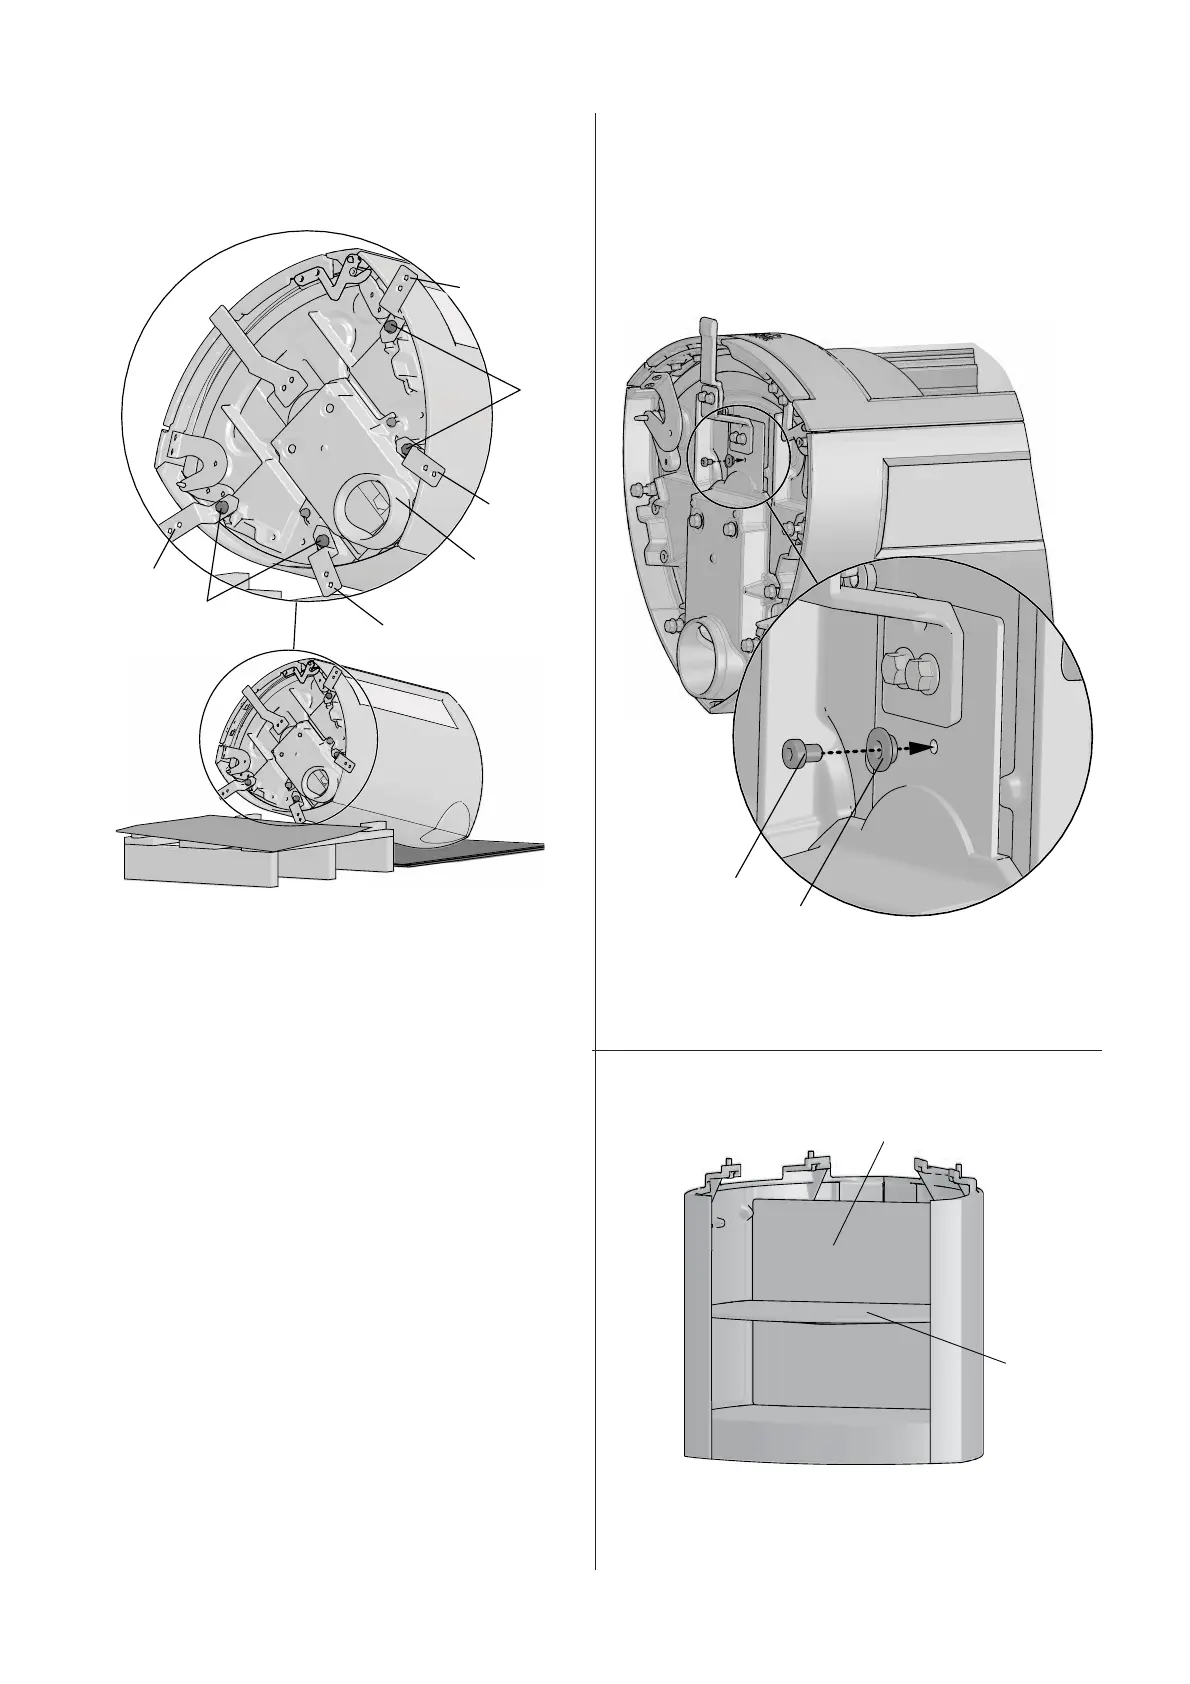
1. Spread the cardboard packaging out on the fl oor. Place
the other cardboard packaging on the pallet to protect the
paintwork. Carefully lay the burn chamber on its side on
the pallet.
2. Unscrew the screws (A) and remove the brackets (B). Keep
two of the screws if you are going to attach the pedestal.
3. If using an external air supply (C) through the fl oor, the
outside air inlet must fi rst be rotated (see fi g. 18 A).
Requirement for UK
“The Jotul F 370 Advance stoves have been recommended as
suitable for use in smoke control areas when burning wood logs
and when fi tted with a mechanical stop to prevent secondary
air control closure beyond the 382mm
2
and the tertiary air
control closure beyond the 402 mm
2
open positions.” Note! In
order to achieve this see the instructions in fi g. 6.
Fig. 6
A
B
4. Use the screw (A) and the washer (B) from the bag of
screws and screw it onto the burnchamber.
Fig. 7
A
B
1. Before installing the base onto the burn chamber, remove
the shelf (A) and the rear plate (B) from inside the base.
ENGLISH
 Loading...