Ausgabe 18.01.2017 Copyright by Joy-IT 21
3
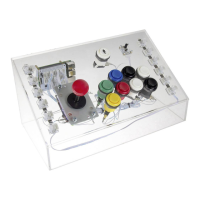
Arcade-GameStaon
5. Expert chapter
Set up a light-show conguraon on your own
The mounted 8mm RGB-LEDs contain a WS2812 chipset and are connected in series.
The Raspberry Pis PWM output generates the needed data sequence on GPIO-Port 12
which are send to the strip and forwarded to every single LED.
The creaon of this code, and also the control, is provided by the rpi_ws281x library by
jgra (hps://github.com/jgar/rpi_ws281x)
You can change our preinstalled lightshow by your wishes and ideas.
The Python-script-le, which is executd automacally at every startup (with /etc/
rc.local) is stored here:
/home/pi/ArcadeGamestaonApps/RGBLedLightshow/RGBLedLightshow.py
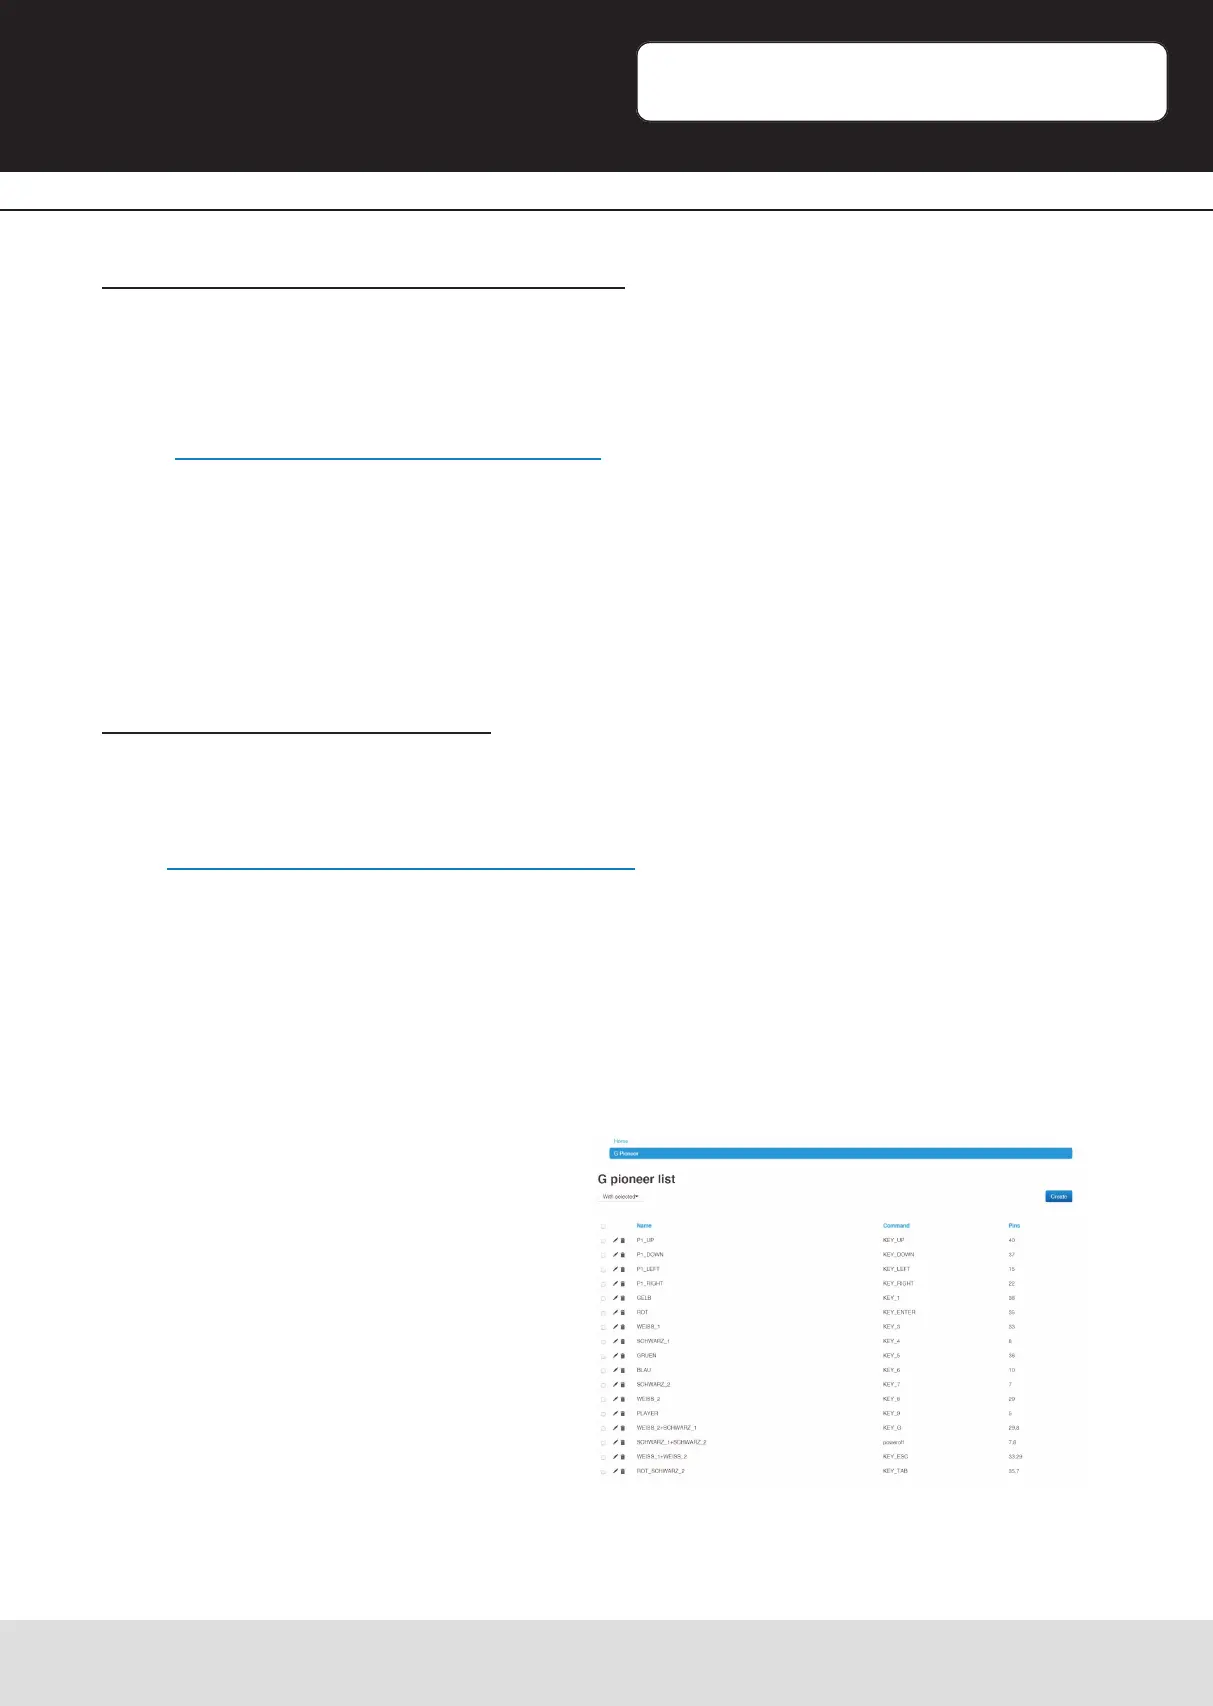
Assign Buon-Control-Assignment
As menoned earlier, the arcade-buons are translated by the soware to a keyboard-
input.
The soware for translang is called GPioneer and is wrien by mholgatem (accessible
here: hps://github.com/mholgatem/gpioneer)
If you want to change the buon-assignment, you can do this on any computer by
entering the IP-Address of your Arcade-Gamestaon in your browser.
A website will open up which allows you to congure every buon.
It also allows you to use mulple GPIO-PINs to assign a buon-combinaon.
Even the transfer of Linux-Systemcommands is possible.
Please note that the used PIN-Numbers comply to the real physical numbering (e.g.:
GPIO12 -> Nr. 32).