INSTALLATION AND OPERATING INSTRUCTIONS | WWW.JUICE-PRO.COM.AU 5
1. Plug in the juicer.
2. Place a container below the juice outlet and a container below
the pulp outlet.
3. The juicer power button (located at the top of the handle)
has 3 positions.
A. ON - This starts the motor and juicing process.
B. OFF - Is the central position of the button. It switches off
the appliance.
C. REV - Is reverse. Only use this function when something is
stuck in the juicer and it needs to be unclogged.
4. Prepare the material you wish to juice. The Juice Pro is
designed to juice many different materials. The preparation for
each material will differ, the below points are a guide. Please
read page 8 and 9. Getting started with your Juice Pro for
further tips on Juicing.
• Ensure juice material is cut into small portions for optimal juice
extraction. Each portion should easily fall down the hopper
chute without the need for force.
• Remove any large pips or seeds. This includes stones from
stone fruits and peel from citrus fruits.
• Always pre-wash food before juicing.
5. Switch the power button to ‘ON’. Insert the food into
the hopper.
• Insert food slowly one piece at a time and allow juicer
time to work.
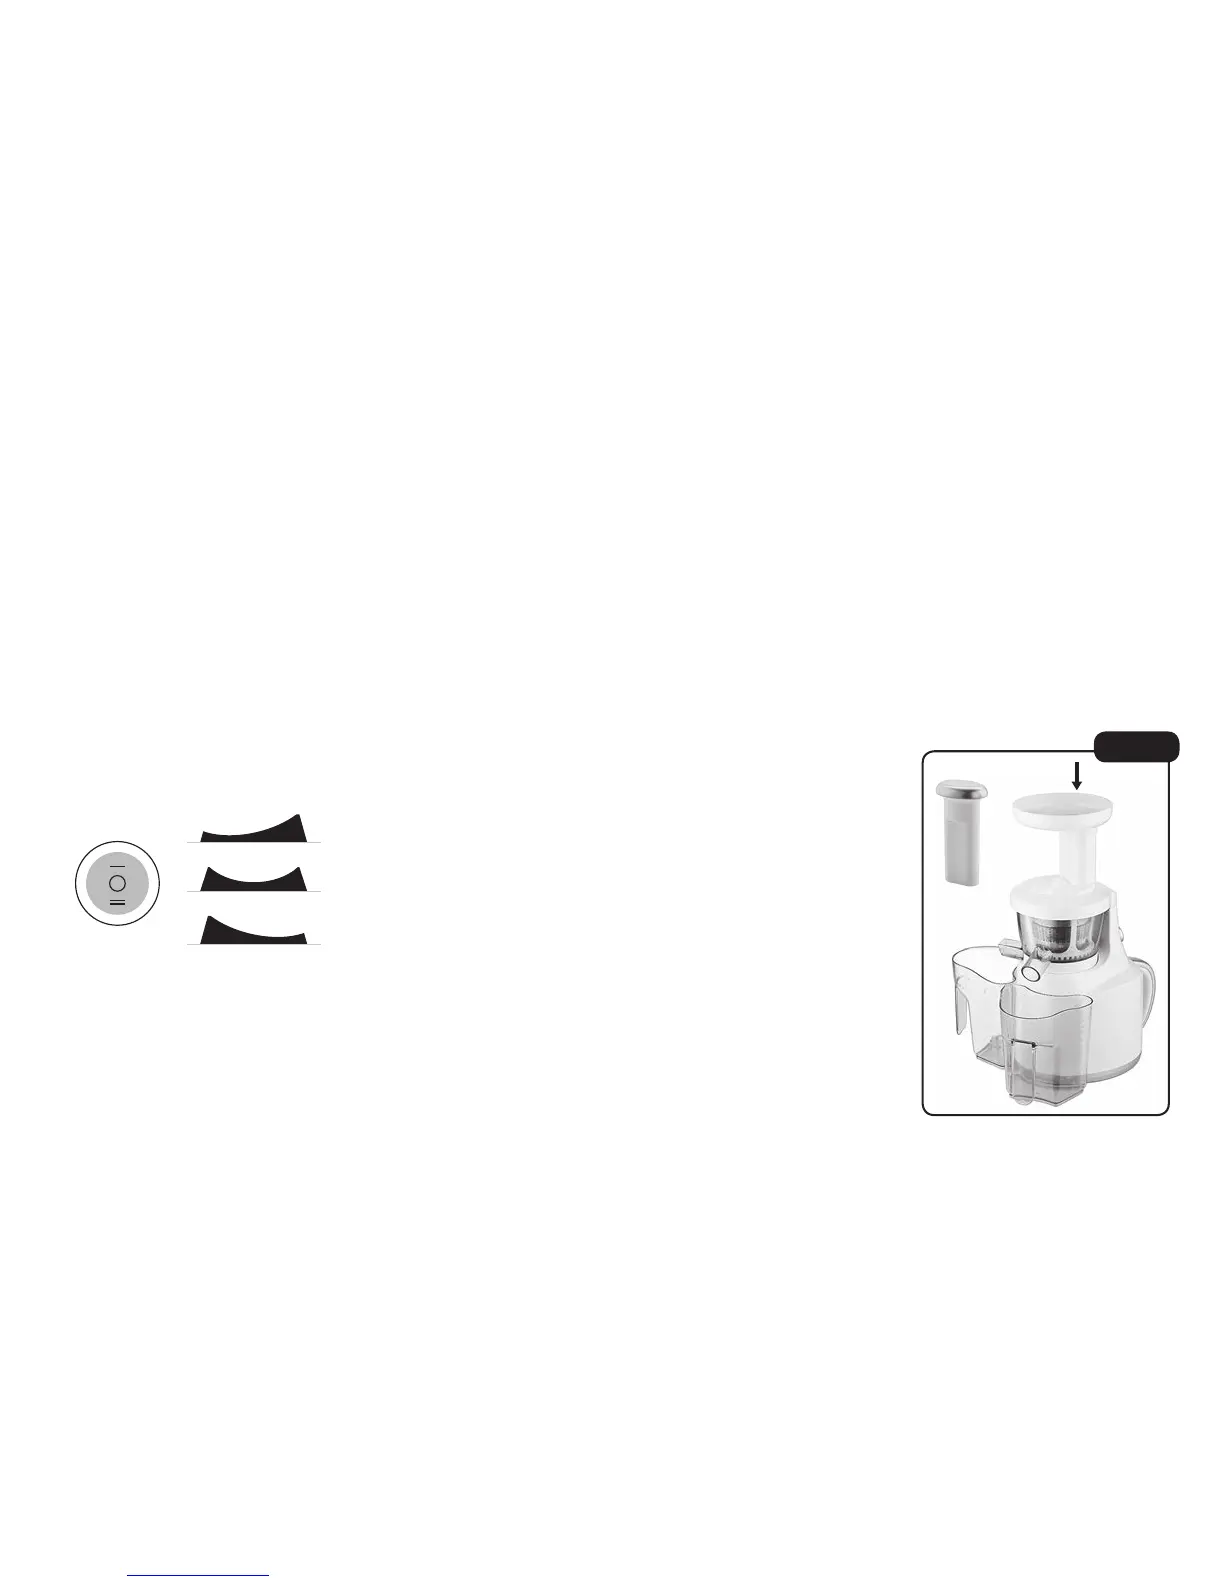
• Do not overstuff the hopper
or force food in. The pusher
is only to be used if food
becomes stuck. (See Fig 8).
6. When you are finished switch
the power button to ‘OFF’.
Note: If you are making multiple
juices in one session to avoid
cross over of flavours, pour
water into the hopper between
drinks to clean the unit. Capture
rinsing water in a separate bowl
so as not to dilute your juice.
Depending on the material being
juiced you may need to clear
some pulp from the strainer.
ON
REV
OFF
A
B
C
Fig 8
Insert pieces
Pusher
 Loading...