Subject to technical changes without notice; no responsibility is accepted for the accuracy of this information. 7
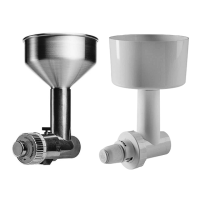
JUPITER system
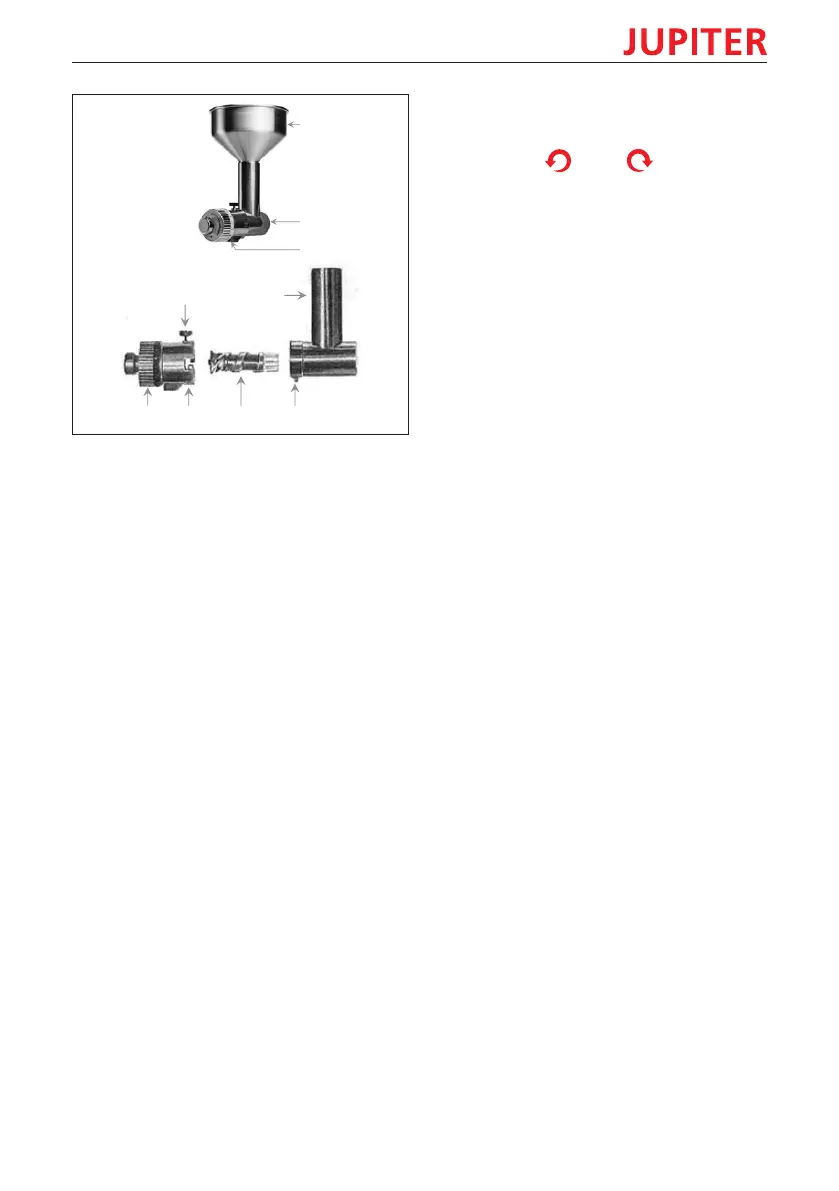
A
B
C
D E
FHR G
Disassembly before first use
• Disassemble the milling head before first use for clean-
ing (see section Cleaning).
1 Loosen the knurled screw D.
2 Turn the setting unit H clockwise to the end stop and
pull it from the locking lugs F of the housing E.
3 Remove the grinding cone screw G from the housing E.
Assembly/disassembly
1 Push the grinding cone screw G, leading with the plastic
connector, into the housing E until it reaches the end
stop.
2 Push the setting unit H - knurled screw D upward - onto
the locking lugs F of the housing E and turn it counter-
clockwise until it reaches the end stop.
3 Gently tighten the knurled screw D.
4 Attach the filling hopper A.
• It can be disassembled using the same steps in reverse
order.
Setting the milling grade
• Set the desired milling grade during the milling process
using the knurled knob R.
COARSE
4
…
1
FINE
IMPORTANT:
• Always select a coarse setting before and after use.
• Do not use force when turning the knurled knob R.
• Use the finest milling grade for wheat only.
• Avoid an extremely fine setting.
 Loading...