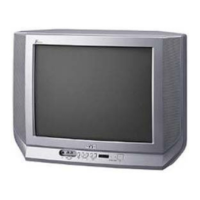
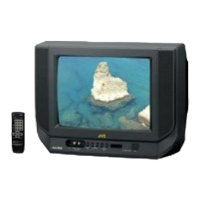
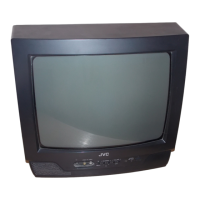
No.51669
V-A14M3
V-A14T3
V-A14AU3
V-1413EE
6
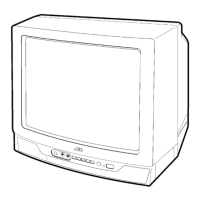
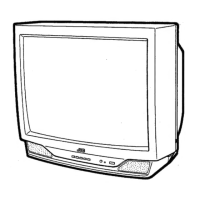
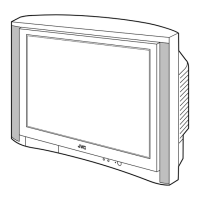
MODEL IDENTIFICATION
While referring to the illustration given below, identify each
model No. on the rating label affixed to the rear cover of
UNIT.
PIN TYPE
MODEL No. SHAPE
QMPR010-200-E2
FLAT TYPE
PIN PLUG
AV-A14M3(-A)
AV-A14T3(-A)
BF(UK) TYPE
PIN PLUG
AV-A14T3(HK)
QMPN050-200-E2
ROUND TYPE
PIN PLUG
AV-A14M3
AV-A14M3(U)
AV-A14T3/AV-1413EE
QMP40D0-200J5
RATING LABEL
RATING LABEL
AU TYPE
PIN PLUG
AV-A14AU3
QMP2980-185J5
SPECIFIC SERVICE INSTRUCTIONS
DISASSEMBLY PROCEDURE
REMOVING THE REAR COVER
1. Unplug the power supply cord.
2. Remove the 5 screws marked
A
AA
A
and a screw marked
B
BB
B
as
shown in Fig.1.
3. Withdraw the REAR COVER toward you.
[CAUTION]
z
When reinstalling the rear cover, carefully push it inward after
inserting the MAIN PWB into the rear cover groove.
REMOVING THE MAIN PW BOARD
z
After removing the rear cover.
1. Slightly raise the both sides of the MAIN PW BOARD by hand
and remove the PW B STOPPER under the MIAN PW BOARD
from the FRONT CABINET.
2. Withdraw the MAIN PW BOARD backward .
(If necessary, take off the wire clamp and connectors, etc.)
REMOVING THE SPEAKER
z
After removing the rear cover.
1. By holding up the SPEAKER HOLDER marked
C
CC
C
slightly and
unlocking the claw, the SPEAKER HOLDER can be removed.
Then you can remove the SPEAKER.
CHECKING THE MAIN PW BOARD
1. To check the backside of the MAIN PW Board.
1) Pull out the MAIN PWB. (Refer to REMOVING THE MAIN
PWB).
2) Erect the chassis vertically so that you can easily check the
backside of the MAIN PW Board.
[CAUTION]
•
When erecting the MAIN PWB, be careful so that there will be no
contacting with other PW Board.
•
Before turning on power, make sure that the CRT earth wire and
other connectors are properly connected.
WIRE CLAMPING AND CABLE TYING
1. Be sure clamp the wire.
2. Never remove the cable tie used for tying the wires together.
Should it be inadvertently removed, be sure to tie the wires with
a new cable tie.
MODEL ID. No.
AV-A14M3(-A)
AV-A14M3(U)
AV-A14T3(-A)
AV-A14T3(HK)
MODEL ID. No.
AV-A14M3
AV-A14T3
AV-A14AU3
AV-1413EE
 Loading...