—9—
1 Install [USB Mass Storage Class
driver]. (Windows
®
98SE only)
(墌 pg. 5)
2 Make sure that there is a
memory card in the camcorder.
3 Set the camcorder’s VIDEO/
MEMORY Switch to “MEMORY”.
4 Set the camcorder’s Power
Switch to “PLAY” while
pressing down the Lock Button
located on the switch.
The camcorder turns on.
5 Connect the camcorder to the
PC with a USB cable. (墌 pg. 8)
On the camcorder’s LCD monitor
[USB] appears.
6 When using Windows
®
XP:
The [Removable
Disk] window
appears on the
PC’s screen
after a moment.
Select [Open
folders to view
files using
Windows
Explorer] and
click [OK].
NOTE:
If the [Removable Disk] window does
not appear, confirm the connection
(墌 pg. 8) or perform the steps 1 and
2 in the right.
When using Windows
®
98SE/Me/
2000:
1 Double-click the [My Computer] icon
on the desktop. The [Removable
Disk] icon which represents the
memory card in the camcorder
appears in the [My Computer]
window.
2 Double-click the [Removable Disk]
icon.
● Windows
®
98SE: [Removable Disk]
icon does not appear if USB Mass
Storage Class driver is not installed
properly. In this case, refer to
“Updating [Device Manager]
(Windows
®
98SE only)” (墌 pg. 7).
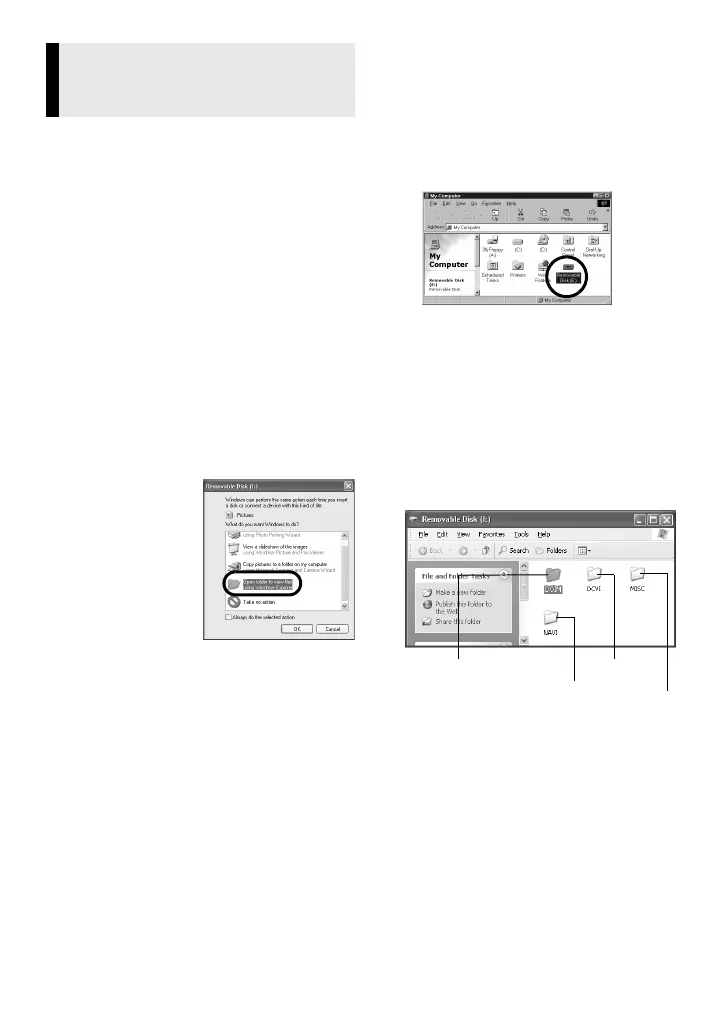
7 The folders in the memory card
appear.
Different file types are stored in
different folders.
[DCIM]: Contains folders with still
images (extension “.jpg”)
[DCVI]: Contains folders with video
clips (extension “.asf”)
● The [DCVI] folder is displayed only
when the camcorder is equipped
with E-Mail Clip Recording function.
[MISC]: Contains folders with DPOF
setting data
Viewing the Contents of a
Memory Card (Windows
®
)
Navigation
data
Video clips
DPOF
setting
data
Still images
CONTINUED ON NEXT PAGE
 Loading...