Do you have a question about the JVC GR-D50 and is the answer not in the manual?
Explains how the automatic demonstration mode is activated and functions.
Step-by-step instructions to disable the automatic demonstration feature.
Details on charging and using battery packs and AC power.
How to adjust the camcorder's grip for comfortable operation.
Steps to adjust the viewfinder for clear viewing.
Procedures for inserting and removing video cassettes.
How to set and adjust the camcorder's date and time.
Options for selecting recording modes like SP and LP.
Step-by-step guide to start and stop recording video footage.
How to adjust the brightness of the LCD monitor.
Tips for shooting in various angles and positions.
How to record yourself using the LCD monitor.
Explains power switch modes (M, A, PLAY).
Using the zoom lever to magnify or reduce the image.
Information about recording and using time codes on tapes.
How to play back recorded tapes.
Feature to find blank sections on a tape for efficient recording.
How to connect the camcorder to a TV or VCR for playback.
Enables shooting in low-light conditions.
Using automatic exposure modes with special effects.
How to apply scene transition effects like fades and wipes.
Capturing still images during tape recording.
How the camcorder's autofocus system works.
Manually adjusting focus for precise control.
Adjusting exposure settings for optimal brightness.
Locking the iris to maintain consistent exposure.
Adjusting color balance for accurate color reproduction.
Settings for recording modes, sound, and zoom magnification.
Options for snapshot recording modes.
Adjusting gain for brightness and digital image stabilization.
Options for aspect ratio and reducing wind noise.
System settings like BEEP, TALLY, DEMO MODE, CAM RESET.
Display options like BRIGHT, ON SCREEN, DATE/TIME.
Settings for playback like sound mode, video display, and input/output selection.
Display settings for playback, including brightness and on-screen elements.
Selecting sound modes for playback.
Using the camcorder to play back tapes for dubbing purposes.
Using the camcorder to record from external sources.
Performing high-quality digital dubbing using a DV cable connection.
Using the remote for slow-motion, special effects, and zoom during playback.
Adding narration or sound during playback.
Replacing recorded sections with new footage.
Setting up the remote and VCR code for R.A.Edit.
Choosing scenes and applying effects for R.A.Edit.
Automatically editing to VCR and adjusting timing for accuracy.
Connecting via USB for image transfer and webcam functionality.
Connecting via DV cable for digital transfer of images and video.
Solutions for problems like no power, date/time errors, and recording failures.
Troubleshooting focus, cassette loading, and snapshot mode issues.
Resolving issues with image quality, LCD/viewfinder display, and sound.
Handling specific error codes (E01-E06) and general malfunctions.
Safety warnings for handling battery packs and video cassettes.
Safety guidelines for the camcorder's main body and LCD monitor.
Prohibitions to prevent unit damage and advice on condensation and serious malfunctions.
Technical specifications for the camcorder unit and its connectors.
Technical details of the AC adapter.
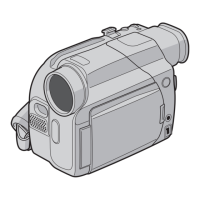
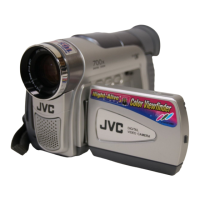
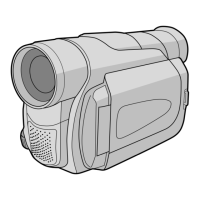
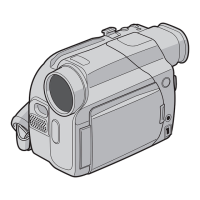
Diagram and explanation of camcorder physical controls and their indicators.
Explanation of buttons and functions on the RM-V717U remote control.
Icons and indicators displayed on the LCD/viewfinder during recording.
Icons and indicators displayed on the LCD/viewfinder during playback.
Explains error messages related to insert editing and audio dubbing.
Explains error codes (E01-E06) indicating safeguard mode malfunctions.