Do you have a question about the JVC GR-DX25 and is the answer not in the manual?
Essential safety warnings and precautions for preventing fire, shock, and unit damage.
Guidelines for safe operation, including handling and usage rules to ensure user and equipment safety.
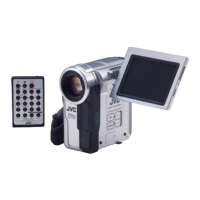
Details all the accessories provided with the camcorder for its operation and setup.
Step-by-step instructions on how to correctly attach the lens cap for lens protection.
Instructions for attaching the core filter to various cables to reduce interference.
Steps to disable the automatic demonstration feature on the camcorder.
Instructions for charging the camcorder's battery pack using the AC adapter.
Information on using the camcorder with its battery pack and expected recording times.
Details on connecting and using the camcorder with the AC adapter for continuous power.
Guide on how to adjust the hand grip for comfortable operation and access to controls.
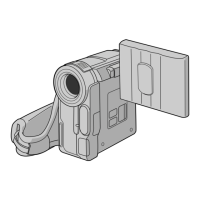
Instructions for adjusting the viewfinder for clear and focused viewing.
Steps for securely attaching the camcorder to a tripod for stable shooting.
Procedures for inserting and removing video cassettes from the camcorder.
How to use the erase protection tab on cassettes to prevent accidental recording.
Guide to setting the camcorder's internal clock for accurate date/time recording.
How to select between SP (Standard Play) and LP (Long Play) recording modes.
Step-by-step guide to start and stop basic video recording.
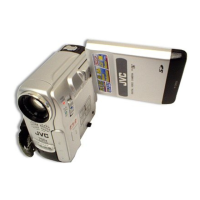
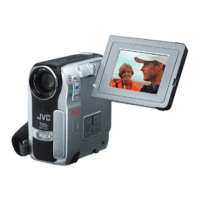
How to adjust the brightness of the LCD monitor and viewfinder for optimal viewing.
Using journalistic/self-recording modes, operation modes, and the zoom feature.
Understanding time codes and performing normal playback of recorded tapes.
Using the blank search function to locate blank portions on a tape to start new recordings.
How to connect for playback and control on-screen displays on a TV.
Using Night-Scope for low-light and Programme AE for special exposure effects.
Applying professional scene transitions like fades and wipes during recording.
Capturing still images and utilizing the camcorder's auto focus system.
Manually adjusting focus and exposure for precise image control.
Locking iris for consistent exposure and adjusting white balance for accurate colours.
Navigating recording menus for effects, Programme AE, exposure, and white balance.
Adjusting snapshot modes, gain, image stabilization, tele macro, aspect ratio, and wind cut.
Configuring system functions, display priority, reset options, and camera display elements.
Setting time code, adjusting clock, and accessing playback menu options.
Configuring video display during playback and selecting playback sound modes.
Using the camcorder to dub footage onto a VCR.
Process for digital dubbing and using the camcorder to record DV signals.
Using remote for slow-motion playback, special effects, and playback zoom.
Performing audio dubbing and insert editing using the remote control.
Setting up R.A.Edit and programming the remote for VCR control.
Choosing scenes and setting edit-in/out points for assembly editing.
Executing automatic VCR editing and adjusting timing for accuracy.
Connecting the camcorder to a PC for data transfer using USB or DV cables.
Solutions for issues related to power supply, date/time settings, and recording failures.
Addressing issues with image quality, LCD display appearance, and blinking indicators.
Resolving bright spots, specific error codes (E01-E06), and general unit malfunctions.
Safety guidelines for battery handling, cassette usage, and LCD monitor care.
Safety for main unit, troubleshooting dirty heads, and clock battery maintenance.
Understanding condensation, handling malfunctions, and performing routine camcorder cleaning.
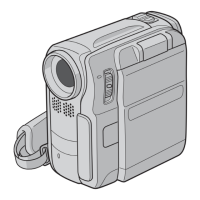
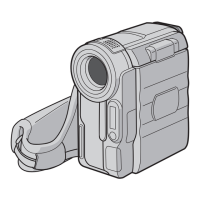
Illustrates and identifies physical controls, connectors, and indicators on the camcorder.
Explains the various indicators displayed during recording and playback modes.
Interpreting warnings for battery status, tape issues, and specific error codes.
Provides technical data on format, power, dimensions, connectors, and adapter specs.
| Recording Media | MiniDV |
|---|---|
| Optical Zoom | 10x |
| Digital Zoom | 700x |
| LCD Screen Size | 2.5 inches |
| Viewfinder | Color |
| Type | Digital |
| Image Sensor | 1/4-inch CCD |
| Lens | F1.8 |