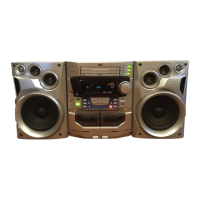
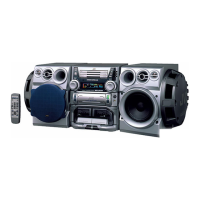
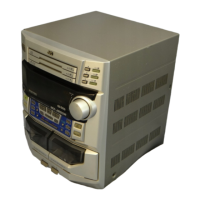
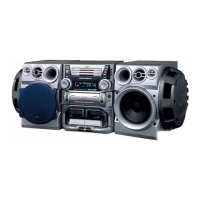
MX-J570V/MX-J680V
1-14
Prior to performing the following procedure, remove
the metal cover and the CD changer mechanism
assembly.
There is no need to remove the front panel
assembly.
Remove the two screws A attaching the rear cover
on the back of the body.
Remove the screw E attaching the AUX terminal
board and the rear panel on the back of the body.
Remove the screw G attaching the digital output
terminal.
Remove the seven screws B attaching the heat sink
and the pre-amplifier board to the rear panel on the
back of the body.
Remove the two screws C attaching the voltage
selector on the back at the body.
Remove the three screws D attaching the antenna
terminal and the rear panel to the chassis base on
the back of the body.
Release the two joints i and j on the rear panel
bottom using a screwdriver, and detach the rear
panel backward.
1.
2.
3.
4.
5.
6.
7.
Removing the rear cover / rear panel
(See Fig.23 to 26)
Fig.23
Fig.24
Fig.25
Fig.26
A
Rear panel
Rear cover
B
C
B
D
B
B
Rear panel
Joint i
Joint j
Rear panel
D
E
G
CD optical
digital output
terminal
 Loading...