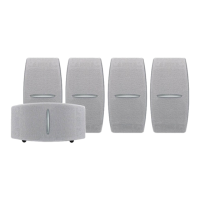
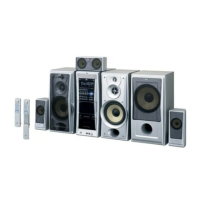
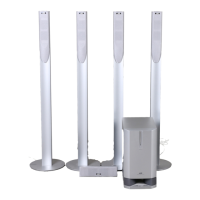
SP-X100/SP-CR100
SP-R100
1-3
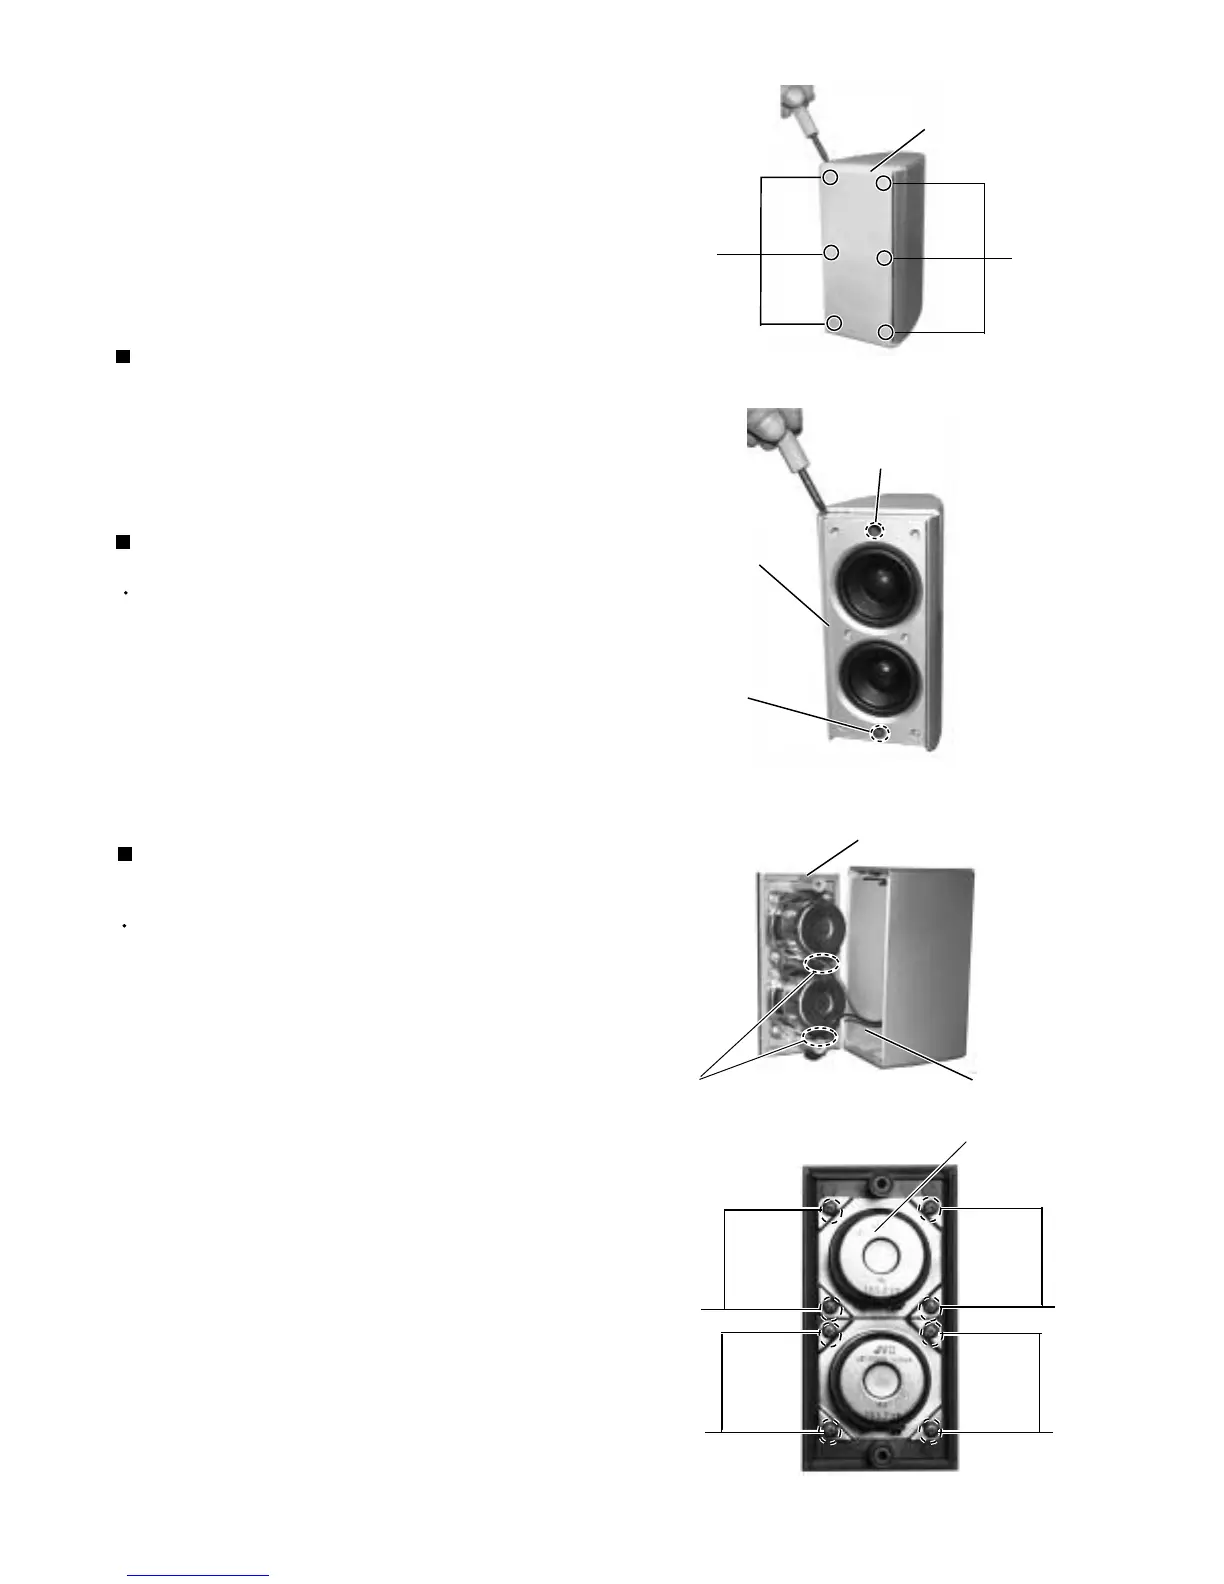
Remove the six hooks a attaching the ornament
panel from front side. In that case, ornament panel is
fixed with the adhesive, and remove the ornament
panel by using a minus driver etc. , please.
1.
Disassembly method
Removing the Ornament Panel (See Fig.1)
Prior to performing the following procedure, remove
the ornament panel.
Remove the two screws A attaching the front panel.
Pull out the front Panel. In that case, front panel is
fixed with the adhesive, and remove the front panel
by using a minus driver etc. , please.
1.
2.
Removing the front panel (See Fig.2 )
1.
2.
Prior to performing the following procedure, remove
the ornament panel. and front panel.
Disconnect the speaker wire from speaker terminal.
Remove the four screws B attaching the speaker.
Removing the speaker (See Fig.3 to 4)
The speaker box of this model is a unit supply.
Therefore, we do not supply it as individual parts though
the method of disassembling the speaker box has been
described.
Fig.1
Fig.2
Fig.3
a
Ornament Panel
B
B
Front panel assembly
Front panel assembly
Fig.4
Speaker
wire
Speaker
terminal
A
a
B
B
Speaker
B
 Loading...