
S
Scott LloydAug 15, 2025
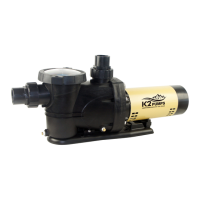
What to do if K2 Pumps Swimming Pool Pump is experiencing electrical issues?
- BBradley RobinsonAug 15, 2025
If your K2 Pumps Swimming Pool Pump is experiencing electrical issues, it could be due to a few reasons: * The voltage may be incorrect. Check the voltage at the motor terminals and at the meter while the pump is running. If it's low, consult the wiring instructions or your power company. Also, check for loose connections. * The pump might be too hot. Verify the line voltage; if it's less than 90% or more than 110% of the rated voltage, consult a licensed electrician. You can also increase ventilation, reduce the ambient temperature, and tighten any loose connections.