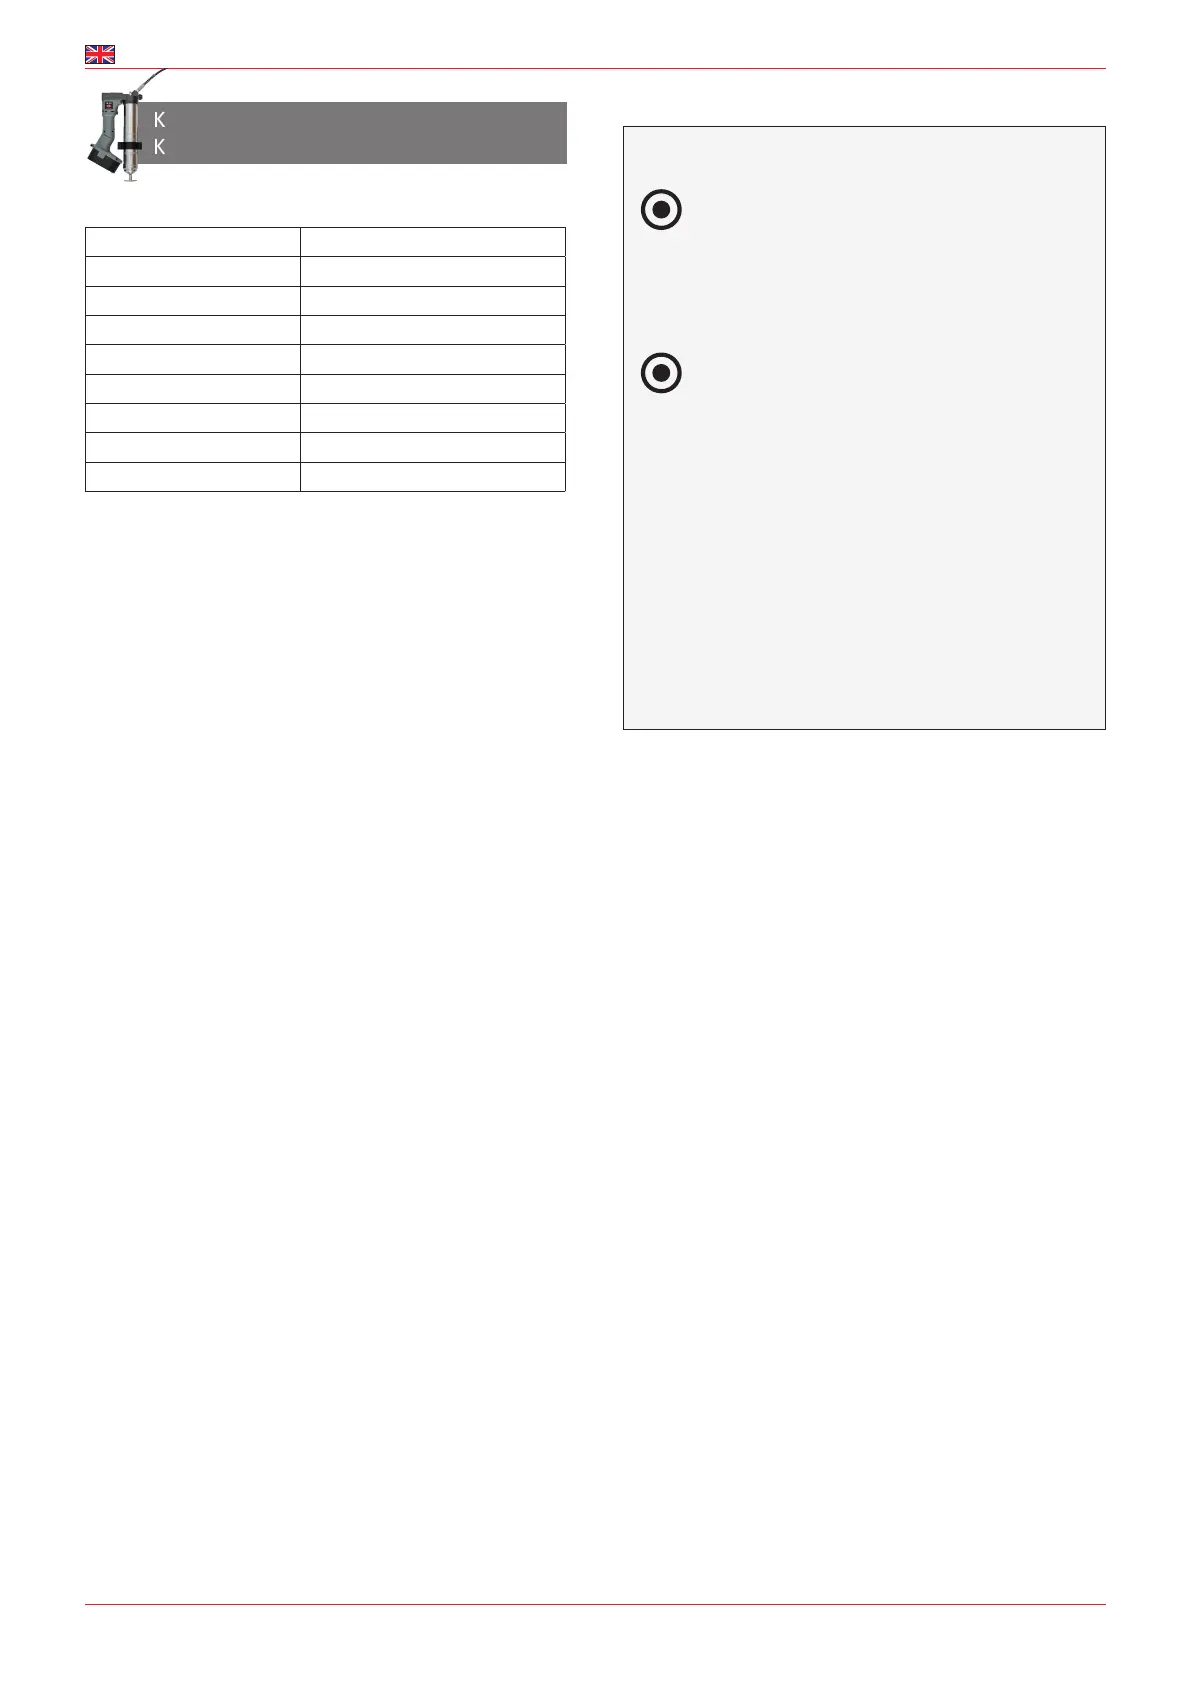
KABI Accu Grease Gun 19.2V
PRODUCT SPECIFICATIONS
SAFETY INSTRUCTIONS
BLEEDING
1)
Pull the pis
ton rod out unl it resists and connect the rubber seal by
turning the piston rod. Press the bleeding valve down, at the same
me pressing down on the piston rod.
2) When the cylinder is free of air, you should acvate the grease gun a
few mes. When the grease comes out without air pockets, release
the piston rod by turning it and pressing it gently into the grease
container.
Or:
1) Screw the container twice in reverse to bleed.
2)
Pull the pis
ton rod out unl it resists and connect the rubber seal by
turning the piston rod, at the same me pressing down on the piston
rod.
3) When no more air comes out, screw the grease cylinder ghtly on to
the grease gun and gently push the piston rod in.
INSPECTION, MAINTENANCE AND CLEANING
1. WARNING Make sure the switch is in the “O” posion, remove the
baery from the grease gun, and unplug the charger from the power
socket, before carrying out any inspecon, maintenance or cleaning.
2.
BEF
ORE EACH USE: Check the overall condion of the grease gun.
Check for defecve, cracked or broken parts, baery leakage, dam-
aged hose, and anything else that could aect safe operaon. In the
event of abnormal noise or vibraon, the problem must be resolved
before further use. Never use damaged equipment.
3. BATTERY PRECAUTIONS: Never burn used baeries as they may
explode.Do not charge leaking baeries. Only a qualied service
technician should perform maintenance on the baery. Dispose of
the exhausted baery at your local baery dealer’s or at the local
recycling depot.
4.
D
AILY CARE: Use a dry, so cloth to remove grease and dirt from the
exterior of the grease gun. Never use solvent to clean the grease gun.
5. STORAGE: Always remove the baery from the grease gun. Store the
grease gun and the detachable components in a clean, dry place, out
of reach of children.
Charger input 230V AC
Baery Output 19.2V
Baery capacity 2000 mAh.
Baery charging me 1 hour
Maximum working pressure 600 Bar (40 Bar tolerance)
Grease reservoir capacity 400g cartridges/500g bulk container
Minimum Flow 75 g/min at NLGI 2 (+20°C)
Hose 75 cm
Weight 2.8 kg
To avoid electric shock, re and/or serious damage, the
following safety instrucons should be followed carefully.
WORKING AREA
1.
Do not use po
wer tools in explosive atmospheres,
where ammable liquids, gases or dust are present.
Power tools can give o sparks, which can ignite the
materials.
2. Keep work area clean and well lit. Cluer can cause
accidents.
ELECTRICAL SAFETY
1. Avoid bodily contact with earthed surfaces such as
pipes or connecons. The risk of electric shock is
increased, if your body is earthed.
2.
Do not e
xpose power tools to rain or wet areas. Water
in a power tool increases the risk of electric shock.
WARNING
Do not use the grease gun or baery in damp or wet
condions.
Do not use the grease gun or the baery if it has been
dropped, damaged, le outdoors or immersed in water.
To avoid electric shock, do not operate the baery, plug
or grease gun, if your hands are wet.
Extreme pressure can cause nozzles or the hose to burst.
Use only approved hoses and follow the printed instruc-
ons and warnings.
CHARGING THE BATTERY
All new baeries for the grease guns are supplied with a 30% charge
from the factory, and it must be charged fully before use. A Li-Ion bat-
tery must not be stored in discharged condion. This can cause the bat-
tery to lose the ability to charge. A Li-Ion baery can not withstand large
temperature uctuaons (which can occur in service vans).
General charging of the baery
Start charging by inserng the baery in the charger. Connect the
charger to a power socket. Make sure the voltage is correct (230 V).
When charging is completed (approx. 60 min.), pull the charger out of
the power socket and remove the baery.
The baery charger has two light indicators:
•• •• = when the baery is charging, both lights are on.
•• = when the baery is fully charged, only the green light is on. Pull
the charger out of the power socket, and remove the baery.
PLEASE NOTE: The temperature of the baery will increase during use.
Allow the baery to cool down to room temperature, before charging,
to obtain the best possible charge.
m
Use ONLY the supplied original charger to charge the baery.
CHANGING THE GREASE CATRIDGE
Dismantling the grease cartridge
1) Slowly pull the piston rod out unl the groove becomes visible, and
lt it carefully into the notch on the back cover of the grease cylinder.
2) Dismantle the grease cylinder and remove the old cartridge.
Aaching the grease cartridge
1) Remove the plasc cap on the new grease cartridge and insert it into
the grease cylinder.
2)
R
emove the seal. Make sure that there is no plasc debris or other
dirt that can cause grease blockage and destroy the return valve,
hose and nozzle.
3) Screw the grease cylinder ghtly on to the grease gun. Gently loosen
the piston rod from the back plate and push the piston rod in slightly.
Conversion of the grease gun, to allow lling from bulk container
1) Dismantle the grease cylinder.
2) Unscrew the back plate and remove the piston rod with the collar.
3)
Gr
asp the rubber seal between your thumb and forenger and turn
the piston lip 180°.
4) Insert the piston rod in the cylinder, screw on the back plate and
replace the grease cylinder in the grease gun.
Filling the gun from bulk container
1)
Sck the opening of the cylinder belo
w the surface of the grease. The
cylinder must be perpendicular to the surface.
2) Slowly pull the piston rod out unl the groove becomes visible, and
lt it carefully into the notch on the back cover of the grease cylinder.
3)
Scr
ew the grease cylinder ghtly on to the grease gun
4) Gently loosen the piston rod from the back plate and push the piston
rod in.
KF720-C1 incl. 1 Lithium-Ion baery
KF720-D1 incl. 2 Lithium-Ion baeries
m
 Loading...