Do you have a question about the Kampa Sunshine AIR Pro 300 and is the answer not in the manual?
Fabrics can weaken from prolonged sunlight; UV degradation isn't covered.
Awning has PU coating; seams may need sealant to prevent leaks.
Keder beading thread needs multiple wetting cycles to seal needle holes effectively.
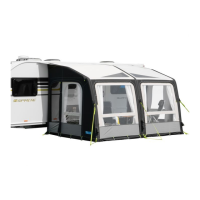
Slide the keder beading into the caravan awning channel and position correctly.
Close deflation valves, attach pump, and inflate AirPoles until they achieve correct shape.
Peg corners, adjust quick pitch straps diagonally, and secure storm straps.
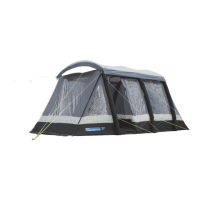
Mount AccessoryTrack brackets in the awning's inside corners for side wall poles.
Clip side wall fabric to poles and connect poles to awning brackets and connection points.
Use locking mechanisms for stability and peg side walls using ladder straps.
| Type | Awning |
|---|---|
| Size | 300 cm |
| Width | 300 cm |
| Depth | 250 cm |
| Material | Weathershield™ Pro |
| Color | Grey |
| Hydrostatic Head | 6000 mm |
| Waterproof Rating | 6000 mm |
| UV Protection | Yes |
| Air Beams | Yes |
| Setup Time | 10 minutes |
| Compatibility | Motorhomes, Caravans |