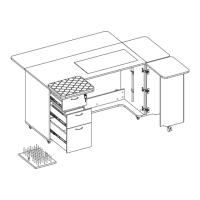
Assembly InstructionsSydney XL
12
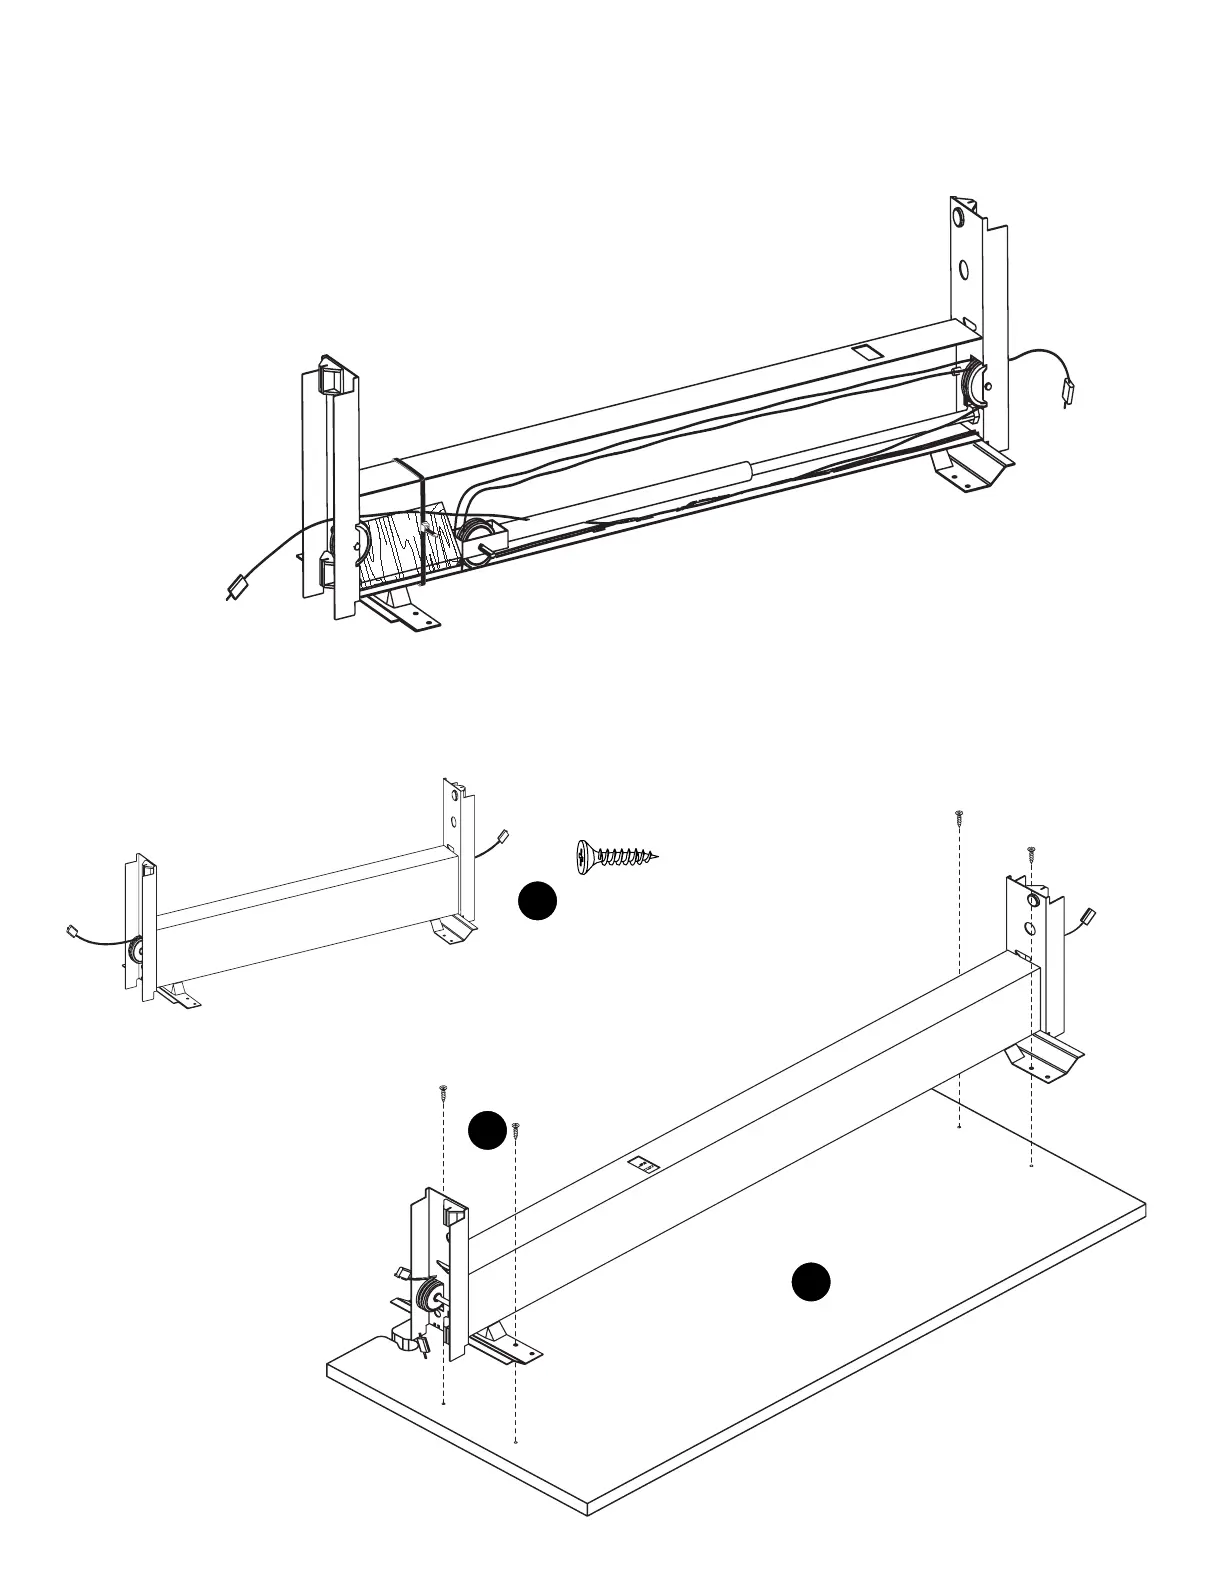
Step 2: Lift Installation
LIFT INSTALLATION WARNING:
DO NOT remove the small wooden block from the Lift until assembly is complete. If the block is removed or falls out
before lift assembly is complete, the cables will retract, making installation difficult. If the
block falls out before complete assembly, Please call Customer Service at 1-800-533-7347,
ext. 1 for assistance, or visit www.arrowsewing.com/assembly and find the
“Alternate Airlift Attachment Steps” video.
This illustration shows the back view of the Lift. Notice the wooden block and zip tie; the wooden block holds the piston in
place so that the cables can be easily handled and inserted into the Lift Rails installed on your cabinet.
Attach the Lift to Panel B using
s1 Screws.
Lift x1
3.5x14 Screw x4