Do you have a question about the Kanto PS400 and is the answer not in the manual?
Heed cautions regarding weight limits, wall types, and proper assembly for safe installation.
Contact Kanto for assistance and access online installation videos and resources.
Identify and verify all included parts and hardware before starting installation.
Gather necessary tools like a drill, screwdriver, level, and stud finder.
Choose the correct screws and spacers for your TV's back panel and mounting holes.
Use spacers to accommodate curved TVs or those with protruding back panels.
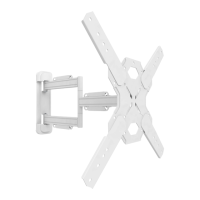
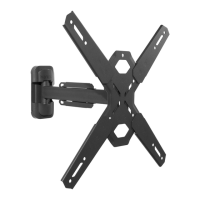
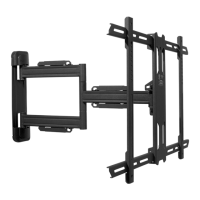
Attach the VESA mounting brackets to the back of your television.
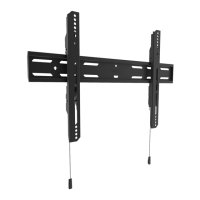
Mount the wall plate assembly securely to the wall, choosing between wood stud or concrete.
Install the decorative covers onto the wall plate assembly for a clean look.
Hang the TV onto the wall mount and secure it properly to prevent detachment.
Adjust the TV to ensure it is perfectly level on the wall mount.
Make final adjustments to arm tension and positioning for optimal viewing.
Organize and route cables neatly for a clean and safe installation.
Details the 5-year limited warranty for materials and workmanship.
Outlines customer's role in obtaining return authorization and shipping costs.
| Mounting type | Wall |
|---|---|
| Maximum VESA mount | 400 x 400 mm |
| Minimum VESA mount | 100 x 100 mm |
| Maximum screen size | 70 \ |
| Minimum screen size | 30 \ |
| Maximum weight capacity | 40 kg |
| Panel mounting interface | 100 x 100, 100 x 150, 100 x 200, 200 x 200, 200 x 150, 200 x 300, 200 x 400, 300 x 300, 300 x 200, 400 x 200, 400 x 400, 400 x 300 mm |
| Number of displays supported | 1 |
| Package type | Box |
| Package depth | 403 mm |
| Package width | 515 mm |
| Package height | 70 mm |
| Package weight | 8200 g |
| Product color | Black |
| Housing material | Steel |
| Swivel angle | 180 ° |
| Tilt angle range | -2 - 12 ° |
| Distance to the wall (max) | 700 mm |
| Distance to the wall (min) | 47 mm |
| Weight | 7300 g |
|---|---|
| Depth (max) | 703 mm |