Operation and Safety Guide
Karcher Dry Wall Dust Control Vacuum
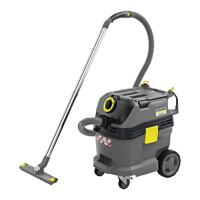
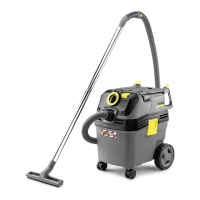
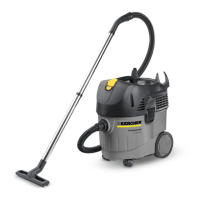
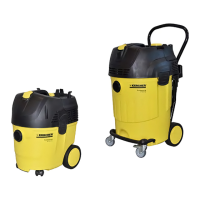
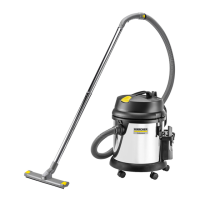
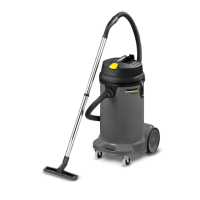
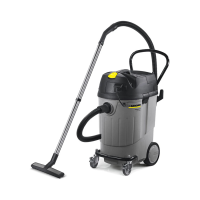
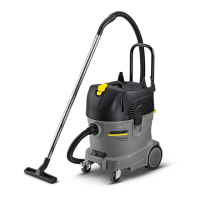
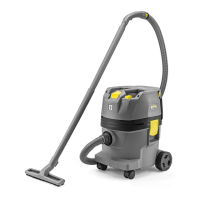
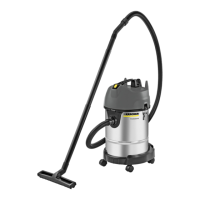
Model # NT 30/1
On Your Apron asKarcher North America
ToolTips&SafetyGuideNT30/18.644‐850.0‐A03/05/21
Page1of2
Step Action
1
Check the machine to make sure all the attachments and the cord
are undamaged and suitable for use. Have all safety equipment
ready for use. (Eye & Ear Protection)
2
Attach the suction hose to the body of the vacuum and add any of
the attachments that are appropriate for the cleaning application.
3
Plug the unit into an outlet with the correct voltage for safe
operation of the machine.
4
If application is Hazardous, follow all appropriate safety provisions
including use of PPE (personal protective equipment).
5
WARNING: Never vacuum up explosive or reactive materials,
undiluted acids, alkalis or organic solvents such as gas, paint
thinner or heating oil.
6
For fine dust applications, turn the vacuum on to position 2 Tact
Max or Position 3 Tact Min. These are the automatic filter cleaning
settings. The vacuum will thump every 12 or 60 seconds cleaning
filter.
7
When using a filter bag in the vacuum tank, turn vacuum on to
position 1 ON. This is the standard mode.
8
Plug dry wall sander into the vacuum by lifting the power outlet flap
on the front of the vacuum and turn on to desired operating position.
Vacuum will not turn on until the sander is turned on.
9
If dry wall sander sucks onto wall, adjust the power knob on the
front right control panel to a lower setting.
10
Use only attachments specifically designed for the appliance. The
use of other attachments can affect the safety of the appliance.
Vendor Website: http://hdtr.karcher.com Support Phone No. 800-821-6490
SAFETY TOPICS:
Read and understand the operator’s
Manual, or “Operations and Safety Guide”
before using this machine.
Failure to
follow operating instructions
could
result in death or serious injury.
Please visit
http://hdtr.karcher.com
WARNING: Wear a disposable mask,
gloves, and eye protection while operating
machine. For some units with filters, a full
face mask, and goggles are required.
WARNING: This product can expose
you to chemicals including lead, Di(2-
ethylhexyl) phthalate and Diisononyl
phthalate, which are known to the State of
California to cause cancer and reproductive
harm. For more information go to
www.P65Warnings.ca.gov
SAFETY CHECKLIST:
Always wear safety goggles and hard toe
shoes when operating this equipment.
Never place any part of the body in front
of the Suction Hose or aim the hose
toward
any part of the body. Keep all
people
(except operator) a minimum of
five (5)
feet away from the machine during
operation.
Never let the Vacuum run
unattended
even for a brief moment.
Turn off the
Motor when the machine is
to be left
unattended.
Only use or operate the machine on level
ground. Do not use on unsupported,
elevated surfaces (for example, ladders).
Never allow children or inexperienced
operators to operate or repair the
Vacuum.
Make certain that the suction hose and
floor tool located at the end of the hose is
clear of obstructions.
Tool Application:
The NT 30/1 Dry Wall Dust Control Vacuum is used for the
collection of fine dust when connected to a dry wall sander as well as general clean-up
of the job site.
Vacuuming
Tips:
-
Using the tool adapter connect the vacuum hose to the dry wall sander hose to
collect the fine dust while sanding.
-
For general clean-up set the Hose and/or floor tool on the surface to be cleaned,
using the appropriate attachment for the surface to be cleaned.
-
Make sweeping motions with the wand, slowly moving the wand from back and
forth, pointing away from your body. Keeping the wand moving and clear any
obstructions to avoid
scoring the surface.
-
The various tools available allow for cleaning of several types of surfaces.
Tool Operation: