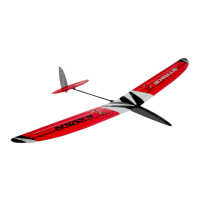
Be sure you are using fully charged batteries. Now (and before any further
ight again) check correct function of whole radio equipment, motor and
moving of control surfaces. Be sure any part of ight equipment cannot
move during ight. We strongly recommend making a range check (see
your radio instruction manual for details).
The rst ight: Wait for a calm day. Fly only on a safe site as a RC club ying
eld. Glider will be very happy on your favourite slope on a calm day. The
very light lift will allow perfect ne trimming out.
Switch your transmitter and then the receiver on and check all the working
systems one more time. Facing INTO the wind hold your transmitter in one
hand; grip the model in the other hand near the centre of gravity. Hold it
at head level and give the model a fairly powerful push exactly into wind;
wings level, nose slightly down. Your model should now glide in a long,
at and straight path without needing any help from you. Use the controls
gently if necessary, and adjust the trim tabs until your STRIKE DLG glides
above described way. Now check the position of control surfaces; set
length of pushrods to bring back trim tabs on your transmitter to central
position if necessary (we strongly recommend doing it in any way). Check
again gliding of your STRIKE DLG.
Now you are ready to make your rst discus launch.
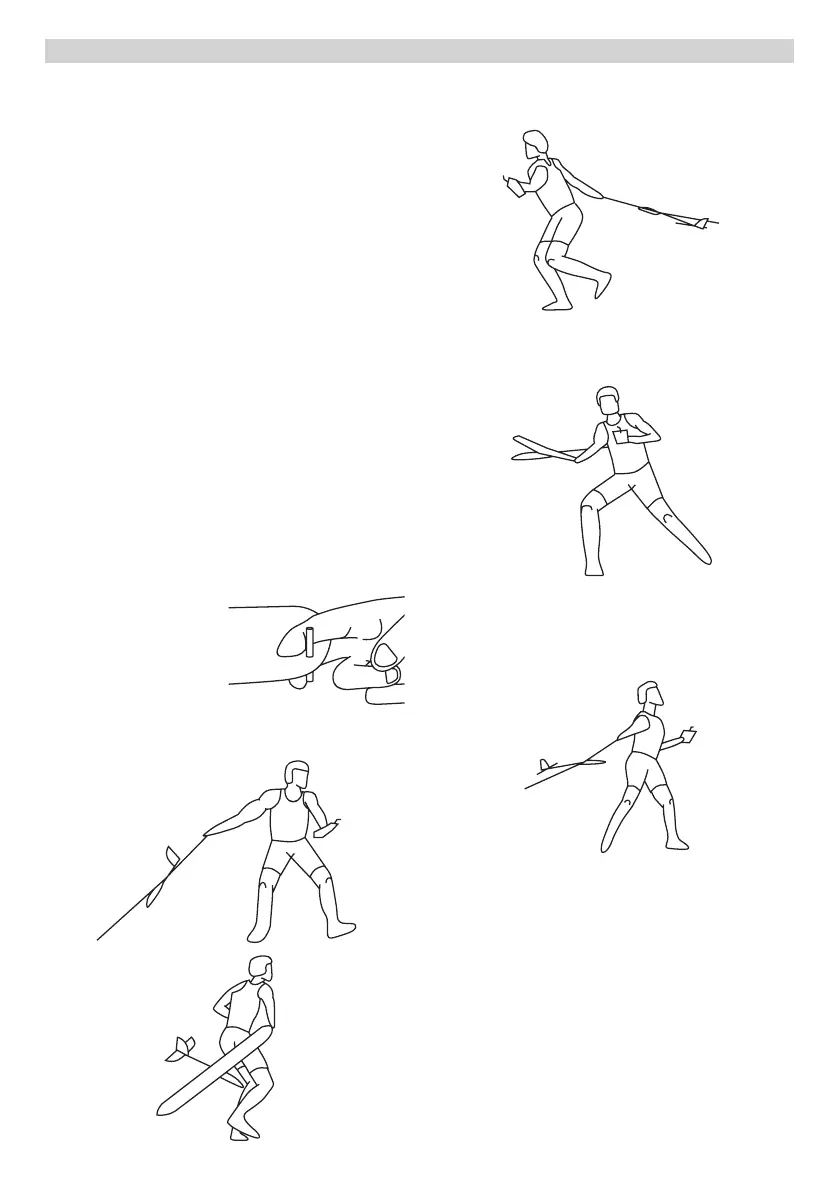
Discus Launch
The discus launch allows your model reaching quite high altitude without
much eort. As it is with any “sport performance”, it will require some trai-
ning in order to do it right – our step by step manual makes it easy. We will
describe the procedure for a right-handed pilot; with the launching pin atta-
ched to the left wingtip. The “left-handed” procedure is the mirror image.
Position A - Getting Ready:
Your right index nger and middle
nger should be wrapped around
the launch pin at the left wing
tip. Your thumb is to be gently
pressed against the leading edge
of the wing. Stand with your left
shoulder into the wind and the right wing tip pointing at ca 45° angle to
the ground.
Position B - The First Step:
Take a long step with your left foot pulling the STRIKE DLG up and forward
with your right arm.
Position C - Rotation:
Start rotating to the left keeping the STRIKE DLG at and your right arm
extended.
Position D – Continued Rotation:
The second half of the rotation - the part that is most important for a good
launch. Do not use too much arm in this section. Just let the swing of your
torso speed the STRIKE DLG up.
Position E - Release:
By this time in the launch the plane will be trying to climb on its own. Just
release your ngers and let the plane y out of your hand directly into the
wind.
Position F – Taking the Control:
Catch your balance; watch your STRIKE DLG climb whilst getting hold of your
radio, ready to control your model. The plane will climb after release – the
climb angle should be shallow at rst; once you are well acquainted with
the discus launch you can use more force and increase the launch angle up
to 60-80 degrees. When completely familiar and comfortable you can add
two quick steps before starting the turning sequence in order to get some
extra speed and energy.
6
B
C
D
E
A
FLYING
 Loading...