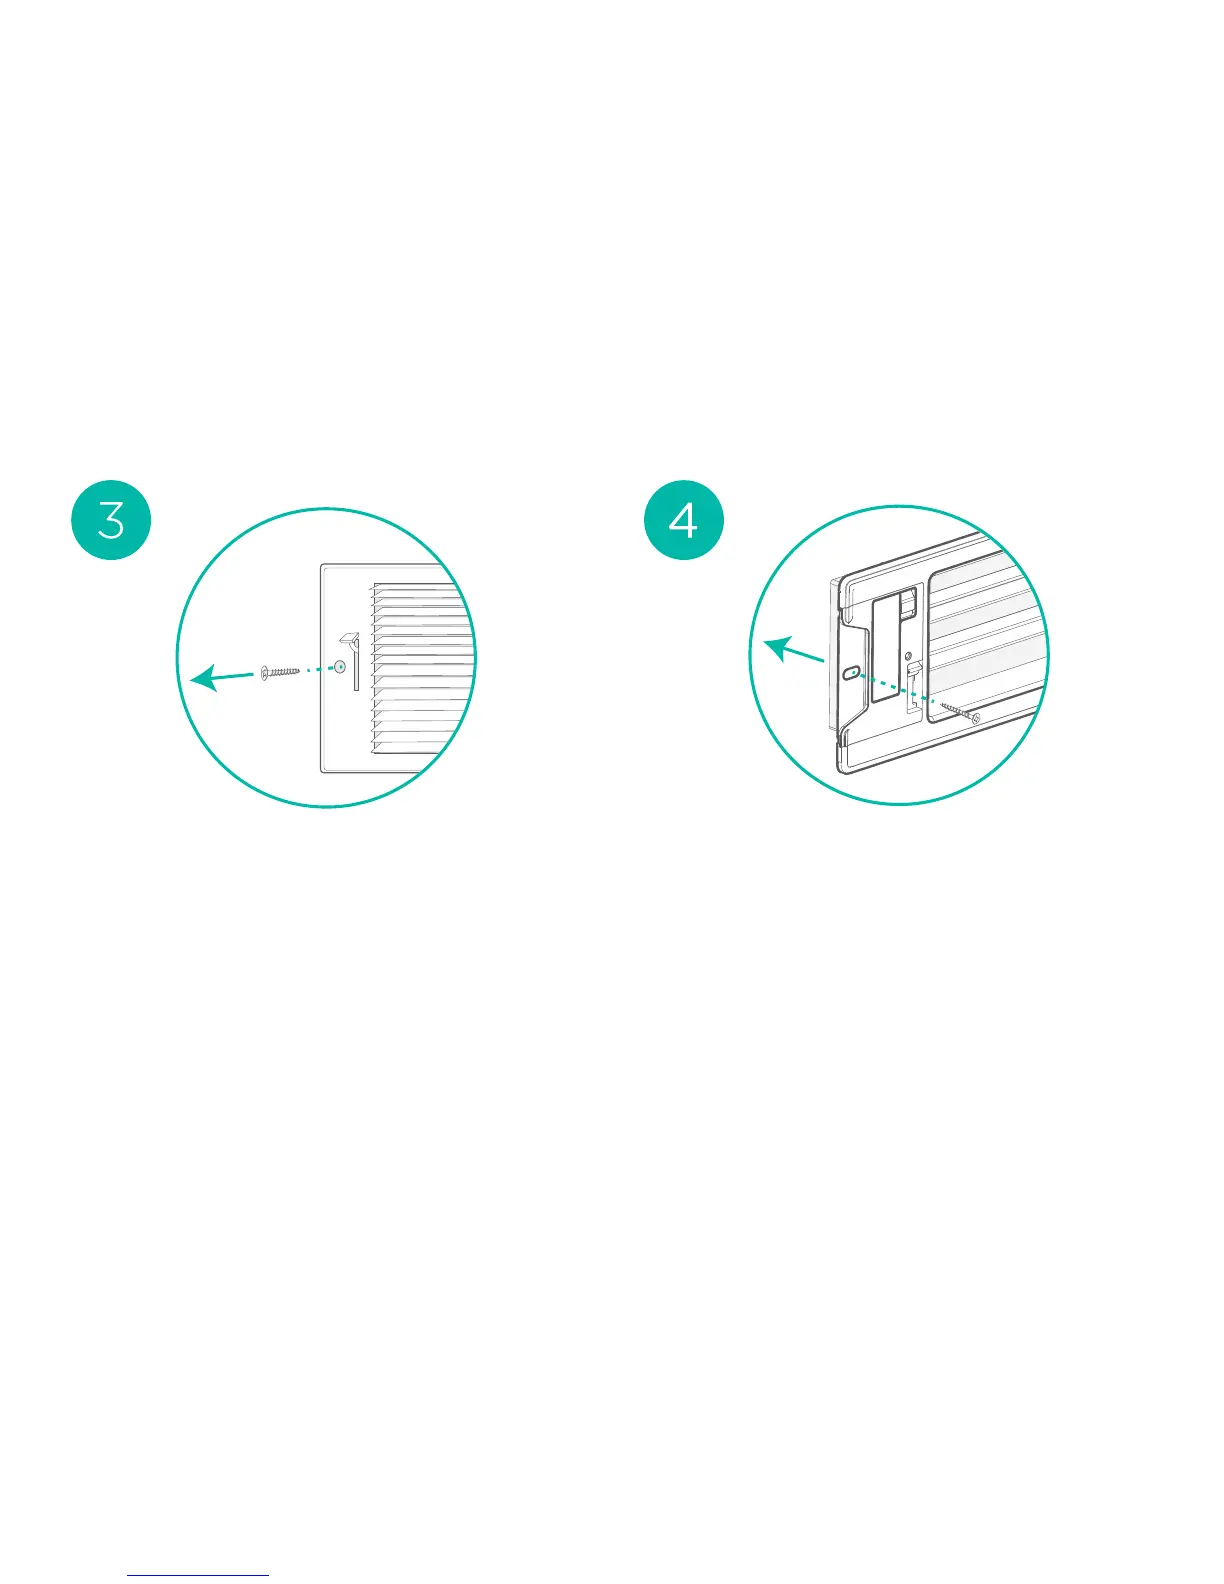
If required, use the included two
screws to install and secure your
Smart Vent. The screws won't be
needed in floor installation and
may not be necessary in wall
installation, depending on the
home.
Remove the existing floor, wall, or
ceiling vent register where you
want to install your Smart Vent.
Removal may require the use of a
screwdriver.