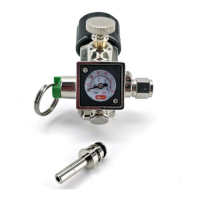
Mini 360 Core Actuator Regulator Instruction Manual
Page 4 of 14 www.KegLand.com.au Last Updated 4/08/2020 11:09 AM
It is essential to lubricate the thumb screw shaft regularly and prior to first use.
Connecting the mini regulator to a keg or keg system
The Mini 360 Core Actuator Regulator is very versatile in regards to the ways that it can be
connected to a keg system. It is suitable for both portable kegging systems and more permanently
situated kegging systems. This versatility is a result of the regulator having two output positions
which can be used interchangeably depending upon the disconnect being used.
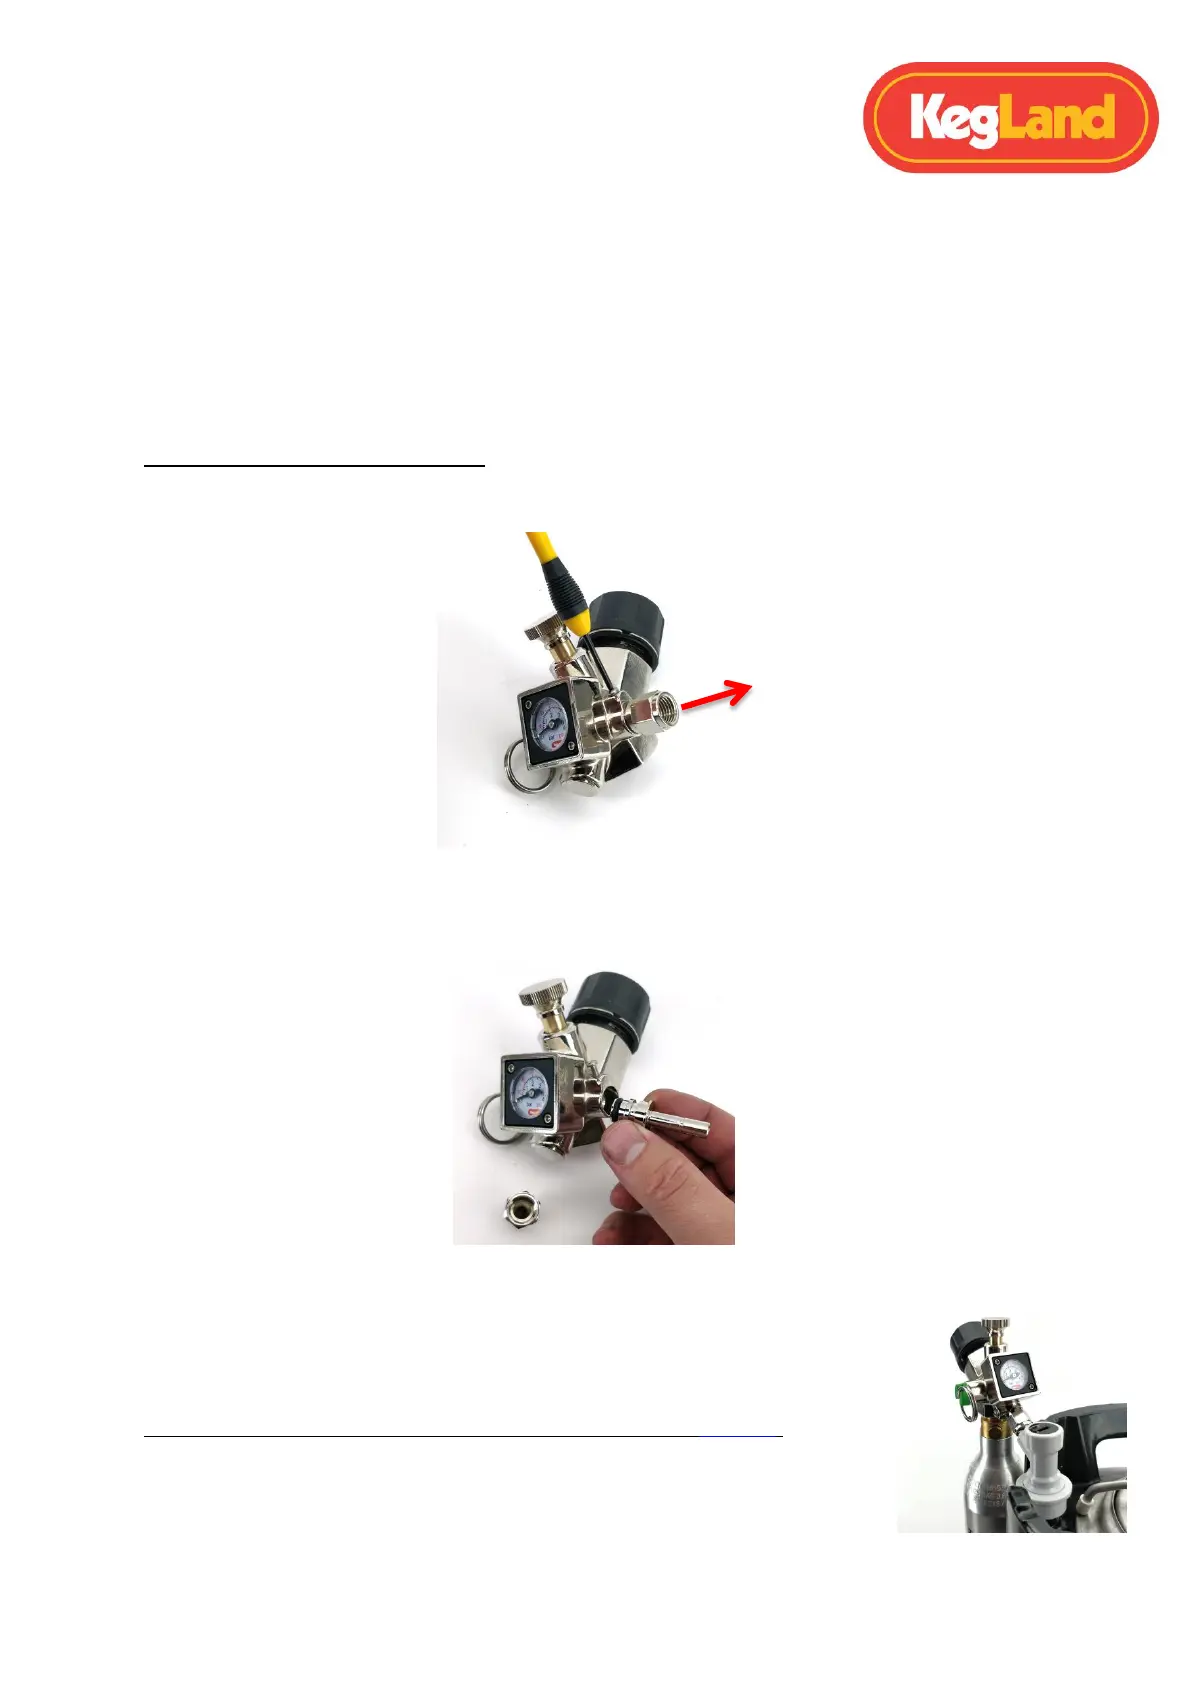
How to alternate fittings and outputs
Step 1. Undo the flathead grub screw holding the output end cap in position and remove the output
end cap.
Step 3. Insert the output end cap into the unused output and tighten firmly using the grub screw.
Step 4. Insert the required fitting into the output required to be used and tighten firmly using the
grub screw.
Connecting directly to a keg
The Mini 360 Core Actuator Regulator can connect directly to a mini keg, or
Cornelius keg in multiple orientations which make it ideal for directly connecting
to a keg via a wide array of ball lock disconnects.
Connecting to a keg via a premium ball lock disconnect MFL (KL02967)
It is best to use the output directly below the gauge (output 1) when connecting
the regulator to a premium ball lock disconnect MFL as shown to the right.
Loosen grub screw and remove fitting
Insert required fitting into desired
output and retighten grub screw
 Loading...