I_
NEEDLE BAR HEZGHT
REVILED SIC
Oct. 84 I - 1
+ ommm,L KJy, s4
PAO! l
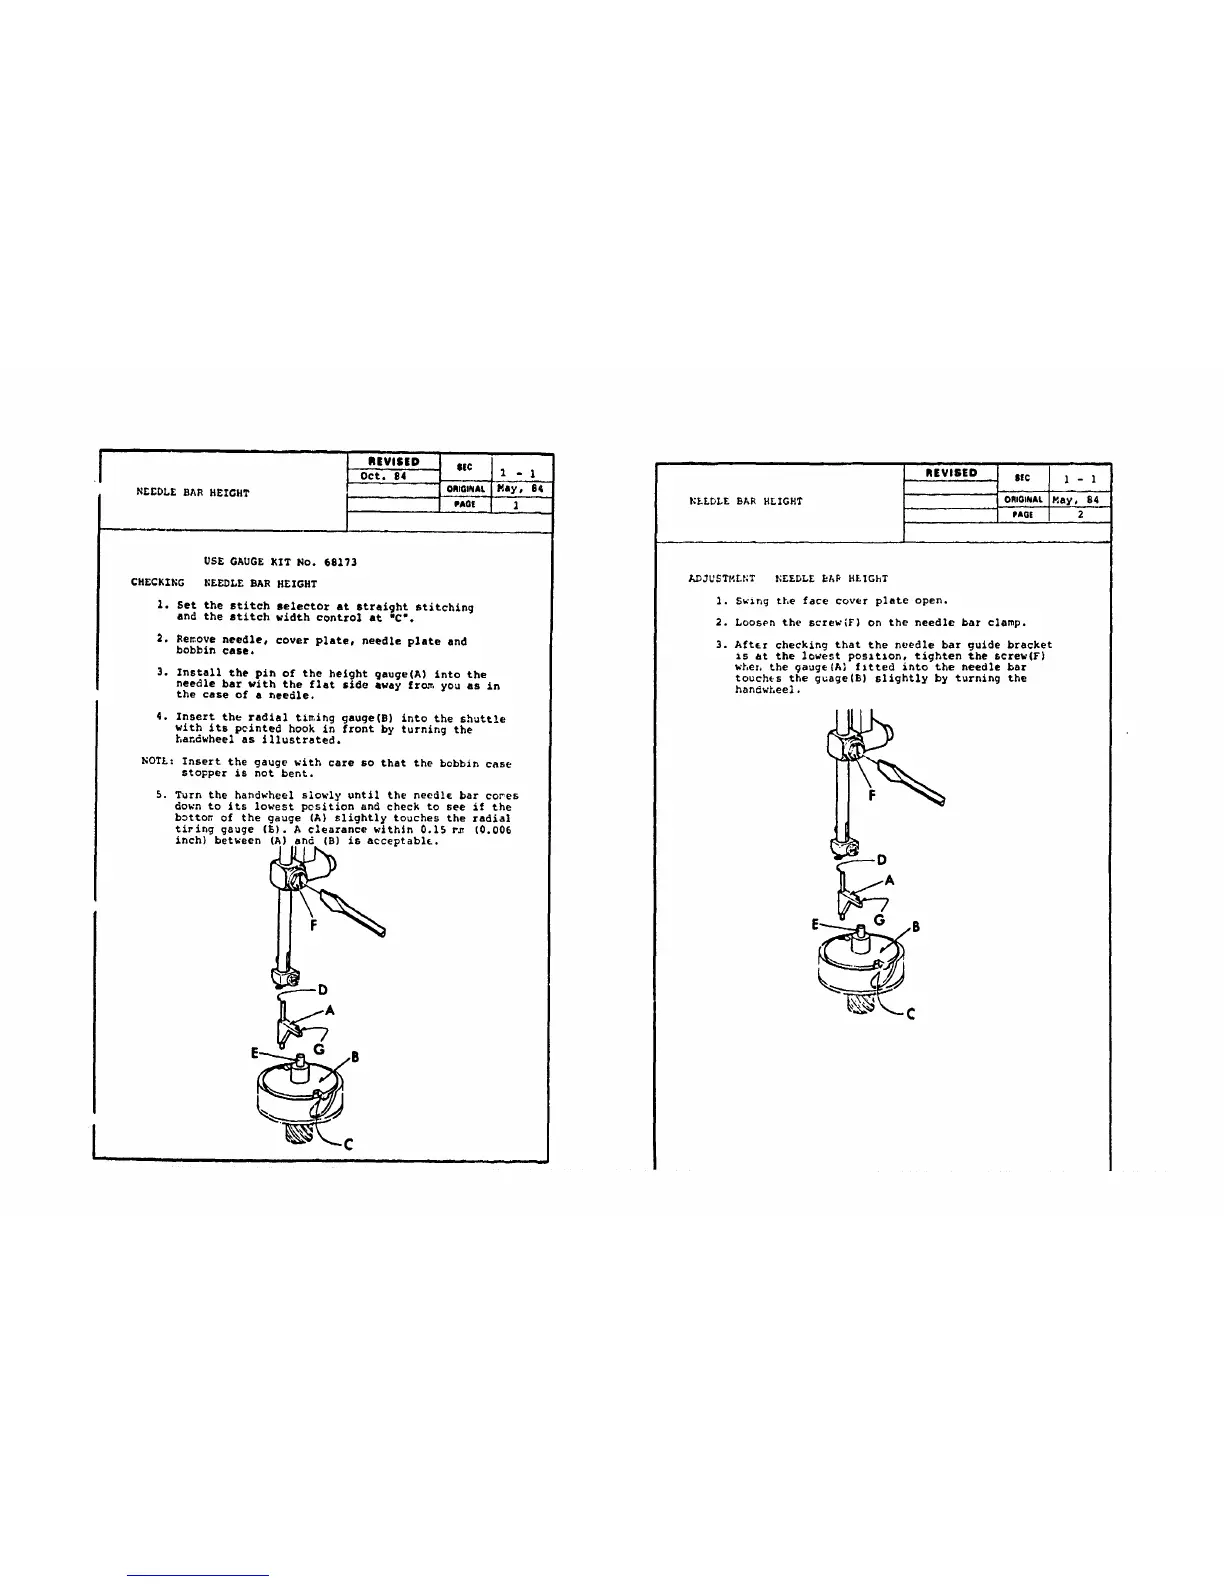
USE GAUGE KIT No. 68173
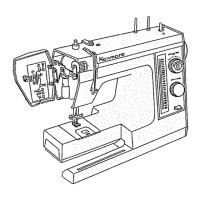
CHECKING NEEDLE BAR HEIGHT
le
2.
Set the stitch selector at straight stitching
and the stitch width control at "C'.
Re_ove needle, cover plate, needle plate end
bobbin case.
3. Install the pin of the height gauge(A) into the
needle bar with the flat side away fr_. you as in
the case of a needle.
4. Insert the radial t_ing gauge(B) into the shuttle
with its pclnted hook in front by turning the
handwheel as illustrated.
NOTE: Insert the gauge with care so that the bobbin case
stopper is not bent.
5. Turn the handwheel slowly until the needle bar co_es
down to its lowest position and check to see if the
botto_ of the gauge (A) slightly touches the radial
tiring gauge (_). A clearance within 0.15 r_ (0.006
inch) between (A) and (B) is acceptabl_.
F
G
NELDLE BAR HEIGHT
REVISED
$sc 1 - 1
ORIGINAL May, S4
PAG[ 2
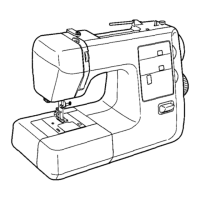
ADJUdTHLNT _EEDLE _A% HE%GhT
1. Swlng the face cover plate open.
2. Loosen the screw(F} on the needle bar clamp.
3. After checking that the needle bar guide bracket
_s at the lowest pos_t_on, tighten the screw(F)
whet, the gauge(A_ f;tted into the needle bar
touches the guage{E) slightly by turning the
hsndwheel.
LD
G
¢
, ,, ................ iII i iii , ,,.,.