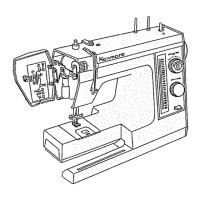
NEEDLE TIMIt;G TO SHUTTLE
,iris=p__1 ,,: . ; -
J
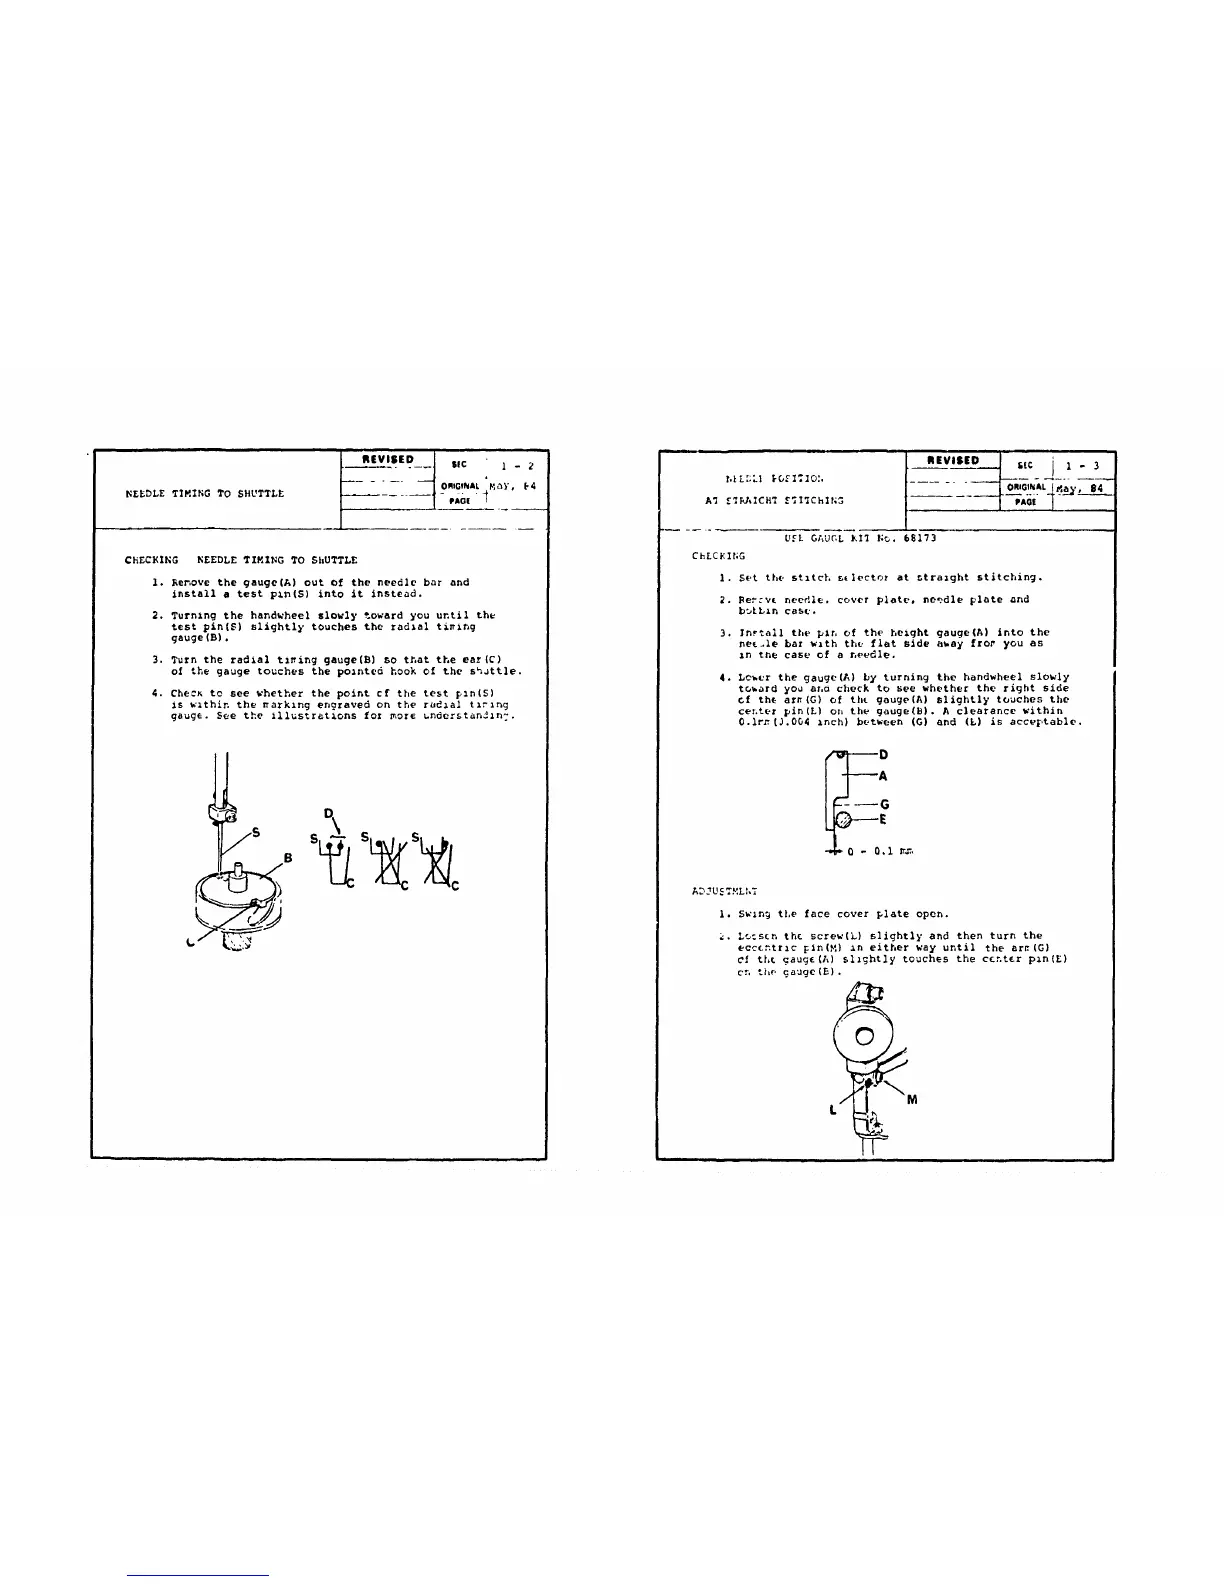
CHECKING NEEDLE TZMZNG TO $itUTTLE
1. Renove the gauge(A) out of the needle bar and
install a test pin(S) into it instead•
,
Turning the handwheel slowly toward you until th_
teat pin(S) slightly touches the radial ti_ng
gauge(B),
Turn the ra_ial t_ing gauge(B) so that the ear(C)
of the gauge touches the polnted hook of the shuttle.
4. Che:_ to see whether the point cf the test p_n(S)
Is within the narklng engraved on the radial txrlng
gauge. See the illustretions fez more understandln?.
D
[ i[
I u i
Aq .e3KAICB_ _,I_Chlt, o
J .,= j 1.3
UEL GAUGL KIT l;_. 68173
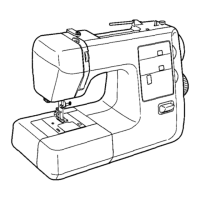
ChLC_I_;G
1. Set the stxtch 5+lector at _tralght stitching.
2. Rer:vt needle, cover plat(,, needle plate and
buLLxn cas_..
3, Inr_all the plr, of the height gauge(A) into the
me_le bar wlth the flat slde a_ay fror yOU as
In t_e case of a needl_.
•
Lo_cr the gauge(A] by turning %he handwheel slowly
to_ard you ano check to see whether the right side
cf th_ am(G) of thL gouge(A) slightly touches the
center pln(L) on the gauge(B)• A clearance within
0.1rz(3.0O4 Inch} between (G) and (L) is accvF,table.
--_G
AD. U.... L,,_
1. Swln9 tl,e face cover plate open.
2. L_:stn th_ screw(L) slightly and then turn the
ecc_ntrlc Fin(M) _n either way until the ar_(G)
Cf tL_ gaug£(A) slightly touches the c£nt_r pln{£)
Cn the gauge(5).
i
 Loading...