Leveling the Freezer
To ensure properdoor seal and optimumperformance,
level freezer usingthe levelingleg locatedon itsbottom
front corner.
Once yourfreezer is inthe desired location,use a
carpenter's level and adjustthe _evelingleg as
necessary to make sure the cabinetislevel side-to-
side.
, * Adjust the leg to achieve a 1/4 inch slope from,
front-to-back (.1/2bubble on a carpenter's level) to
provide easy door closure and proper door seal.
• Ifthe rear corners need to be raised, use shims
made of wood or other hard materials. Cardboard and
other soft materials will not work.
Electrical Requirements
• 120 ',Jolts,60 Hz (6_0cycles AC), 15 amps
• DO NOT use an extension cord.
• Select an electric wail outlet that cannot be turned
off by a switch or pull cha'in. Be sure that the elec-
tric outlet you select does not need a ceiling drop
cord.
° Use a fuse or circuit-breaker protected circuit that
will not become overloaded when the freezer is
installed.
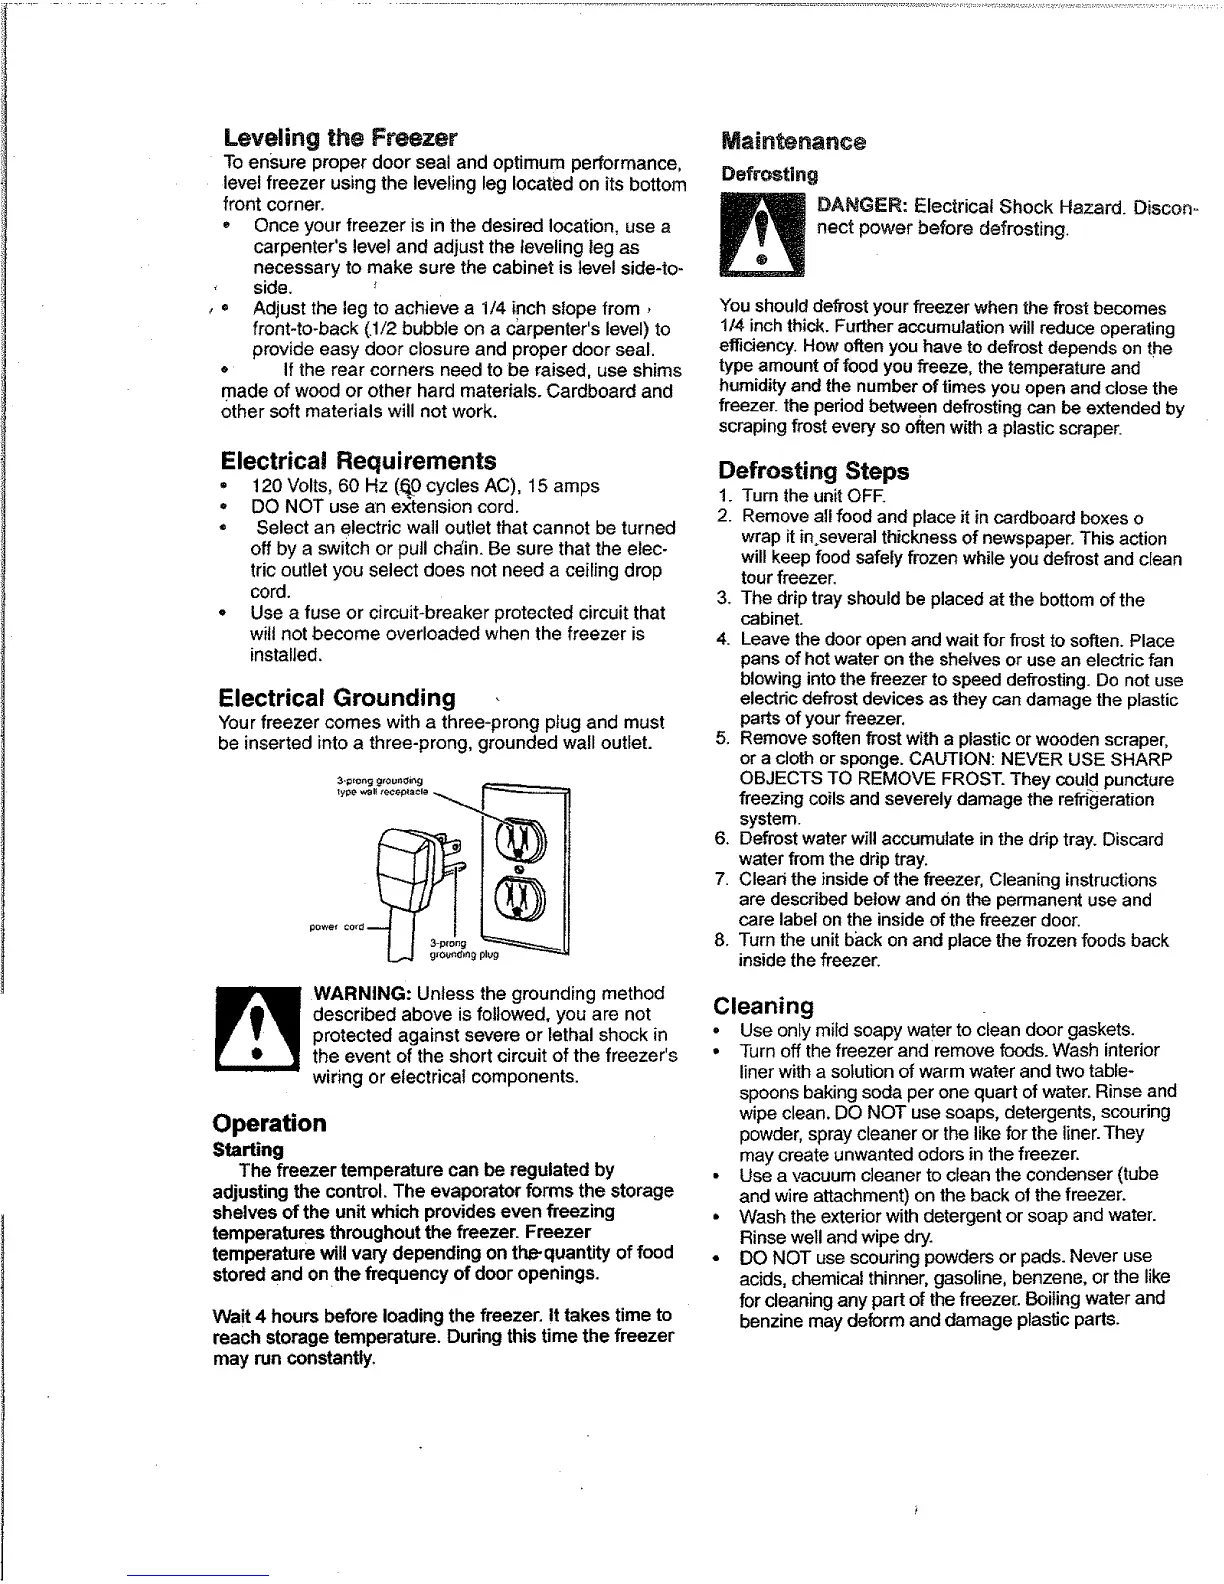
Electrical Grounding
"Yourfreezer comes witha three*prongpfugand must
be inserted intoa three-prong, groundedwall outlet.
3-;_Iong grounding
_ ARNING: Unless the grounding method
described above is followed, you are not
protected against severe or lethal shock in
the event of the short circuit of the freezer's
wiring or electrical components.
Operation
Starting
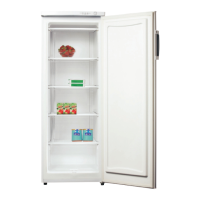
The freezer temperature can be regulated by
adjustingthe control.The evaporatorforms the storage
shelves ofthe unitwhichprovideseven freezing
temperaturesthroughoutthe freezer. Freezer
temperaturewillvary dependingon tl'Le-quantityof food
storedand onthe frequency of dooropenings.
Wait 4 hours beforeloadingthe freezer, ittakes timeto
reach storagetemperature.Duringthistime thefreezer
may runconstantly,
Maintenance
Defrosting
DANGER: Electrical Shock Hazard. Oiscon_
nect power before defrosting.
You should defrost your freezer when the frost becomes
1/4 inch thick. Further accumulation will reduce operating
efficiency. How often you have to defrost depends on the
type amount of food you freeze, the temperature and
humidity and the number of times you open and close the
freezer, the period between defrosting can be extended by
scraping frost every so often with a plastic scraper.
Defrosting Steps
1. TurntheunitOFF.
2. Removeallfoodand placeitincardboardboxeso
wrap itinoseveralthicknessof newspaper.Thisaction
willkeepfood safelyfrozenwhileyoudefrostand clean
tourfreezer.
3. The drip trayshouldbe placedat thebottomofthe
cabinet.
4. Leavethedooropen and waitforfrost to soften. Place
pansofhotwater ontheshelvesor useanelectdcfan
blowing intothefreezer tospeed defrosting.Do notuse
electricdefrostdevicesasthey candamagethe plastic
partsofyourfreezer,
5. Removesoftenfrost witha plasticorwoodenscraper,
ora clothorsponge.CAUTION: NEVER USE SHARP
OBJECTSTO REMOVE FROST.They could puncture
freezingcoilsand severelydamagethe refrigeration
system.
6. Defrostwaterwillaccumulateinthe driptray.Discard
waterfrom thedriptray.
7. Clead theinside ofthe freezer, Cleaning instructions
are describedbelowand Onthe permanentuseand
carelabelontheinsideofthefreezer door.
8. Turnthe unitback on andplacethefrozen foods back
insidethefreezer.
Cleaning
• Useonlymild soapy watertocleandoorgaskets.
• Turnoffthefreezer and remove foods.Wash interior
linerwitha solutionofwarmwaterand twotable-
spoons bakingsoda perone quart ofwater.Rinseand
wipeclean.DO NOT use soaps, detergents,scouring
powder,spraycleaneror thelikefor the liner.They
may create unwantedodorsin the freezer.
• Use a vacuum cleanerto cleanthecondenser(tube
and wireattachment) on the back ofthefreezer.
• Wash theexteriorwithdetergent or soap andwater.
Rinsewelland wipedry.
• DO NOT usescouring powdersor pads.Never use
acids, chemicalthinner,gasoline,benzene,orthe like
for cleaninganypart ofthefreezer. Boilingwaterand
benzinemaydeformand damage plasticparts.
 Loading...