Do you have a question about the Kenmore 625.343921 and is the answer not in the manual?
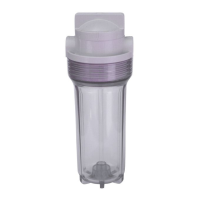
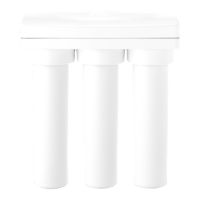
Explains how to position sediment and taste/odor cartridges for optimal performance.
Lists all included parts for the filter system and deluxe model, including tubing and fittings.
Lists necessary tools and materials for installation, such as screwdrivers and a drill.
Illustrates the general layout and connections for undersink installation, showing water flow.
Instructions for attaching the saddle valve to the water supply pipe, including safety warnings.
Guides on drilling and preparing the hole for the filtered water faucet, with cautions.
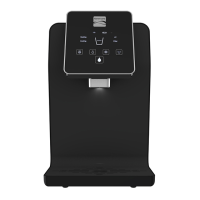
Details on assembling standard and deluxe model faucets and mounting them to the sink or countertop.
Instructions for connecting the 3/8" tubing between components using adaptors and nuts.
How to install and connect the battery pack for the electronic indicator, including battery type.
Directs users to the detailed cartridge replacement section on page 9.
Explains factors affecting cartridge life and indicators for replacement, like pressure drops.
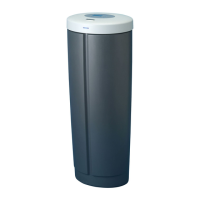
Details the function and status indicators of the deluxe model's electronic base timer.
| Brand | Kenmore |
|---|---|
| Model Number | 625.343921 |
| Product Type | Water Filtration System |
| Type | Reverse Osmosis |
| Installation Type | Under Sink |
| Filter Type | Sediment, Carbon |
| Filter Life | 6 months |
| Contaminants Reduced | Lead, Cysts, Chlorine Taste & Odor, Sediment |