EasyManua.ls Logo

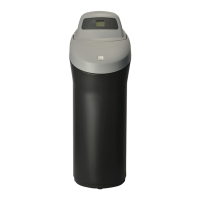
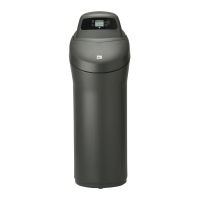
Kenmore 625.384200 User Manual

Kenmore 625.384200
112 pages
To Next Page IconTo Next Page
Page #1 background imageLoading...
Page #1 background image
Use & Care Guide
Manual de Uso y Cuidado
English / Espafiol
System tested and cert lied by NSIF
nternat onal against NSI!=/AI!"....ISStar_dard 44
for hardness reduct on_ effic e_'_cyand the
reduct on of baium and radium 226/228
IiEstes sterna ha sdo probado y cert f cado
por 11"481!::nternat onal de acue do a
Noma J"rrrJSJ_4/ANSI 44
/ ,
para la educci6n de la durez.a, eficier_cia y
la reducci6n dd baio y del radio 226/228.
Model ,/Modelo No. 625.384200
I(enmore
with U_t,ra F_ow Va_v÷
co_"_v61vu_a de u_a flu]o
Agua
Sears Brands Management Corporation
3333 Beverly Road
Hoffman Estates, IL 60179 U.S.A.
www.kenmorewater.com
www.kenmore.com
www.sears.com
®
Printed on recycled paper/
Impreso en papel reciclado
P/N 7325299 (Rev. E 9/16/11)
Question and Answer IconNeed help?

Do you have a question about the Kenmore 625.384200 and is the answer not in the manual?

Kenmore 625.384200 Specifications

General IconGeneral
BrandKenmore
Model625.384200
CategoryWater Dispenser
LanguageEnglish

Summary

Warranty

Safety Guides

General Installation Safety

Read all steps carefully, follow instructions exactly to avoid injury or property damage.

Water Quality and Installation Precautions

Do not use on non-potable water; check local codes; use lead-free solder.

Plan Your Installation

Installation Location Considerations

Details factors like proximity to drain, water meter, temperature, freezing, and electrical outlet.

Check Water Pressure

Ensure water pressure is between 20-125 psi; install a pressure reducing valve if needed.

Install Bypass Valve or Threaded Adaptors

Step-by-step guide to assembling the bypass valve and installation adaptors onto the softener valve.

Installation

Connect Valve Drain Hose

Attaches the drain hose to the softener, ensuring proper air gap and drain location.

Leak Test Procedure

Steps to check for leaks after installation by carefully opening water valves and observing flow.

Connect to Electrical Power

Connects the 24V transformer to a properly grounded indoor 120V outlet.

Programming the Softener

Set Present Time of Day

Guides user through setting the current time on the softener's digital display.

Set Water Hardness Number

Sets the water hardness level, compensating for iron content, for optimal softening.

Set Recharge Start Time

Configures the automatic regeneration start time, typically early morning.

Sanitize the Water Softener

Details the process of adding bleach and initiating a recharge cycle to sanitize the unit.

Controller Features

Salt Monitor System Setup

Guides setting up the salt level indicator to remind user when to add salt.

Service Information

Troubleshooting Common Problems

Provides a table to diagnose and correct issues like no soft water, blank display, intermittent hard water, or error codes.

Manually Initiated Electronic Diagnostics

Guides on entering diagnostic mode to check turbine operation, valve position, and switch status.

Manual Advance Regeneration Check

Verifies proper operation of valve motor, fill, brine draw, and flow rates during regeneration.

Valve Assembly Exploded View

Valve Parts List

Related product manuals