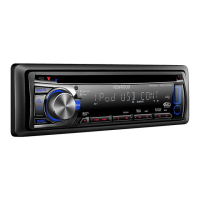
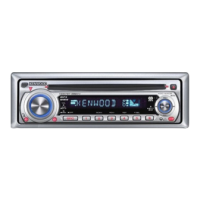
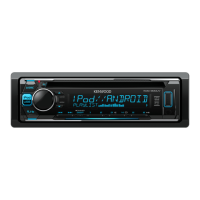
Do you have a question about the Kenwood KDC-3247 and is the answer not in the manual?
To prevent injury or fire, follow essential safety precautions when using the unit.
Cancel the demonstration mode for first-time use after installation.
Restore factory settings by pressing the Reset button if the unit malfunctions.
Guidelines for cleaning the unit, its terminals, and preventing lens fogging.
Proper handling of CDs and identification of incompatible disc types.
Turn off the demonstration mode after the unit is installed.
Set the hour and minute for the unit's clock display.
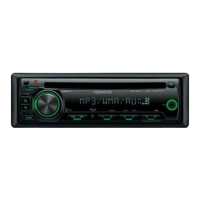
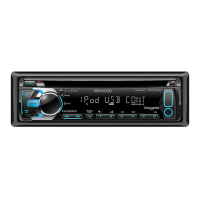
Turn the unit ON/OFF and switch between playable sources.
Adjust the sound volume using the VOL knob.
Change display modes and scroll text information.
Connect portable audio devices via the stereo mini-plug.
Insert a disc to automatically start playback.
Switch between folders using the BAND button.
Navigate between songs/tracks using arrow buttons.
Pause or resume playback with the [6] button.
Eject the disc using the [▲] button.
Switch to TUNER mode using the SRC button.
Switch between FM1, FM2, FM3, and AM bands.
Tune to stations using the arrow buttons.
Recall memorized stations using preset buttons [1]-[6].
Turn ON/OFF TI function for traffic bulletins.
Detach the faceplate to deter theft.
Audio mutes automatically when a call comes in.
Explanation of the ST, RDS, TI, IN, and status indicators.
Select information displayed for different sources (Tuner, CD, Audio File).
Choose the source to configure settings for.
Press the VOL knob to enter the setting mode.
Use the VOL knob to navigate and select desired function.
Use the VOL knob to select the desired setting value.
Press the [] button for at least 1 second to exit.
Set the hour and minute for the unit's clock.
Synchronize the unit's clock with RDS station time data.
Adjust display brightness based on surrounding illumination.
Control text display scrolling (AUTO/MANUAL).
Search only for strong reception stations (FM only).
Select radio tuning mode (AUTO1/AUTO2/MANUAL).
Automatically memorize six stations with good reception.
Reduce noise by receiving stereo broadcasts as monaural.
Automatically receive news bulletins when they start.
Switch to a better frequency for the same program.
Set station switching to specific regions using AF control.
Search for a better traffic information station when reception is poor.
Set the display name when switched to AUX source.
Configure preset button assignment across bands or mixed.
Enable or disable the operation check sound (beep).
Set the unit to display strings in Russian.
Set a timer to automatically turn off the unit.
Enable or disable the selection of the AUX source.
Set CD reading mode to distinguish or force music CD playback.
Switch preout between rear output and subwoofer output.
Fine-tune System Q value based on speaker type.
Instructions for upgrading the unit's firmware.
Specify whether to enable the demonstration mode.
Enable or disable the subwoofer output.
Adjust the bass boost level.
Select preset equalizer curves for different music genres.
Adjust the bass frequency level.
Adjust the middle frequency level.
Adjust the treble frequency level.
Store tone settings (Bass, Mid, Treble) per source.
Adjust the left/right speaker balance.
Adjust the front/rear speaker balance.
Adjust the volume level for the subwoofer.
Set the crossover frequency for the subwoofer.
Set the subwoofer phase to NORM (0°) or REV (180°).
Enhance high-frequency range for low-bitrate audio.
Adjust volume difference for each source.
Control playback modes like repeat, random, and scan for discs and files.
Select music by searching for titles or files on the media.
Search for tracks by number using the remote control.
Select and search for stations based on program type.
Save and recall preferred program types using preset buttons.
Set the display language for Program Type information.
Learn how to operate the unit's functions using the remote control.
Details on playable audio file formats, disc media, and file structures.
Guidance on environmentally responsible disposal of old units and batteries.
Information regarding the Class 1 laser product label.
Overview of included accessories and step-by-step installation guide.
List of accessories provided with the unit.
Detailed procedure for securely installing the unit in a vehicle.
Details pin assignments for external power and speaker connectors.
Important precautions for connecting ISO connectors to vehicle wiring.
Steps for installing the unit into the vehicle's console.
Procedure for removing the hard rubber frame.
Steps to safely detach the main unit from the console.
Addresses issues like the touch sensor tone not sounding.
Solutions for poor radio reception.
Troubleshooting for discs not playing or being dirty/scratched.
Resolves sound skipping for audio files due to media condition.
Displays system conditions like TOC ERROR, ERROR 99, PROTECT, and NA FILE.
Technical details for the FM tuner section.
Technical details for the MW tuner section.
Technical details for the LW tuner section.
Technical details for the CD player section.
Technical details for the audio output and tone controls.
Technical details for the auxiliary audio input.
Operating voltage, current consumption, dimensions, and weight.
| Power Output | 50W x 4 |
|---|---|
| RMS Power Output | 22W x 4 |
| Tuner | AM/FM |
| CD Playback | Yes |
| USB Input | Yes |
| Bluetooth | No |
| Display Type | LCD |
| CD-R/RW Compatible | Yes |
| MP3 Playback | Yes |
| WMA Playback | Yes |
| Remote Control | Optional |
| Channels | 4 |
| AAC Playback | No |
| AUX Input | Yes |
| Detachable Faceplate | Yes |
| Number of Presets | 18 |