01 02 03
04
08
12
07
1110
09
05 06
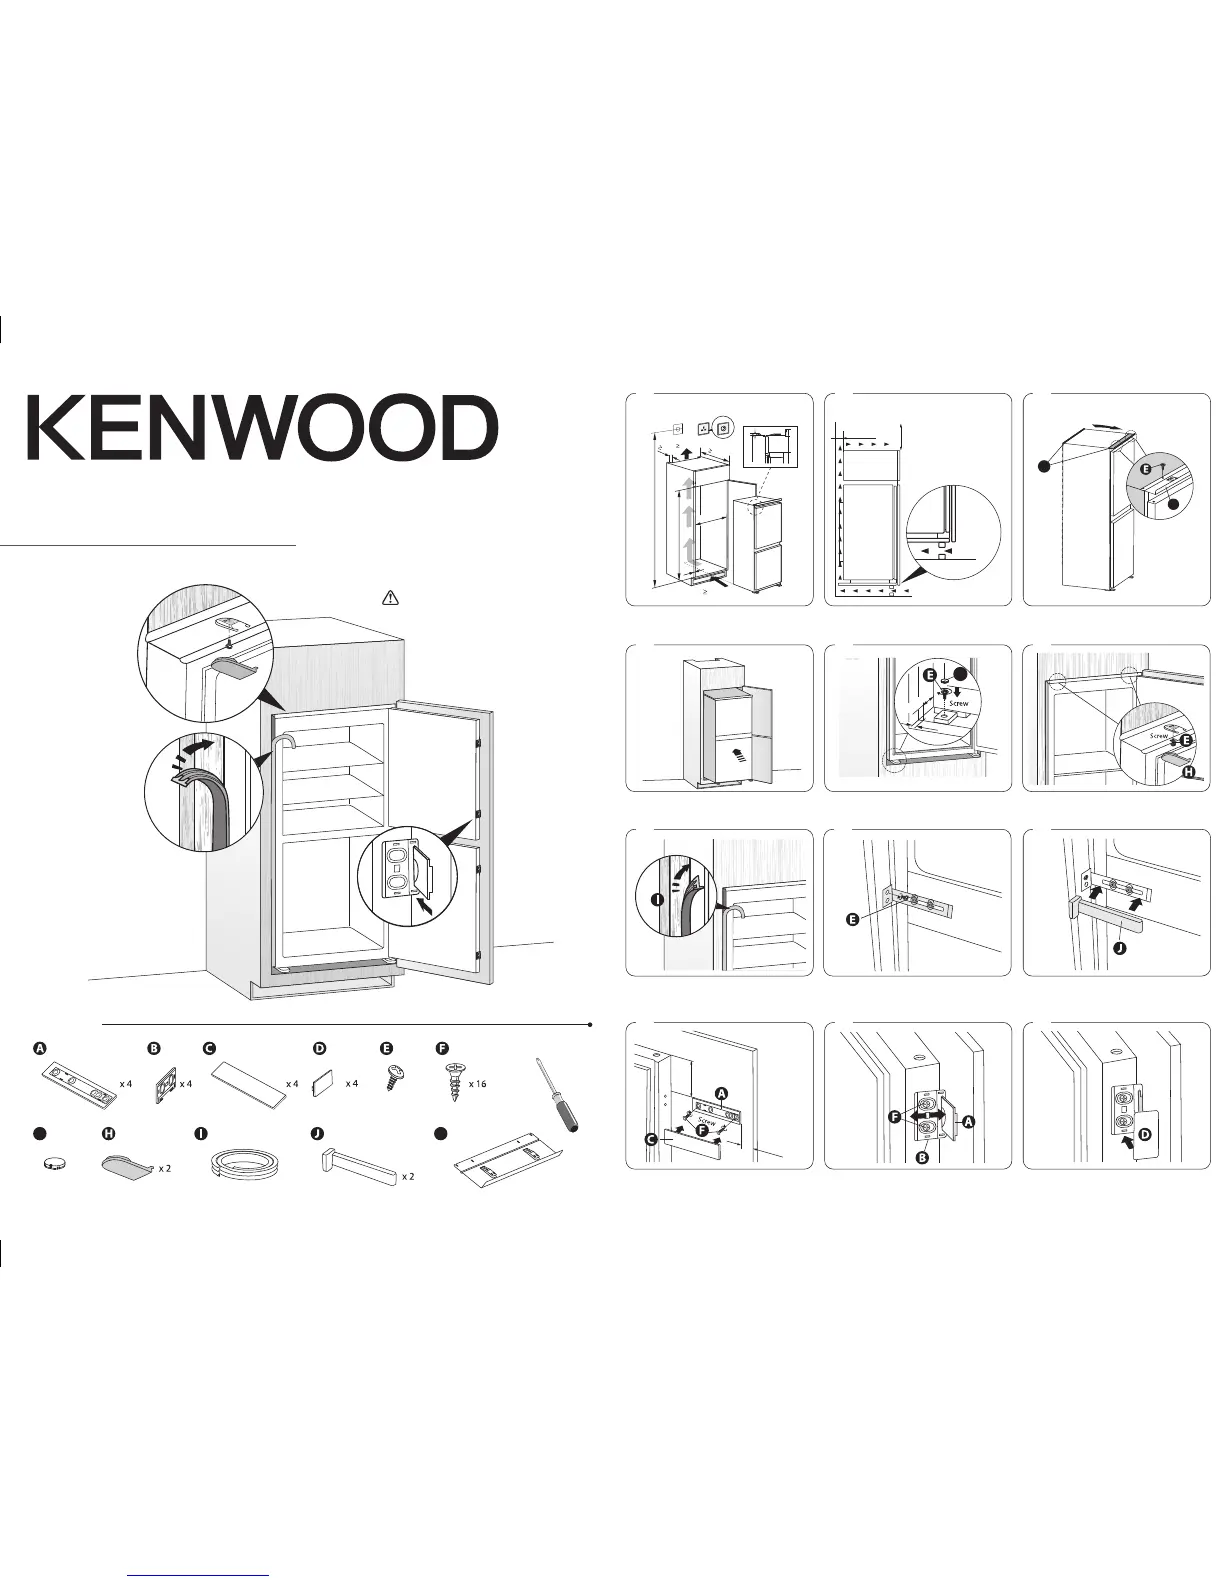
Ensure there is clearance each side of the unit to allow
slight sideways movement for servicing when required.
Remove part K from the rear and reattach to the front.
Tighten the top hinge bracket.
Slowly and carefully push the unit into the
installation compartment.
PARTS LIST
• You may need:
40mm
min.
200cm
2
min.
200cm
2
Loosen the screws slightly to adjust the bracket
placement until it’s in contact with the cabinet, then
tighten the screws to the cabinet.
Tighten the screws and place the Cover D onto Part B.
Cut the rubber strip to length and place at the sides
of the cabinet cover. If the strip is curved, it can
beome straight again by heating with a hair dryer.
Adjust the position of Part B, make sure Part A can
smoothly slide into Part B.
Ensure the correct measurement is used for the
installation of Part A. Tighten the screws and place
Cover C onto Part A.
KIFF7017-Installation-170801V1
Tighten the screws and place the cover.
Tighten the bottom hinge and place the cover on
top.
Tighten the top hinge brackets and place the screw
cover.
54mm
(L+5)mm
G
x 2
x 8
x 1
K
x 1
Use anti-cut safety gloves whilst
performing the installation.
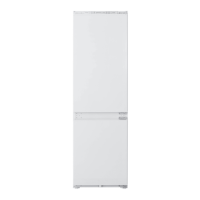
Built-In Fridge Freezer
KIFF7017
installation instructions
(at the back of fridge)
KIFF7017_Installation_170801_grace.pdf 1 1/8/17 11:15 am


 To Previous Page