Do you have a question about the Keurig K-CUP K140 and is the answer not in the manual?
Remove adhesive tape, extend power cord, and plug brewer into mains socket. Ensure selector knob is set to BREW.
Press POWER Button. Green light comes on, blue ADD WATER Light also comes on.
Remove water reservoir lid, then lift reservoir. Rinse and fill with bottled or filtered water.
Replace water reservoir and lid. Place a large mug (300 ml / 10 oz) on the drip tray.
Press BREW Button to start priming. Lights flash until priming is complete.
Lift and lower handle without K-Cup. Press BREW for cleansing brew. Pour hot water into sink.
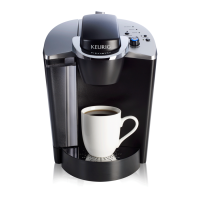
Place a mug on the Drip Tray.
Select K-Cup pack, place in holder, lower handle to puncture. Avoid sharp needles.
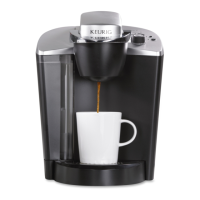
Select brew size using Selector Switch. Press BREW Button for selected serving size.
Enjoy!
| Water Reservoir Capacity | 48 oz |
|---|---|
| Compatible Pods | K-Cup Pods |
| Brew Sizes | 6, 8, 10 oz |
| Model | K140 |
| Category | Dispenser |
| Capacity | 48 oz |
| Material | Plastic |
| Color | Black |
| Type | Single Serve Coffee Maker |