4
th
Generation
2
nd
& 3
rd
Generation
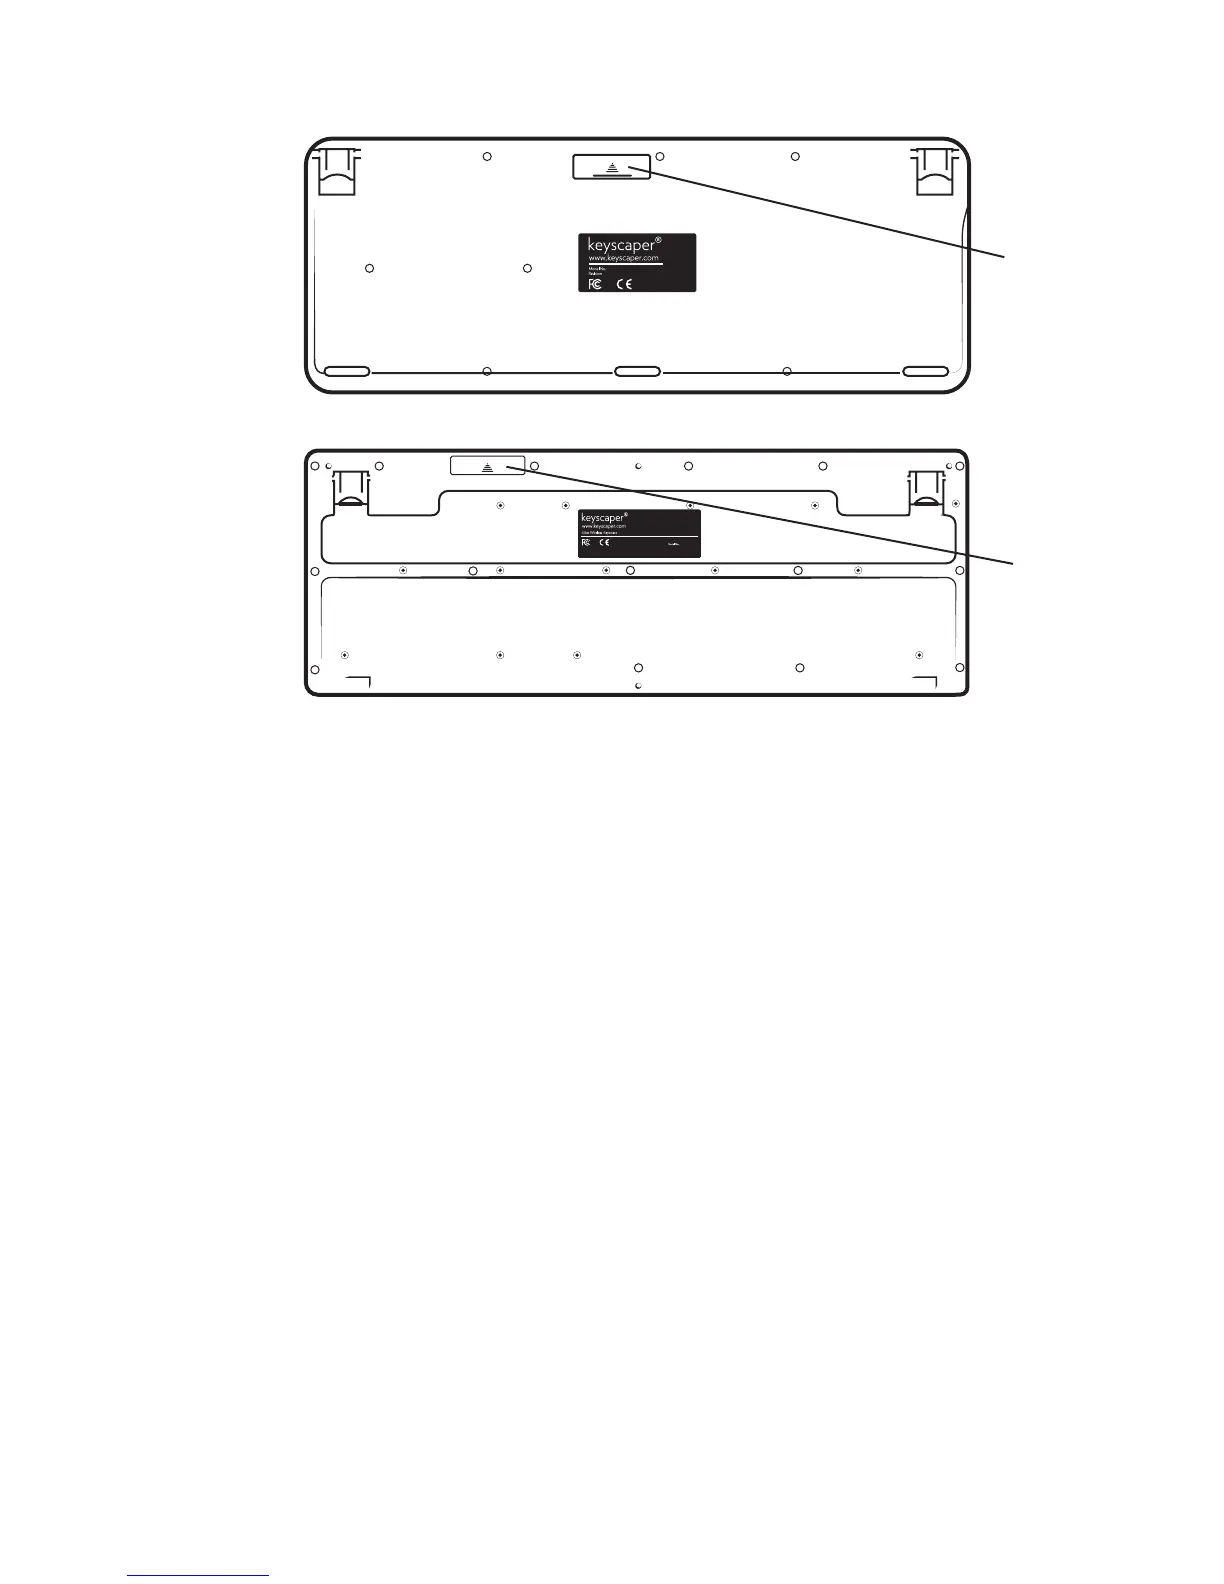
Putting in the Batteries:
Battery Door
Battery Door
4
th
Generation:
Gently push the plastic piece towards the top of the key board. It should ex slightly so you can
open the door. Insert two AAA batteries in the direction indicated by the illustration inside the
compartment. A red light on the front of the keyboard will ash when the batteries have been
inserted correctly. Replace the door by aligning the ngers and snapping it back into place.
NOTE: The Scroll light will ash when the batteries are getting low.
3
rd
Generation:
Gently slide the plastic piece towards the top of the key board. It should slide off to an open
compartment. Insert two AAA batteries in the direction indicated by the illustration inside the
compartment. Replace the door by sliding it back on to contain the batteries.