3
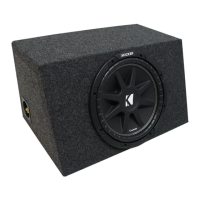
Sealed box mounting
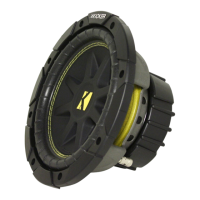
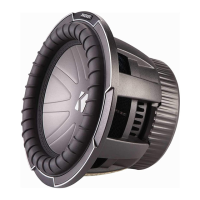
A very smooth bass response with good low bass extension is achieved when
the Kicker Comp woofers are mounted in a correctly built sealed box with the
correct airspace. Sealed (acoustic suspension) designs have been a favorite here
at Kicker since the original Competition Series was introduced. We build just
about all of our show vehicles with sealed boxes for the smooth response, good
power handling and great sound quality they offer.
Of all the enclosures possible the sealed box is the easiest to build. The two
most important rules are to make it very solid and to seal all the joints perfectly.
If the panels of an enclosure can flex or vibrate you will experience a loss of bass
output. You don't want to throw away any of the output capability of your
Kicker Comp woofers. Sealing all the joints in the enclosure is necessary to avoid
loss of output and driver failure.
The material of choice for building a strong box is 3/4" MDF (Medium Density
Fiberboard). Cross bracing is a good idea to help reduce panel vibration. Strips of
3/4" by 2" wood work well for tying the panels together. HDF (High Density
Fiberboard) is also good as is a really good grade of plywood (such as marine
grade 7 or 13 ply). Regular particle board is not very good for speaker enclo-
sures. It is flexible and will crumble when you try to screw the woofer in.
A good grade of wood glue is recommended for joining two pieces of wood
together along with 1-1/4 to 1 1/2" drywall screws or 1-1/2" staples. A fastener
placed about every 3" will hold the box together good enough until the glue
dries. After assembling the box and allowing the glue to set up, use silicone seal-
er to make absolutely sure the corners are perfectly sealed.
Hint: When assembling the enclosure, build the whole enclosure except for
the rear baffle opposite the woofer cutout. This way you can easily reach inside
to apply the silicone sealer. Once this is done, put the rear panel on and seal it by
reaching through the woofer cutout.
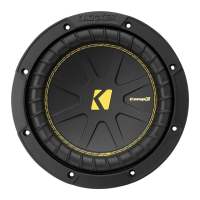
The following information will give you examples of proper sealed enclosures
for the Kicker Comp woofers. The given volumes include driver displacement,
don't make them any bigger than shown. Other shapes can be used as long as
the proper airspace is maintained.
Model Enclosure Woofer A B C
Volume Cutout panel panel panel
Comp 10 1.0 cf 9 1/8" 13-1/2x13-1/2" 13-1/2x12" 12x12"
Comp 12 1.25 cf 11" 14-1/2x14-1/2" 14-1/2x13" 13x13"