Your KB full-range enclosures were specially designed for “Livin’ Loud” out in the harsh
marine, automotive, outdoor, garage/workshop, basement and dormitory environments.
They are made of advanced materials and construction techniques to maintain optimal
performance for years to come.
Application
The Kicker KB full-range enclosures are specifically designed for mounting in the open-air.
The original wakeboarding tower speaker may have been an earlier version of the KB
speaker; its ability to produce clean and crisp sound over a long distance make the KB
enclosures ideal for many applications. Mount them on the patio under the eaves, in the
garage, on your 4x4 or Pre-Runner, and crank them up in the dorm!
INSTALLATION
Congratulations on your
KICKER purchase
Please record your purchase
information and keep your sales
receipt for validation of warranty.
Authorized Kicker Dealer:
Purchase Date:
Speaker Model Number:
_________________________
_________________________
_________________________
Please allow two weeks of break-in time for the speaker to reach optimum performance.
2
INSTALLATION
KBFull-RangeEnclosure
Owner’sManual
Model:
Mounting
In most vehicle applications the best mounting position for your new KB6000 enclosures is
as far away from the listening position as possible, with the speakers facing toward the
listening position. In the home environment, the KB6000 can easily “rock-out” from eight to
twenty feet away from and facing towards the listening area. Unscrew the locking knobs on
both sides of the speaker mounting bracket. Use the mounting bracket as a “template” to
mark the mounting holes on the mounting surface. Make sure there is adequate room to
tighten the locking knobs on both sides of the mounting bracket before you pre-drill the
mounting holes. Use a 7/64” (2.5mm) drill bit when using the supplied black coated
stainless steel mounting screws, then screw the mounting bracket to the mounting surface.
Position the KB6000 enclosure and loosely fasten the locking knobs, adjust the angle of the
speaker and tighten the locking knobs once you have the desired listening angle.
Custom mounting locations will require more preparation, work and possibly customized
hardware. If the mounting location requires you to cut metal, avoid structural metal, sewer
lines and braces. In either case, make sure the speaker will not interfere with the vehicle’s
mechanisms or the party you are throwing out on the back patio. See Figure 2.
If the supplied hardware is not applicable to your installation, some other means of securely
attaching the speakers to the vehicle or mounting location must be used. You are solely
responsible for securely fastening the enclosure.
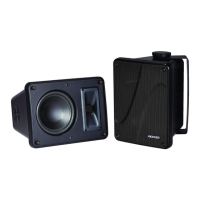
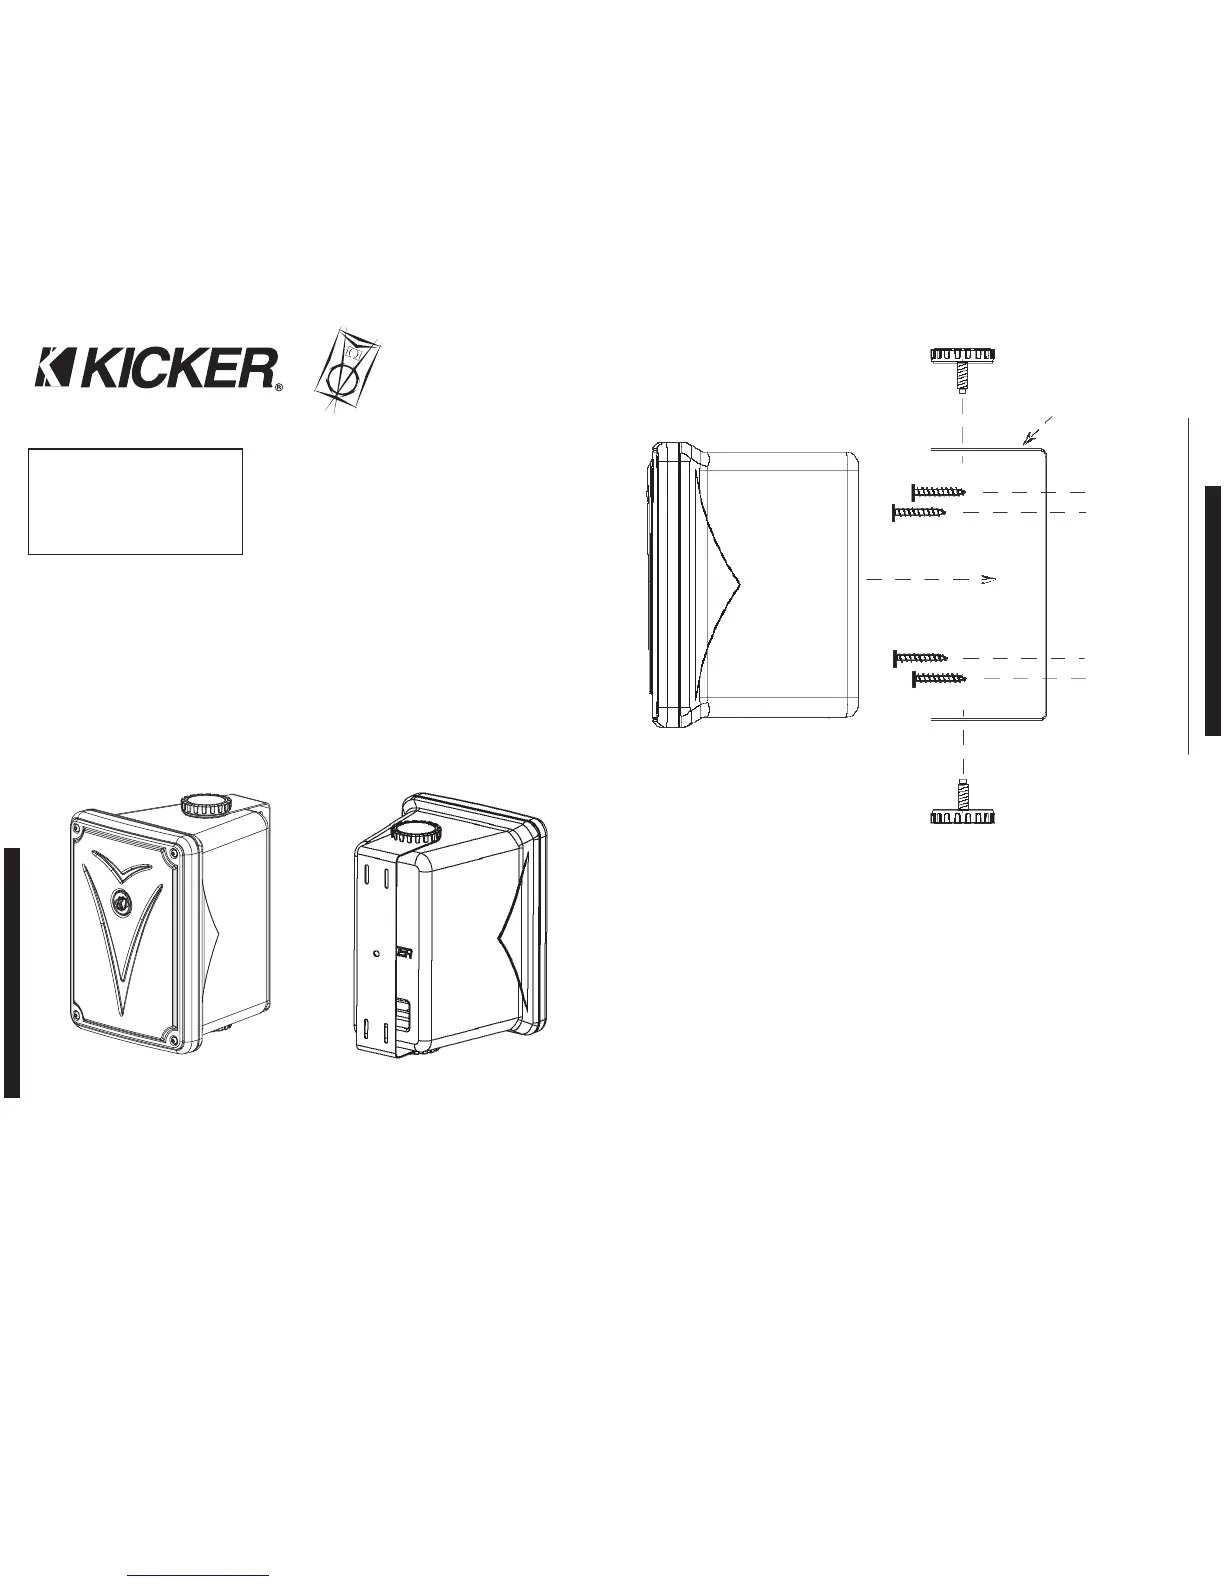
Figure 1
KBFULL-RANGEENCLOSURE
Rear view
Front / Grille
Mounting
Bracket
Locking
Knob
Figure 2
Remove
Mounting
Bracket
Use the Mounting Bracket as a template to mark and then
pre-drill the mounting holes in the Mounting Surface.
Remove
Locking Knobs
Mounting
Surface
Mounting Hardware
Side view
3
KB6000
KB6000
Mounting Hardware
Note: All specifications and performance figures are subject to change. Please visit the www.kicker.com for the most current information.
To get the best performance from your new Kicker speakers, we recommend using genuine Kicker Accessories and Wiring.
Location
The sound produced by the KB full-range enclosure is directional. The enclosure may be
mounted vertically or horizontally, and the mounting bracket can be angled for the optimum
firing direction. Find the best location for stereophonic sound. If necessary, add more KB
full-range enclosures to the system to help distribute and balance the sound. The KB6000
“K” logo may be rotated 360 degrees for absolute style. After determining the best mounting
locations, carefully check the areas where the mounting hardware will be placed.
 Loading...