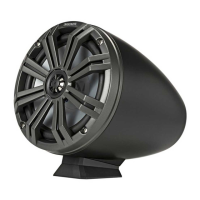
4
this side facing the mounting
surface in all confi gurations
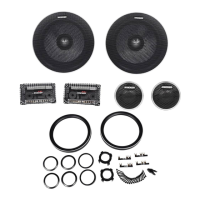
0 Degrees Confi guration
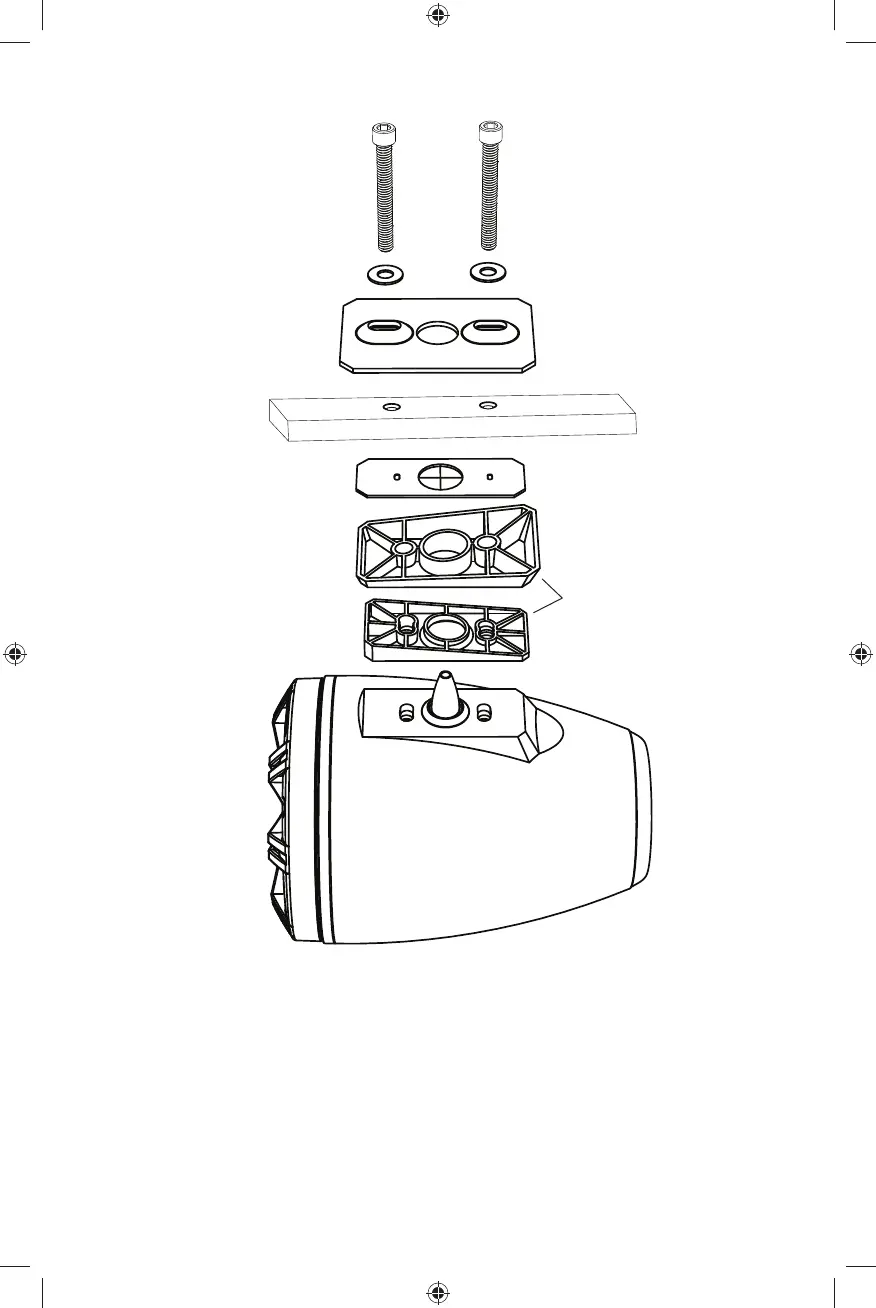
washer
5/16” stainless steel socket-head cap
screws (use 1/4” Allen wrench)
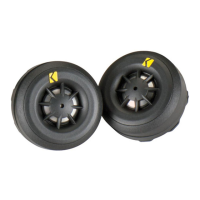
mounting surface
mount plate
mount gasket
mount base
mount wedge
Step 3: Align the mounting hardware and begin to fasten the bolts. Use the mount gasket in all mounting
confi gurations to ensure a water-resistant seal and to protect from cosmetic damage. You may also install
an additional mount gasket between the mount plate and mounting surface. Make certain the wires have
been fully extended through the mounting hardware and mounting surface before you fi nish tightening the
bolts.
Step 4: Connect the speaker wires to your amplifi er and LED wires to your +12V and ground sources.
KICKER recommends you solder the connections and secure them with heat shrink.