Do you have a question about the Kids Embrace Batman and is the answer not in the manual?
Hold walker sides and pull up until it clicks to automatically lock open or raise height.
Twist block 90°, push up and pull forward to close or lower walker to desired height.
Ensure the walker is completely closed before attaching anti-fall blocks.
Push two anti-fall blocks into front fixing points (M) ensuring correct stem insertion.
Push two anti-fall blocks into left side fixing points (N) on the walker's underside.
Push remaining two anti-fall blocks into right side fixing points (O) on the walker's underside.
Insert two front wheels into round holes (P) at the front corners of the walker.
Insert two back wheels into large round holes (Q) at the back corners of the walker.
Turn the walker upright onto a stable surface and open it fully.
Insert the two plastic tabs on the front of the seat support into the walker body holes.
Push the back of the seat support down to click into place and pull to check it's locked.
Place seat fabric over support, thread plastic clip through slot in walker body's seat ring.
From underside, pull clip through slot and fold to prevent it from pulling out.
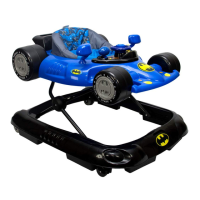
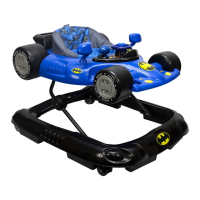
Push uprights of rear spoiler into slots at back of car body, pull up to check attachment.
Push back wheels (G) and front wheels (H) onto axles at each corner of car body.
Insert left mirror (I) and right mirror (J) as shown, check they are firmly attached.
Using a Phillips screwdriver, unscrew the battery cover on the underside of the play tray.
Insert 2 x 1.5V AA batteries observing orientation, reattach cover and screw.
Place play tray into recess on walker body, ensuring it locks. Push tabs on underside to release.
| Brand | Kids Embrace |
|---|---|
| Model | Batman |
| Category | Baby Accessories |
| Language | English |