11
Introduction
Daily use
KIMAX2
Menu
Configuration
Calibration
Protecting
calibration
Electrical
installation
Sensor
installation
Additional
information
Entering the Kimax 2 menu
Through an easy to use menu, you will be able to print out the actual weight values of your
vehicle on a printer connected to the Kimax 2 system.
Furthermore, you can read some additional setup values on the display, helping you
understand how the Kimax 2 weighing system is working.
By pressing for 2 seconds, you will get access to the Kimax 2 service menu. While you are
in the menus, the LED next to will be turned on.
By pressing , when you are inside the menu, you scroll through the following menus.
When you continue scrolling until the display reads OFF, it is possible to leave the menu by
pressing .
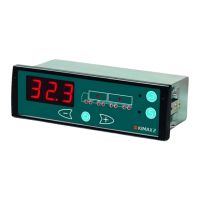
PPP - Print-out
The first position is the printing menu.
Pressing , will take you on to the next menu
position called OAA.
By pressing you will get a printed copy of
your actual load, when a printer is connected to
the Kimax 2. Hereafter the Kimax 2 leaves the
menu and returns to normal read out.
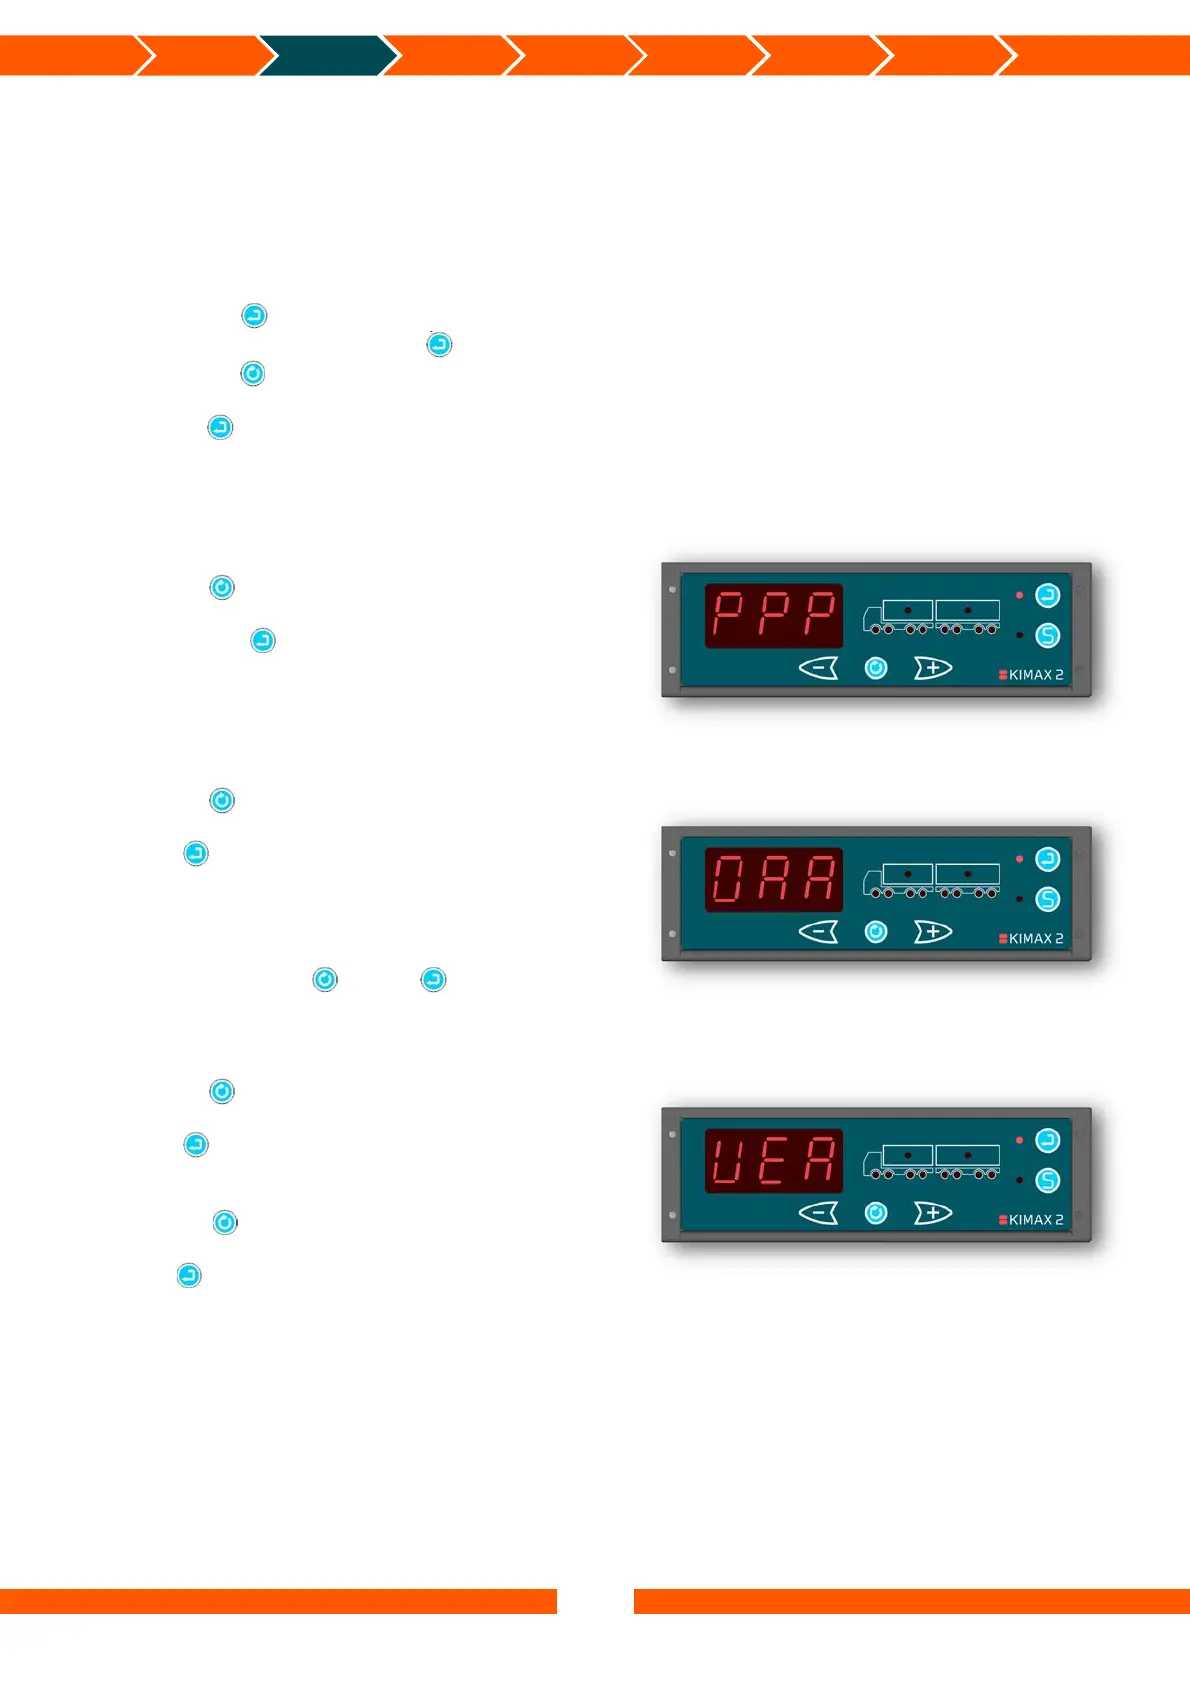
OAA - Diagnostic menu
Pressing , will take you on to the next menu
position called VER.
Press and you will enter the OAA menu,
where you get a relative value, ranging from
0,00% to 99,9%, displaying the actual sensor
value of the first active channel.
You can rotate between the active channels #1
to #8 by pressing . Press again to return
from the OAA menu.
VER - Software version
Pressing , will take you on to the next menu
position called CAL.
Press and you will enter the VER menu,
where the Kimax 2 will show the software
version of the current Kimax 2 instrument. By
pressing , it is possible to see the software
versions of the connected Kimax 2 instruments.
Press again to return from the VER menu.
 Loading...