4
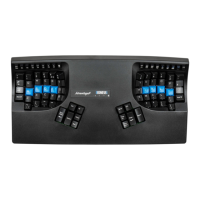
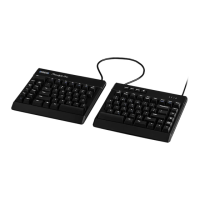
Multimedia Keys
The multimedia keys reside in the keypad layer and perform Mute, Volume Down, and Volume Up.
Keypad Key & Keypad layer
The Keypad Key toggles on a second virtual keyboard layer (the “keypad layer”) which can be remapped
separately from the top layer. The keypad layer contains default multimedia and 10-key actions (Figs 9 & 10).
Default keypad actions which differ from the top layer are legended on the front of the main keys and in blue
on the function keys. The Keypad action can be remapped to another key (see Fig 7 for remapping “keypad
shift” and User’s Manual for remapping “keypad toggle”). PC Note: Num Lock must be on for numeric 10-Key
actions to be produced.
Remapping to or from the Keypad Layer
You may remap keys from Keypad Layer to the Top Layer and vice versa. Simply tap the Keypad Key before
or during the remap process to move between the two keyboard layers. For example, to remap from the Keypad
Layer to the Top Layer, press the Keypad Key to enter the Keypad Layer, enter Remap Mode, tap the source
action key, press the Keypad Key (keypd) to enter the Top Layer, and then tap the destination key.
Optional foot pedal to access keypad layer
Frequent Keypad Layer users will benefit from an Advantage foot pedal (purchased separately, see Fig 12) which can be used to
temporarily “shift” the Keypad Layer on by pressing and holding the pedal. The pedal can also be re-programmed (see below).
Palm pads and integrated palm rest
The palm rests are designed to provide comfortable support for your hands while not actively typing, though many users do rest their
palms while typing to relieve strain on the neck and shoulders. For maximum typing speed hold your palms slightly above the palm
rests. Do not expect to reach all of the keys while resting palms on the palm rests. For maximum comfort, install the self-adhesive
palm pads. Replacement pads are available for purchase.
LED Indicator Lights
The blue LEDs located near the center of the keyboard indicate the status of the keyboard. The LEDs will
illuminate when each of the four basic modes is active (see Fig 11). These LEDs also flash during
SmartSet programming actions (slow or fast) to indicate the keyboard’s temporary programming status.
Connecting an optional foot pedal (Fig 12)
Plug the foot pedal into the telephone-style (RJ11) connector at the back of the keyboard. The
single foot pedal (and middle pedal on the triple foot pedal) acts as “keypad shift” — press to
activate keypad layer and keypad LED, release to return to top level. It can also be custom-
programmed just like any key.
Resources
To download the User’s Manual, please visit
kinesis.com/resources/advantage2. For further support, please submit a ticket at:
kinesis.com/support/contact-a-technician/.
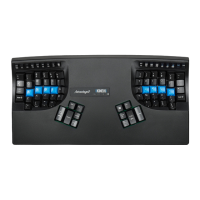
Fig 10. 10-Key in Keypad Layer
Caps lock Num lock Scroll lock Keypad
Fig 11. Keyboard LEDs
Fig 12. Advantage2 Triple Pedal (FS007TAF)
*or with single pedal (FS007RJ11)
Version March 14, 2019
Fig 9. Volume keys in keypad Layer
 Loading...