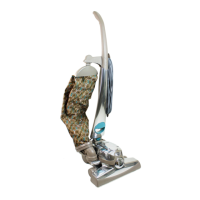
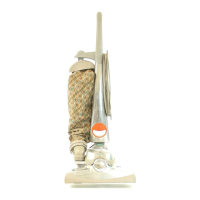
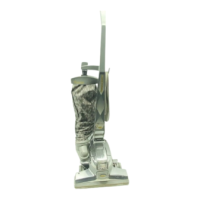
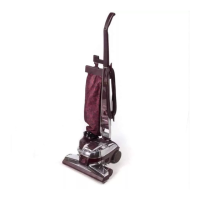
The Rug Renovator
Spot Scrubbing
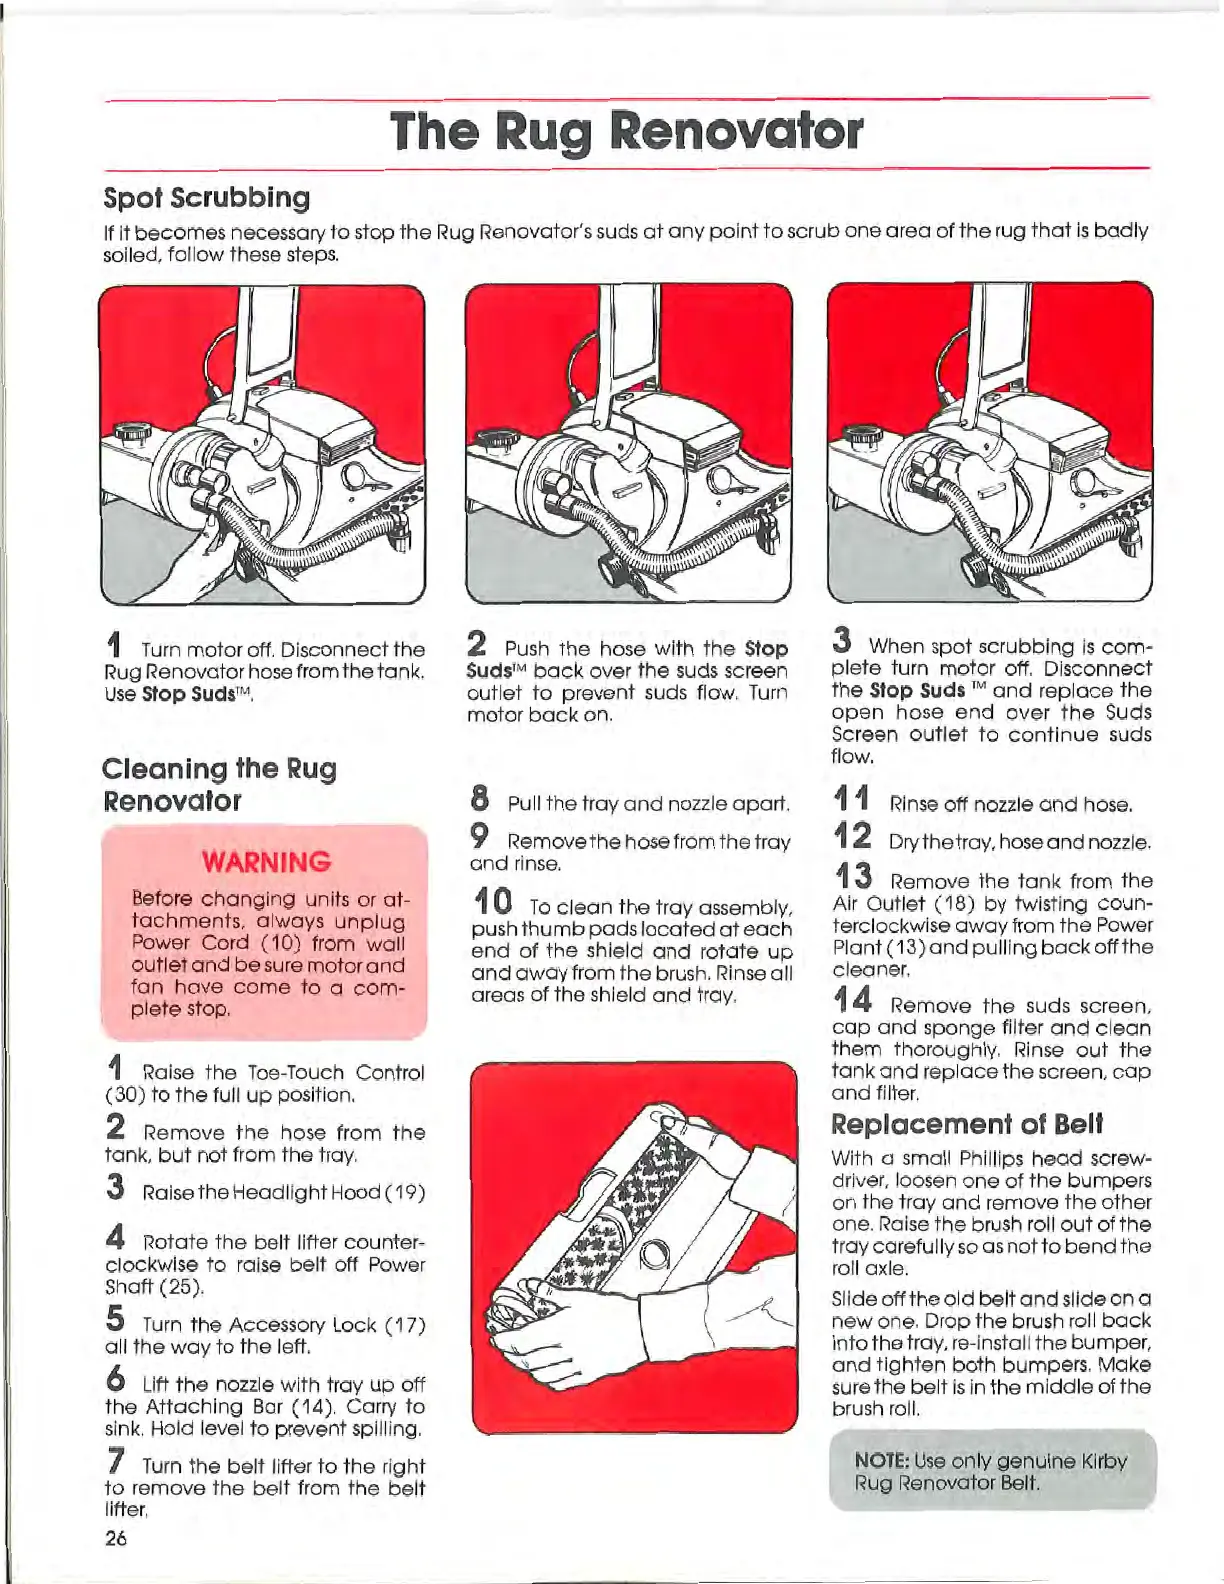
If it becomes necessary to stop the Rug Renovator's suds at any point to scrub one area of the rug that is badly
soiled, follow these steps.
1 Turn motor off. Disconnect the
Rug Renovator hose from the tank.
Use Stop Suds'"•'.
Cleaning the Rug
Renovator
WARNING
Before changing units or at-
tachments, always unplug
Power Cord (10) from wall
outlet and be sure motor and
fan have come to a com-
plete stop.
1 Raise the Toe-Touch Control
(30) to the full up position.
2 Remove the hose from the
tank, but not from the tray.
3 Raise the Headlight Hood (19)
4 Rotate the belt lifter counter-
clockwise to raise belt off Power
Shoff (25).
5 Turn the Accessory Lock (17)
all the way to the left.
6 Lift the nozzle with tray up off
the Attaching Bar (14). Carry to
sink. Hold level to prevent spilling.
7 Turn the belt lifter to the right
to remove the belt from the belt
lifter,
2 Push the hose with the Stop
Suds" back over the suds screen
outlet to prevent suds flow. Turn
motor back on.
8 Pull the tray and nozzle apart.
9 Remove the hose from the tray
and rinse.
10 To clean the tray assembly,
push thumb pads located at each
end of the shield and rotate up
and away from the brush. Rinse all
areas of the shield and tray.
3 When spot scrubbing is com-
plete turn motor off. Disconnect
the Stop Suds 1" and replace the
open hose end over the Suds
Screen outlet to continue suds
flow.
11
12
Rinse off nozzle and hose.
Dry the tray, hose and nozzle.
13 Remove the tank from the
Air Outlet (18) by twisting coun-
terclockwise away from the Power
Plant (13) and pulling back off the
cleaner.
14 Remove the suds screen,
cap and sponge filter and clean
them thoroughly. Rinse out the
tank and replace the screen, cap
and filter.
Replacement of Belt
With a small Phillips head screw-
driver, loosen one of the bumpers
on the tray and remove the other
one. Raise the brush roll out of the
tray carefully so as not to bend the
roll axle.
Slide off the old belt and slide on a
new one. Drop the brush roll back
into the tray, re-install the bumper,
and tighten both bumpers. Make
sure the belt is in the middle of the
brush roll.
NOTE: Use only genuine Kirby
Rug Renovator Belt.
26
 Loading...