• Thecooktopshouldbeconnecteddirectlytothejunctionbox •
throughflexible,armoredornonmetallicsheathed,copper •
cable.Theflexible,armoredcableextendingfromthefuse
boxorcircuitbreakerboxshouldbeconnecteddirectlytothe
junctionbox.
• Locatethejunctionboxtoallowasmuchslackaspossible •
betweenthejunctionboxandthecooktopsothatthe
cooktopcanbemovedifservicingbecomesnecessaryinthe
future.
Donotcuttheconduit.Usethelengthofconduitprovided.
AULlistedorCSAapprovedconduitconnectormustbe
providedateachendofthepowersupplycable(atthe
cooktopandatthejunctionbox).Alistedconduitconnector
isalreadyprovidedatthecooktop.
Ifthehousehasaluminumwiringfollowtheprocedurebelow:
1. Connectasectionofsolidcopperwiretothepigtail
leads.
2. Connectthealuminumwiringtotheaddedsectionof
copperwireusingspecialconnectorsand/ortools
designedandULlistedforjoiningcoppertoaluminum.
Followtheelectricalconnectormanufacturer'srecommended
procedure.Aluminum/copperconnectionmustconformwith
localcodesandindustryacceptedwiringpractices.
INSTALLATION INSTRUCTIONS
Excessive Weight Hazard
Use two or more people to move and install cooktop.
Failure to do so can result in back or other injury.
Decide on the final location for the cooktop. Avoid drilling into or
severing existing wiring during installation.
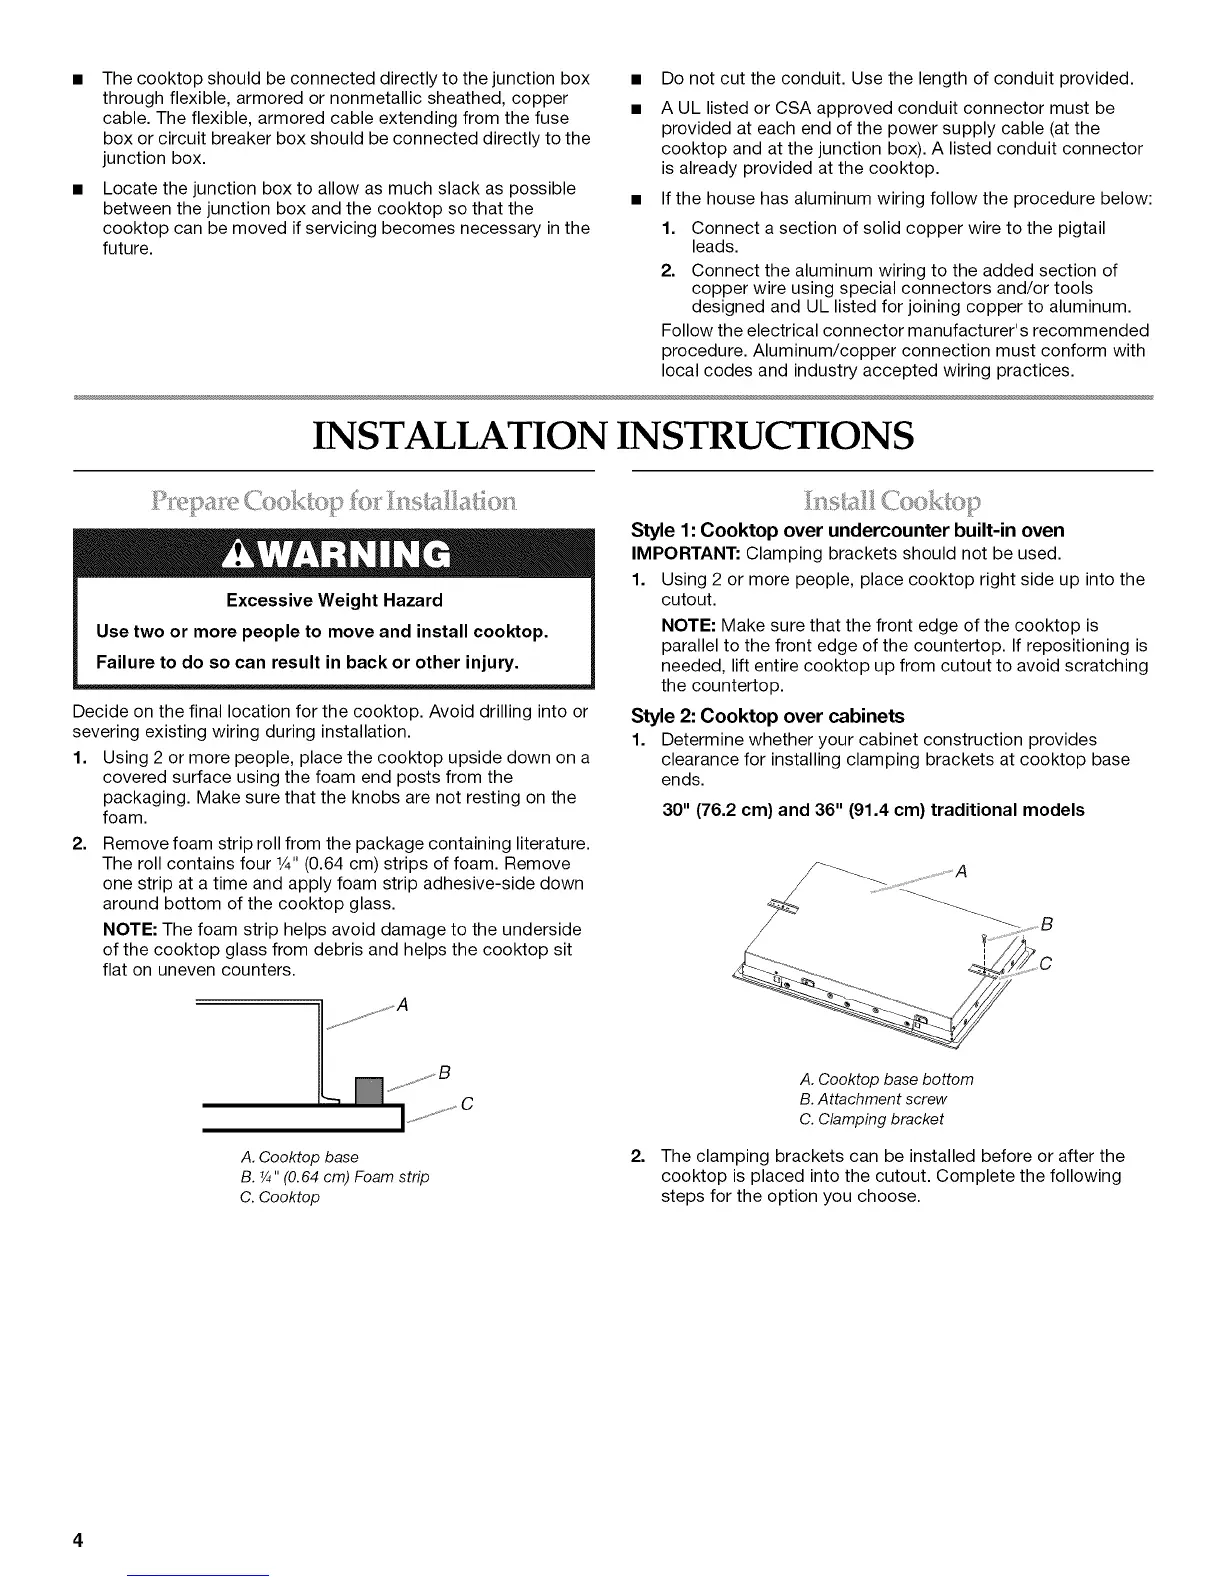
1. Using 2 or more people, place the cooktop upside down on a
covered surface using the foam end posts from the
packaging. Make sure that the knobs are not resting on the
foam.
2. Remove foam strip roll from the package containing literature.
The roll contains four 1¼,,(0.64 cm) strips of foam. Remove
one strip at a time and apply foam strip adhesive-side down
around bottom of the cooktop glass.
NOTE: The foam strip helps avoid damage to the underside
of the cooktop glass from debris and helps the cooktop sit
flat on uneven counters.
ii
..... ,,,ty ,,,_S
......_,f,,'J_
A. Cooktop base
B. ¼" (0.64 cm) Foam strip
C. Cooktop
_:_a_ ___._i_4_ ¸¸__
Style 1: Cooktop over undercounter built-in oven
IMPORTANT: Clamping brackets should not be used.
1. Using 2 or more people, place cooktop right side up into the
cutout.
NOTE: Make sure that the front edge of the cooktop is
parallel to the front edge of the countertop. If repositioning is
needed, lift entire cooktop up from cutout to avoid scratching
the countertop.
Style 2: Cooktop over cabinets
1. Determine whether your cabinet construction provides
clearance for installing clamping brackets at cooktop base
ends.
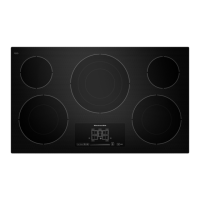
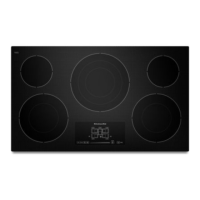
30" (76.2 cm) and 36" (91.4 cm) traditional models
2.
......................A
c
A. Cooktop base bottom
B. Attachment screw
C. Clamping bracket
The clamping brackets can be installed before or after the
cooktop is placed into the cutout. Complete the following
steps for the option you choose.