Placeawasheroneach1/4o20x3"boltandplaceinside
uppercabinetbythe3/8"hobs.
Ventless er reef venting: Ge te Step 3.
lm
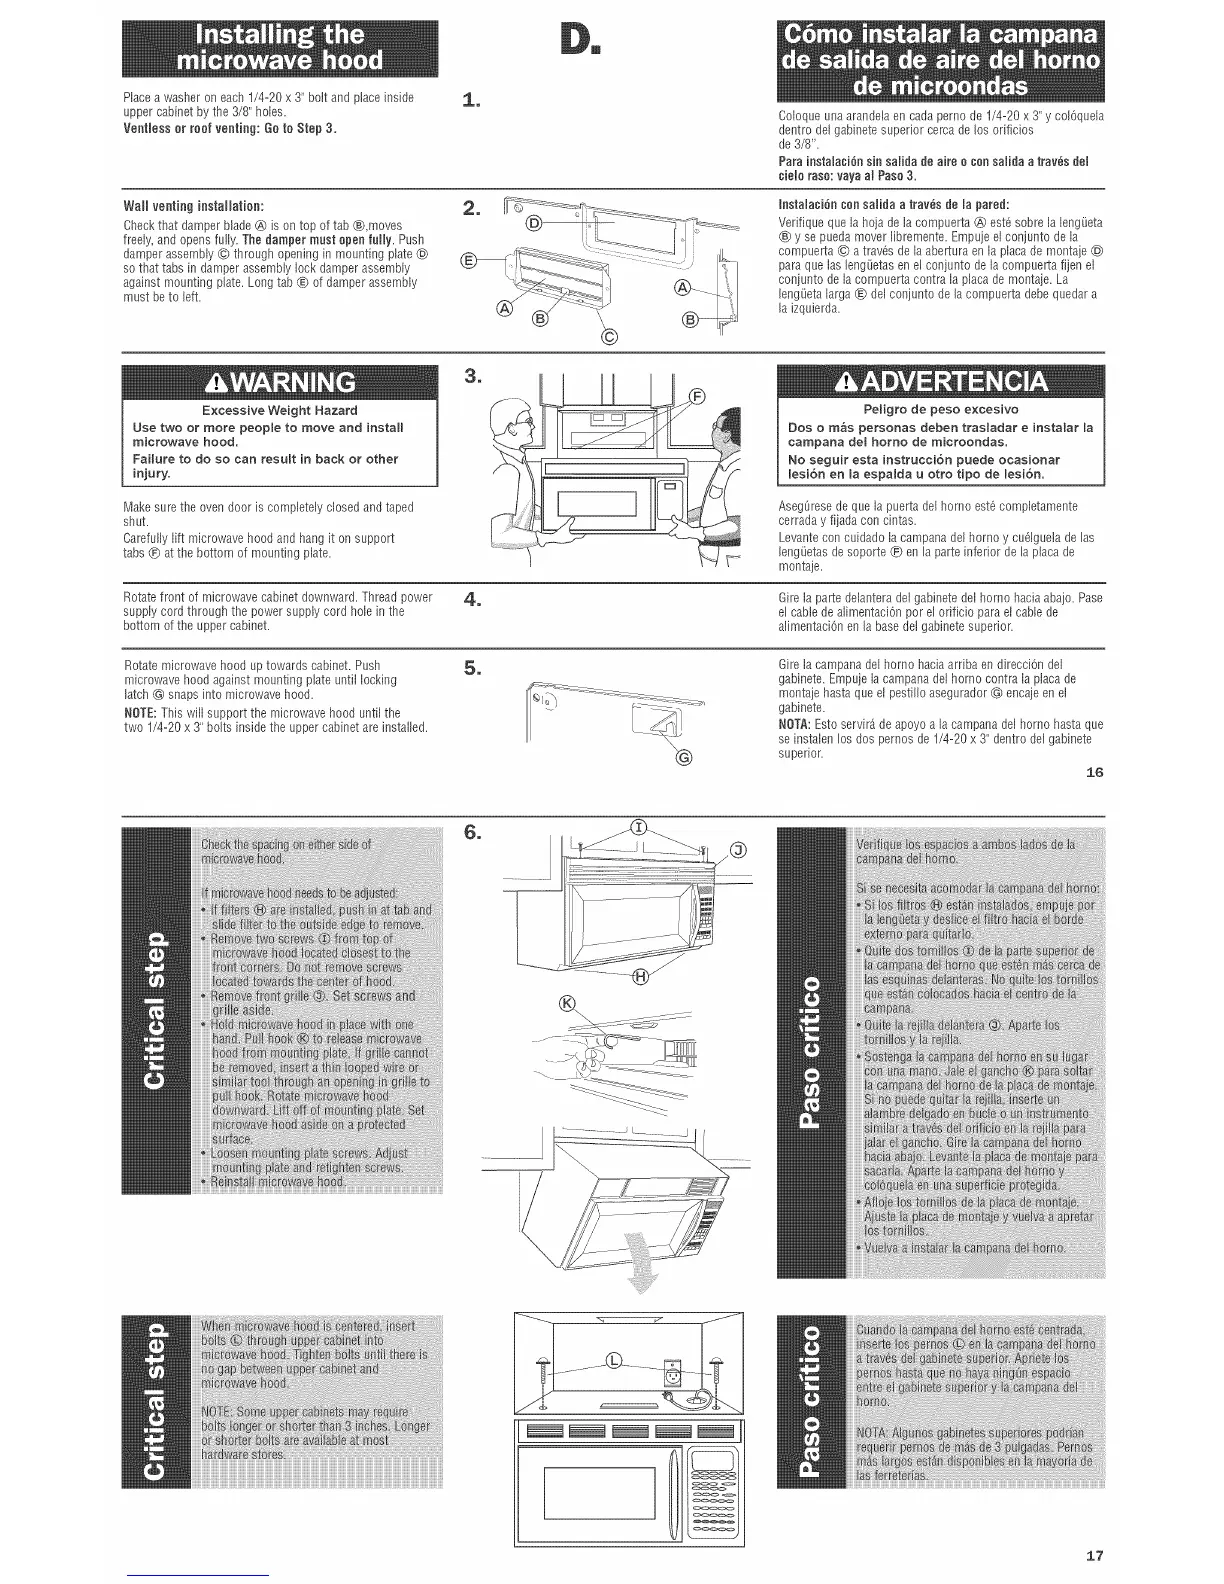
Wall venting installation:
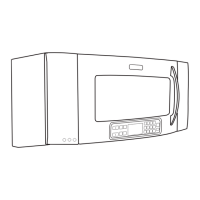
Checkthat damper blade @ is on top of tab ®,moves
freely,and opens fully. The damper must open fully. Push
damper assembiy© througll opening in mounting plate®
so that tabs in damper assembiy iock damperassembly
against mounting plate. Long tab ® of damper assembly
must beto left.
m
Coloqueuna arandetaen cada perno de 1/4=20x 3"y coJ6quela
dentro detgabinete superior cerca de los odficios
de 3/8".
Para instalaci6nsin aalida de aire e con salida a tray,s del
ciele raao: vayaal Paso3.
tnstalacidn consalida a tray,s de la pared:
Verifique que Ia hoja de Iacompuerta @ est6 sobre IaIeng0eta
® y se pueda mover Iibremente=Empujeel conjunto de Ia
compuerta © a trav6s de Ia aberturaen Iaplaca de montaje @
para que Ias bng0etas en e! conjunto de Ia compuerta fijen el
conjunto de Ia compuertacontra Ia placa de montaje=La
bngOetaIarga ® det conjunto de la compuerta debe quedara
la izquierda.
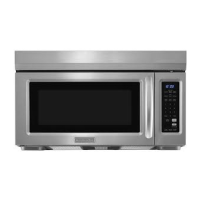
Excessive Weight Hazard
Use two or more people to move and install
microwave hood.
Failure to do so can result in back or other
injury.
Make sure the oven door is completely closed and taped
shut.
Carefuliyiift microwave hood and hang it on support
tabs ® at the bottom of mounting plate.
m
Peligro de peso excesivo
Dos o mas personas deben trasladar e instalar la
campana del homo de microondas.
No seguir esta instrucci6n puede ocasionar
lesi6n en la espalda u otto tipo de lesi6n.
AsegOresede que Ia puerta del homo est6completamente
cerraday fijada con cintas.
Levantecon cuidado ia campana de! homo y cu6iguela de las
bngOetas desoporte ® en la parte inferior de la placa de
montaje.
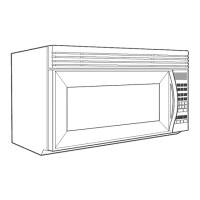
Rotatefront of microwave cabinet downward. Threadpower
suppiy cord through the power supply cord hole in the
bottom of the upper cabinet.
m
Gire Ia parte delanteradeI gabinetedeI homo haciaabajo. Pase
e!cable de alimentaciOnper el orificio para ei cable de
alimentaci@ en la basedet gabinete superior.
Rotatemicrowave hood up towards cabinet. Push
microwave hood against mounting plate untii iocking
latch @ snaps into microwave hood.
NOTE:This wiii support the microwave hood untii the
two 1/4=20x 3" bolts inside the upper cabinet are installed.
m
Gire Ia campana deI homo hacia arriba en direcci6n deI
gabinete. Empuje ia campanadei homo contra ia piaca de
montaje hasta que el pestillo asegurador @ encaje en et
gabinete.
NOTA:Esto servir&de apoyo a ia campanadei homo hasta que
se instaien los dos pernos de 1/4o20x 3" dentro del gabinete
superior.
16
m
/
17