Do you have a question about the Klark Teknik CT 1 and is the answer not in the manual?
Connect microphone to booster input, booster output to mixer/preamp via XLR cable. Engage phantom power.
Details on balanced XLR connectors for input and output across different models (CT 1, CM-1, CM-2).
Frequency response, THD+N, EIN noise, and power requirements for the mic booster units.
Physical specifications including dimensions and weight for CT 1, CM-1, and CM-2 models.
Music Tribe's liability, trademark information, and subject to change notices.
Information on warranty terms, conditions, and where to find complete details online.
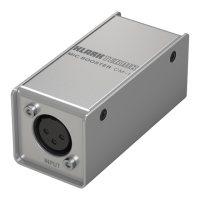
| Brand | Klark Teknik |
|---|---|
| Model | CT 1 |
| Category | Microphone system |
| Language | English |