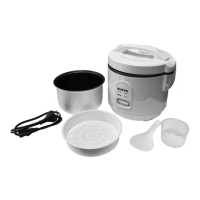
How to use your Kleva® 1 Button Cooker Plus
Warning: Never put liquids or rice in the Outer Housing of the Kleva® 1 Button
Cooker Plus.
Warning: Please keep away from Children. This item is not a toy.
Warning: The whole unit can be very hot whilst in its cooking function and
after it has completed its cooking and can cause injury and burns. Ensure
that you handle it with care. Do not touch the unit when it is cooking or hot.
After the cooking process, allow the unit to cool down before touching. To
open the lid after cooking, always use an oven mitt or heat protectant item.
Step 1 - Follow the recipe of your chosen dish and add it to the Non
Stick Cooking Pot.
Step 2 - Hold down on the lock button located on the left hand side of
the handle of the lid and gently pull the lid open to 90 degrees.
Step 3 - Place the Cooking Pot in the Cool-Touch Housing of the Kleva®
1 Button Cooker Plus. (Note: Ensure that the pot is completely dry and
that no food particles have fallen into the 1 Button Plus)
Step 4 - Before plugging the power cord into a wall socket and turning
on, ensure that the item is placed on a dry flat surface away from any
liquids. Once the unit is turned on at the wall socket, switch the Kleva®
1 Button Cooker Plus power button to “ON” position located on the
left hand side of the unit. When you have finished using the unit,
switch to “OFF” position and remove the power plug from the wall
socket, when not in use. WARNING: Ensure the power cord and unit is
kept away from any liquids. Always turn the Power Button OFF when
not in use.
NOTE: Do Not place the Kleva 1 Button Plus Cooker directly under any
cabinets as steam will be dispersed. Slight spattering is normal.
 Loading...