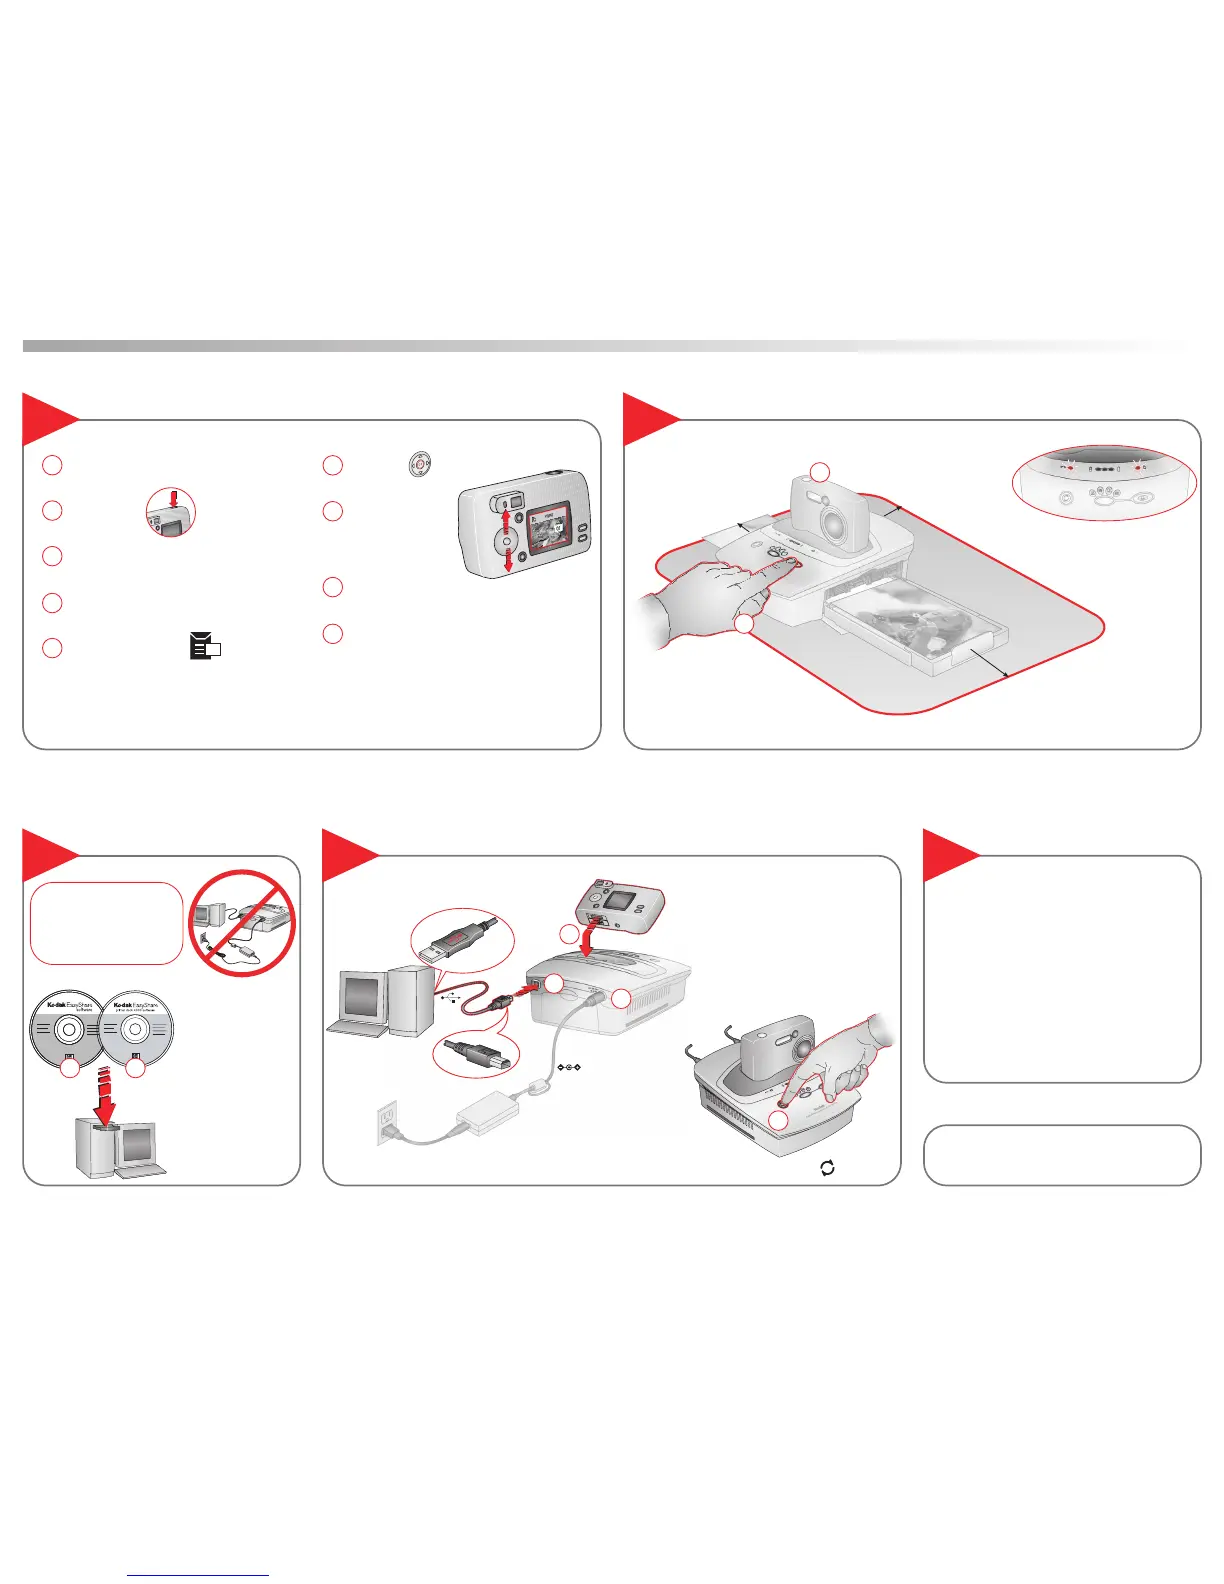
1
Press
Print.
2
Ensure proper clearance.
5 in (12.7 cm)
5 in (12.7 cm)
5 in (12.7 cm)
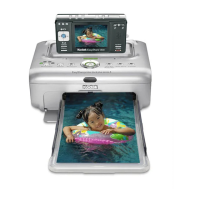
Dock camera.
9
Install Software
Select Pictures for Automatic Printing
7
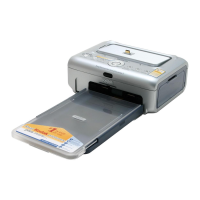
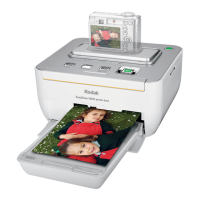
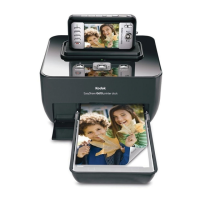
Kodak EasyShare printer dock 4000
1
Set picture quality. Use Best or Best (3.2).
Take pictures.
Enter Review mode to find a picture to print.
Press the Share button.*
Highlight the Print icon.
Press OK.
Press B/∫ to select
number of copies
to print.
Press OK.
Press the Share button* to exit the Share menu.
3
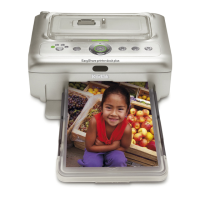
Dock the Camera and Print
8
Install Kodak
EasyShare software
(version 3.0 or higher),
then the printer dock
software.
1
• Install software BEFORE
connecting cables.
• Close/Quit all open
applications on your
computer.
10
Transfer Pictures to Computer
Press Transfer.
11
Register Your Printer Dock
Need More Help?
www.kodak.com/go/printerdock
1
2
3
4
2
Visit
www.kodak.com/go/register.
2
4
5
6
7
*Note: Settings/buttons may vary depending on camera model. See your camera User’s Guide for details on creating a Print Order.
9
8
Solid light = Ribbon cartridge or paper tray empty.
Replace ribbon or add paper, then press Print to resume.