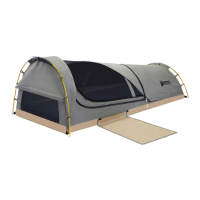
Assembly
The use of protective gloves and eyewear is recommended during assembly.
STEP 1: Stake the Tent
Stake each of the tent’s four corners, making sure that the tent is taut and square. Continue to place a
stake at all the remaining stake loops (14 total) and D-rings (2). Do not over tighten.
Tips:
• Staking opposite diagonal corners first helps square the tent.
• Drive in stakes with the tip angling toward the tent. Secure hooks on the end of the stakes over the
tent loops.
• In soft sand or snow, use a dead-man anchor. Bury a horizontal piece of wood approximately 12 – 18
inches deep with a guyline connecting to the stake loop. Make sure that the anchor is secure.
WARNING
This tent is not free-standing. If not properly staked it will
collapse. Be sure to securely anchor the tent.
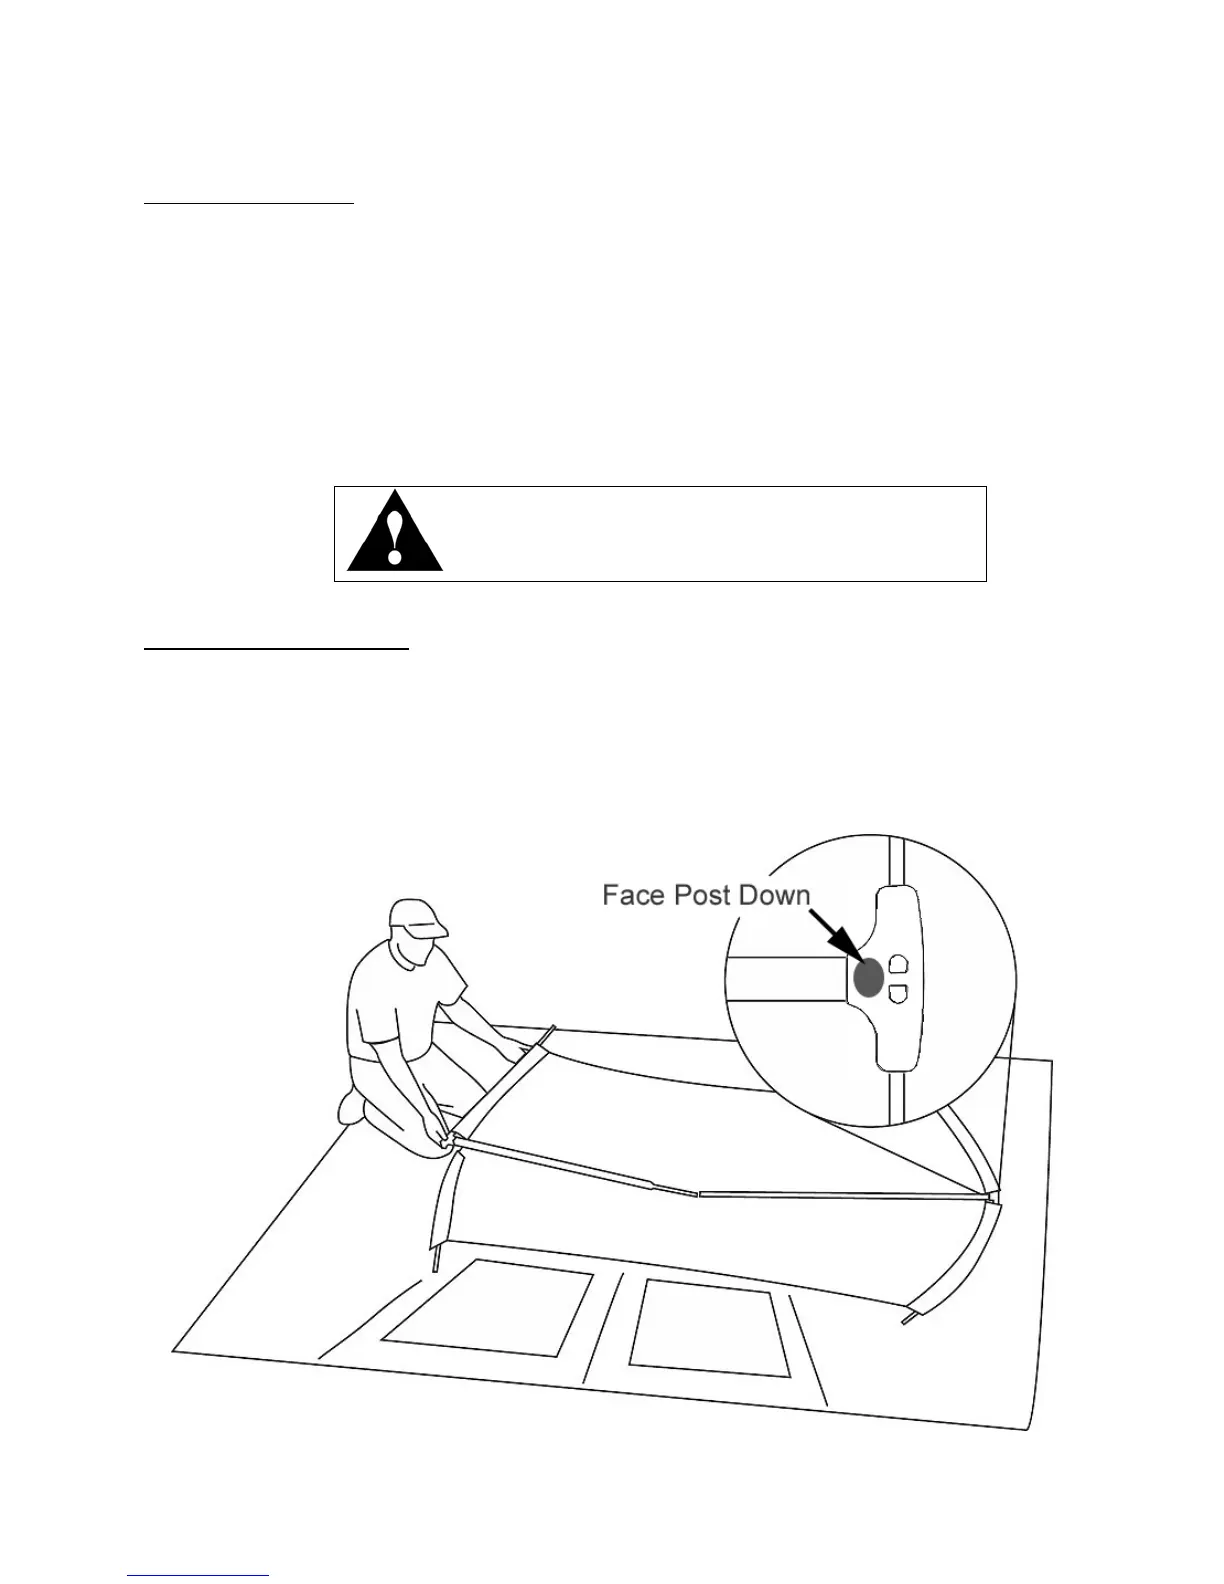
STEP 2: Assemble the Frame
1) If you have a 10x14 tent, join the two piece T-pole.
2) Lay both T-poles across the top of the tent. One side of the T-pole connector has a post. Face the
post down.
3) Insert a spring rod through each of the sleeves on the top of the tent and into the T-poles. Be sure
that the rods are inserted completely or parts may be damaged!
6
 Loading...