EasyManua.ls Logo

Kohler 1108711 User Manual

Kohler 1108711
4 pages
To Next Page IconTo Next Page
Page #1 background imageLoading...
Page #1 background image
1112263-9-A ©2009 Kohler Co.
Dome
Screw
Mounting Nut
Valve Spline
Handle
Plug Button
O-Ring
Washer
Bonnet
Valve
Limit Stop
Faucet
Body
Seal
Check Valve
with O-ring
Spacer
Seal
Plug
Button
Screw
Screw
Handle
Bonnet
Handle
Bonnet
Handle
Bonnet
Handle
Bonnet
Plug
Button
O-Ring
Screw
Plug Button
Setscrew
Setscrew
SERVICE KIT INSTRUCTIONS
1108711
SPACER ASSEMBLY KIT
Place the new seal into the faucet body.
Insert the O-ring end of the new check valve into the new spacer.
Properly seat the new spacer on the seal in the faucet body.
Securely wrench tighten the mounting nut to the faucet body.
Press the limit stop on the valve spline, then position the limit stop at the mark on the valve.
Securely hand tighten the bonnet.
Reinstall the handle.
Turn on the water supply. Check for leaks and proper operation.
Install
Turn off the water supply. Lift the handle to relieve the water pressure.
Identify your handle type in the illustration, then disassemble the faucet according to the illustration.
Turn the bonnet counterclockwise to remove it from the faucet body.
Mark the limit stop on the valve to ensure correct realignment.
Slide the limit stop off of the valve spline.
Turn the mounting nut counterclockwise to remove it from the faucet body.
Extract and discard the vacuum breaker (not shown), check valve with O-ring, and seal from the
faucet body.
Remove
Question and Answer IconNeed help?

Do you have a question about the Kohler 1108711 and is the answer not in the manual?

Kohler 1108711 Specifications

General IconGeneral
BrandKohler
Model1108711
CategoryPlumbing Product
LanguageEnglish

Summary

Remove Faucet Components

Turn Off Water and Relieve Pressure

Shut off the water supply and lift the handle to release any residual water pressure.

Disassemble Faucet Following Illustration

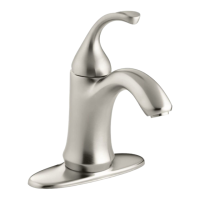
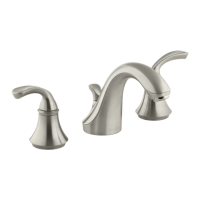
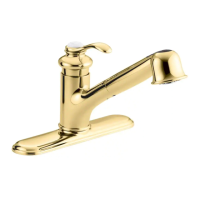
Identify handle type and disassemble faucet parts as depicted in the diagram.

Remove Bonnet and Mounting Nut

Unscrew the bonnet and mounting nut counterclockwise from the faucet body.

Mark Limit Stop and Remove Old Parts

Mark the limit stop for realignment, slide it off, and discard old valve components.

Install Spacer Assembly

Install New Seal and Check Valve

Place the new seal in the faucet body and insert the check valve's O-ring end into the new spacer.

Seat Spacer and Tighten Nut

Properly seat the new spacer on the seal and securely wrench-tighten the mounting nut.

Position Limit Stop and Tighten Bonnet

Press the limit stop onto the valve spline at the marked position and hand-tighten the bonnet.

Reinstall Handle and Test

Reinstall the handle, turn on the water supply, and check for leaks and proper operation.

Related product manuals