Cover
Sensor
Power Cord
Tab
Solenoid
Handle Switch
Bracket
LED
ቸ߃
دߌഗ
ۉᇸ၍
ܺೌ
ۉى݅
դ࠲
ྂ
3. Install the Valve
CAUTION: Risk of restricted water ow. The outlet hose must not be taut
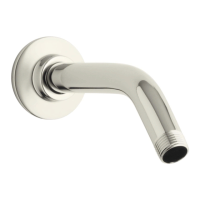
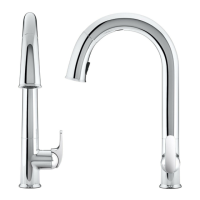
or kinked when installed. Locate the solenoid valve within 7″ (178 mm) to 8 ″
(203 mm) of the faucet centerline.
Mount the Bracket
NOTE: Locate the solenoid valve within 7 ″ (178 mm) to 8″ (203 mm) from the faucet
centerline. Allow adequate clearance for servicing.
NOTE: The mounting bracket should be secured with two suitable fasteners (not
supplied) based on the type and thickness of the cabinet or wall material.
Fasten the mounting bracket vertically to the cabinet or wall.
Connect the Wires
NOTE: The solenoid can be positioned right or left. Remove the appropriate tab on
the cover.
Apply grease (provided) to the sensor socket located on the circuit board inside
the cover. This will provide additional corrosion protection.
Connect the handle switch wire and sensor wire from the faucet to the circuit
board.
Connect the power cord to the circuit board.
Fit the cover over the solenoid.
Connect the solenoid wire to the circuit board.
Plug the power cord into an unswitched 220 VAC outlet. The LED on the circuit
board will illuminate.
Apply grease.
ࡂኬཱఌ
Solenoid Wire
ۉى݅၍
Secure the assembly to the mounting bracket with the two screws provided.
Test activation of the sensor. Refer to the ″Faucet Operation″ section.
 Loading...