Do you have a question about the Kohler K-10445 and is the answer not in the manual?
Use extreme care when connecting hoses to avoid kinking and twisting. Hoses must not be taut.
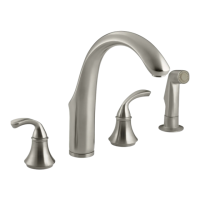
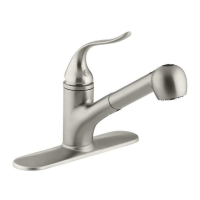
Install the sidespray holder by removing the nut and inserting it through the mounting hole.
Apply plumber's putty and insert through the mounting hole before securing.
Hand tighten screws and remove any excess plumber's putty.
Insert the sidespray into its designated position.
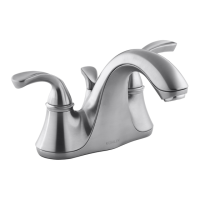
Insert O-ring into escutcheon and slide escutcheon onto shank.
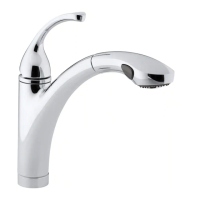
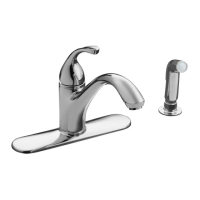
Insert the spout through the mounting surface.
Partially thread screws, place spray hose, and connect it.
Tighten the screws to secure the faucet assembly.
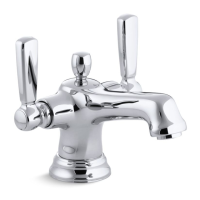
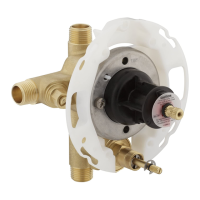
Apply putty and insert valve bodies, marked 'COLD' and the other, into mounting holes.
Thread and tighten nuts onto the valve bodies to secure them.
Check handle alignment and secure valve bodies by tightening nuts.
Connect the water supply hoses to the central tee connector.
Turn handles off, connect supply lines to valve inlets and stops, then tighten.
Turn on supply stops and verify there are no leaks.
Remove the aerator before flushing the lines.
Turn the faucet handles to the ON position.
Check for any leaks after turning handles ON.
Flush the water lines to clear any debris.
Turn the faucet handles to the OFF position.
Reinstall the aerator after flushing and checking for leaks.
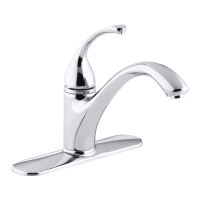
| Model Number | K-10445 |
|---|---|
| Material | Metal |
| Flow Rate | 1.8 GPM |
| Height | 15.5 inches |
| Handle Style | Lever |
| Spout Height | 8.5 inches |
| Holes Required | 1 |
| Valve Type | Ceramic Disc |
| ADA Compliant | Yes |
| Warranty | Limited Lifetime |
| Type | Kitchen Faucet |
| Finish | Polished Chrome |
| Number of Handles | 1 |
| Installation Type | Deck Mount |