Do you have a question about the Kohler K-394 and is the answer not in the manual?
Apply plumbers putty to the flange.
Install and tighten the mounting nut.
Tighten the mounting nut securely.
Insert rubber washer and gasket into supply tee.
Thread supply tee to shank with alignment.
Thread the supply hose into handle valves.
Connect the supply hoses to the tee.
Install the drain assembly for the faucet.
Disassemble the stopper cap and flange.
Apply plumbers putty to the flange.
Insert assembly and attach flange.
Hold flange in place and tighten the nut.
Remove excess putty and connect the trap.
Rotate drain body for proper alignment.
Remove the rod nut.
Insert rod and tighten rod nut.
Insert the stopper into the drain.
Push rod down to open the drain.
Remove the aerator from the spout.
Flush lines and connect supply hoses.
Check for leaks and reinstall the aerator.
Details exceptions and restrictions for the warranty.
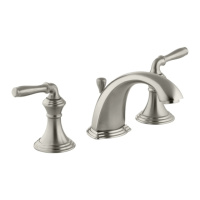
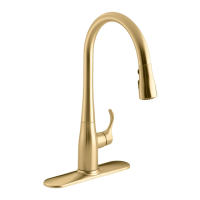
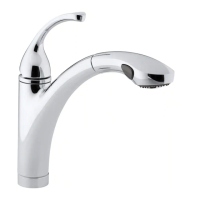
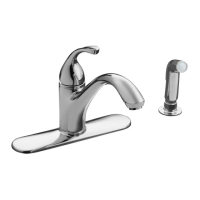
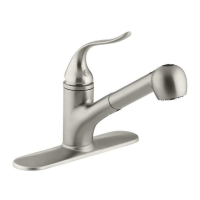
Lists components for the faucet body, spout, and handles.
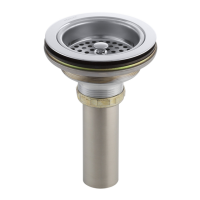
Lists components for the drain assembly.
| Seat Included | No |
|---|---|
| Color/Finish | White |
| Toilet Type | Two-Piece |
| Bowl Shape | Elongated |
| Material | Vitreous China |
| Mounting Type | Floor Mounted |
| Product Type | Toilet |
| Flush Type | Gravity Fed |