EasyManua.ls Logo

Kohler K-78172-BN User Manual

Kohler K-78172-BN
2 pages
To Next Page IconTo Next Page
Page #1 background imageLoading...
Page #1 background image
115999-2-CA (-)
Copyright 1998 Kohler Co.
LAVATORY POP-UP DRAIN
BEFORE YOU BEGIN
CAUTION: Risk of property damage. Do not use
plumbers putty on marble or plastic, as it may stain
the surface.
Kohler Co. reserves the right to make revisions
without notice in the design of fittings, as specified
in the Price Book.
NOTES
Shut off the main water supply.
Observe all local plumbing codes.
For new installations, install the drain to the
lavatory before installing the lavatory.
REQUIRED TOOLS AND MATERIALS
Adjustable or open end wrench
Suitable sealant
Thread sealant
INSTALLATION
Disassemble the drain components. Remove the protective
material from the stopper and flange.
Apply a ring of suitable sealant to the underside of the flange,
and insert the flange into the lavatory drain hole.
Assemble the gasket and washer to the flange, and partially
thread nut to the flange. Do not tighten the nut at this time.
Install the washer and the body to the flange, and tighten
securely. Do not use thread sealant.
Suitable Sealant
Flange
Gasket
Washer
Nut
Washer
Body
Lavatory
Turn the body so the seal hole is facing toward the faucet
lift rod location in the rear. Carefully tighten the nut. Do not
scratch the finish. Remove any excess sealant.
NOTE: Do not reposition the body after you have
tightened the nut.
Insert the stopper into the flange. Fit the short end of the rod
into the body seal hole and under the stopper for regular
installations. Fit the rod through the hole in the stopper for
vandal-resistant installations. Loosely secure in place with
the nut. Remove and adjust the stopper so the stopper lifts
about 3/8” when opened. Tighten the nut. Do not scratch the
finish.
Apply thread sealant to the tailpiece. Thread the tailpiece
to the body, and tighten securely.
Stopper
Flange
Tailpiece
Nut
Nut
Rod
Body
Seal
Question and Answer IconNeed help?

Do you have a question about the Kohler K-78172-BN and is the answer not in the manual?

Kohler K-78172-BN Specifications

General IconGeneral
FinishBrushed Nickel
Flow Rate1.2 gpm
Installation TypeDeck Mount
MaterialMetal
Weight3.5 lbs
Model NumberK-78172-BN
Handle TypeLever
Valve IncludedYes
ADA CompliantYes
WaterSense CertifiedYes
Holes Required1
WarrantyLifetime Limited Warranty
Product TypeFaucet
Height6.5 inches

Summary

Before You Begin

Safety and General Notes

Important safety precautions and general notes before installation, including property damage risks.

Lavatory Pop-Up Drain Installation

Prepare Drain Components

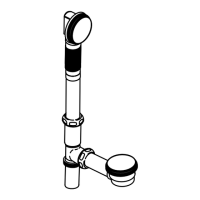
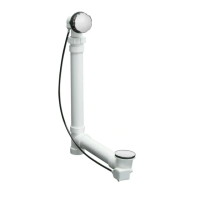
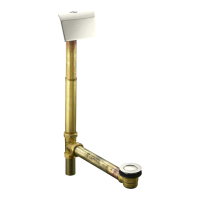
Disassemble and prepare drain components, removing protective material from stopper and flange.

Install Flange and Sealant

Apply sealant to flange underside and insert into lavatory drain hole.

Assemble Gasket, Washer, and Nut

Assemble gasket and washer to flange, and partially thread nut.

Install Body and Tighten

Install the body to the flange and tighten securely.

Align and Secure Body

Align body seal hole and carefully tighten the nut, avoiding scratches.

Install Stopper and Rod

Insert stopper and fit rod into body seal hole or stopper for installation.

Attach Tailpiece

Apply thread sealant to tailpiece and thread securely to the body.

Pop-Up Mechanism Assembly and Final Steps

Assemble Lift Rod Mechanism

Slide clip and link onto rod, insert lift rod into spout and link, then tighten.

Install Lavatory and Trap

Install the lavatory per instructions and then install the trap.

Inspect for Leaks

Perform a final inspection to ensure there are no leaks after installation.
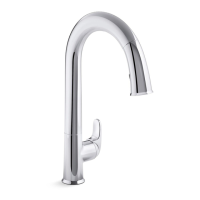
Service Parts

Related product manuals