3
IMPORTANT: Following the installation and preventative
maintenance instructions can extend the length of service
you receive from your Koldwave unit.
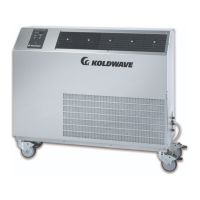
Electrical Requirements
Check the power supply to make certain it is within +/- 10%
of the voltage listed on the data plate located on the back of
the unit.
Operating the unit on improper voltage will void the
product warranty. Refer to the Rating Plate for voltage and
current information. Each unit should have a dedicated
circuit breaker.
Installation Instructions
Some Koldwave units are equipped with LCDI device service
cords. e service cords employed have plug congurations
and receptacle requirements as shown in Figure 1. Modica-
tions to the cord will void the product warranty.
Extension cords used with the Koldwave units should match
the plug conguration of the service cord provided on the
unit. e extension cord must be equipped with an equipment
grounding conductor, grounding type attachment plug, and a
grounding type attachment connector. e cord must also have
a rating suitable for the voltage, ampacity, and length of cord.
Water Fitting Location
Prior to placing the air conditioner in the desired position, note
the exact location of the water ttings on the valve plate on the unit
side panel.
Water lines should be securely attached to the water valve plate
ttings. is is easily accomplished through the quick connect
hose kit provided with the unit.
Note: e water connections must be made as shown in Figure 3.
e unit will not operate properly if the connections are not in the
correct orientation.
Figure 1 Plug Types
Figure 2
5WK18
208-230/1/60
6-20P
5WK26
208-230/1/60
6-20P
Figure 3 Water Fitting