2322 Getting up and running
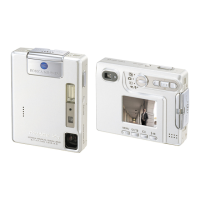
On the setup screen, use the left and right keys
to select the item to be changed.
Use the up and down keys to adjust the item.
Press the center button to set the clock and calen-
dar.
SETTING THE DATE AND TIME
After initially inserting a memory card and a battery, the
camera’s clock and calendar must be set. When images are
recorded, the image data is saved with the date and time of
recording.
If the clock and calendar have not been set, a message may
be displayed for a few seconds each time the camera is
turned on. This message is also displayed if the clock and
calendar reset when the camera is stored without a battery
for a long period.
Date/Time setup screen
00 : 00
Date/Time set
01 . 01. 2005
When the message is displayed, use the left and
right keys of the controller (1) to select “Yes.” “No”
cancels the operation.
Press the center of the controller to open the
date/time setup screen.
For customers in certain areas, the menu language must also be set.
The language is changed in section 1 of the setup menu (p. 73).
1
NoYes
Set date and time.
RECORDING MODE - BASIC OPERATION
This section covers basic recording operation. To prepare the camera for use, read pages 14
through 22.
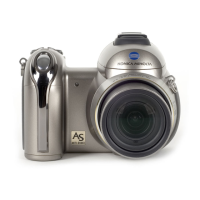
HANDLING THE CAMERA
While using the LCD monitor, grip the camera firmly with your
right hand while supporting the camera body with your left.
Keep your elbows at your side and your feet shoulder-width
apart to hold the camera steadily.
When taking vertical pictures, hold the camera so that the flash
is above the lens with the shutter-release button to the top.
Take care not to cover the lens with your fingers or the strap.
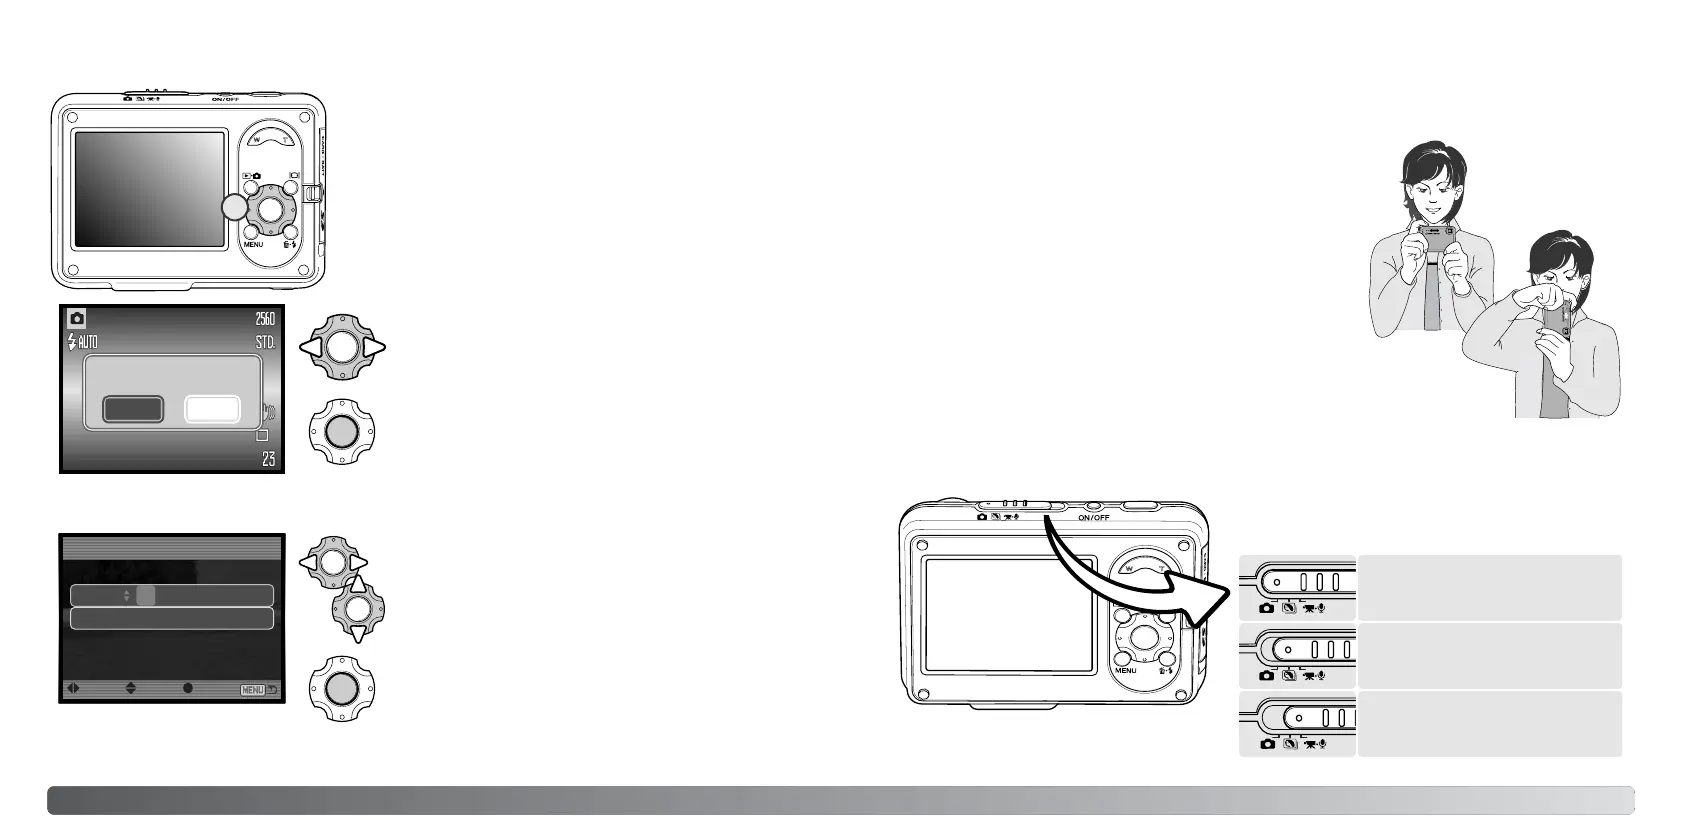
SETTING THE CAMERA TO RECORD IMAGES
Slide the recording-mode switch to the appropriate
position.
Still-image recording.
Digital Subject Programs (p. 31).
Movie and audio recording
(p. 36, 52).
:move :sel. :enter
If the message is not displayed, the date/time setup screen can be opened in section 3 of the setup
menu. See page 73 and 74 on how to open and navigate the menu.

 Loading...