Material
Foot and base tubes, clamp:
aluminium, powder-coated, black
Struts, support arm, rests: steel, powder-coated, black
Screws, rivets, washers: steel, galvanised
Clamps, handles, washers, plate: PA, PE
Parquet protector: TPE
Load Laptop, mouse
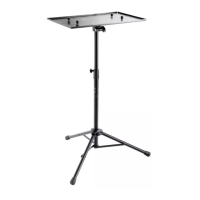
Dimensions
Stand: root circle-ø 740 mm;
Stand: tube combination: ø 30/25 mm
Stand: Height: 760-1250 mm (root circle 740 mm)
Laptop rest, inside: 400 x 290 mm,
Mouse pad: 240 x 190 mm
Carton inside: 700 x 120 x 380 mm
Weight 4,0 kg
Accessories (optional) 11450-000-00 Carrying case
TECHNISCHE DATEN
MAINTENANCE, CLEANING
- Careful handling of the stand preserves the telescoping capability, the
- load-bearing capacity and the safety of the installation.
- During maintenance work -always in unloaded condition- pay attention
- to possible hazards (e.g. jamming, bumping, tipping)
- Regularly check the proper condition of the components as well as the
- tightness of the screw connections
- For cleaning and maintenance, use a slightly damp cloth and a non-
- abrasive cleaning agent.
FAULT-FINDING (F) and REPAIR (R)
F: Stand wobbles
F: R: Eliminate uneven floors
F: R: Bring the stands legs to the maximum extension and tighten the
clamping screw
F: Extension tube retracts unintentionally:
F: R: Tighten wing nut 3.3
F: Laptop rest wobble
F: R: Ensure the laptop rest is correctly fitted
F: R: Tighten screw connections (4.3, 5.2, 10.3)
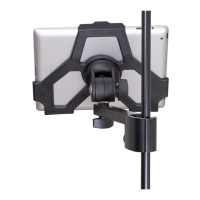
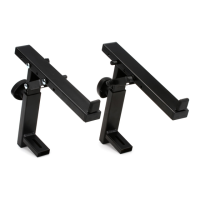
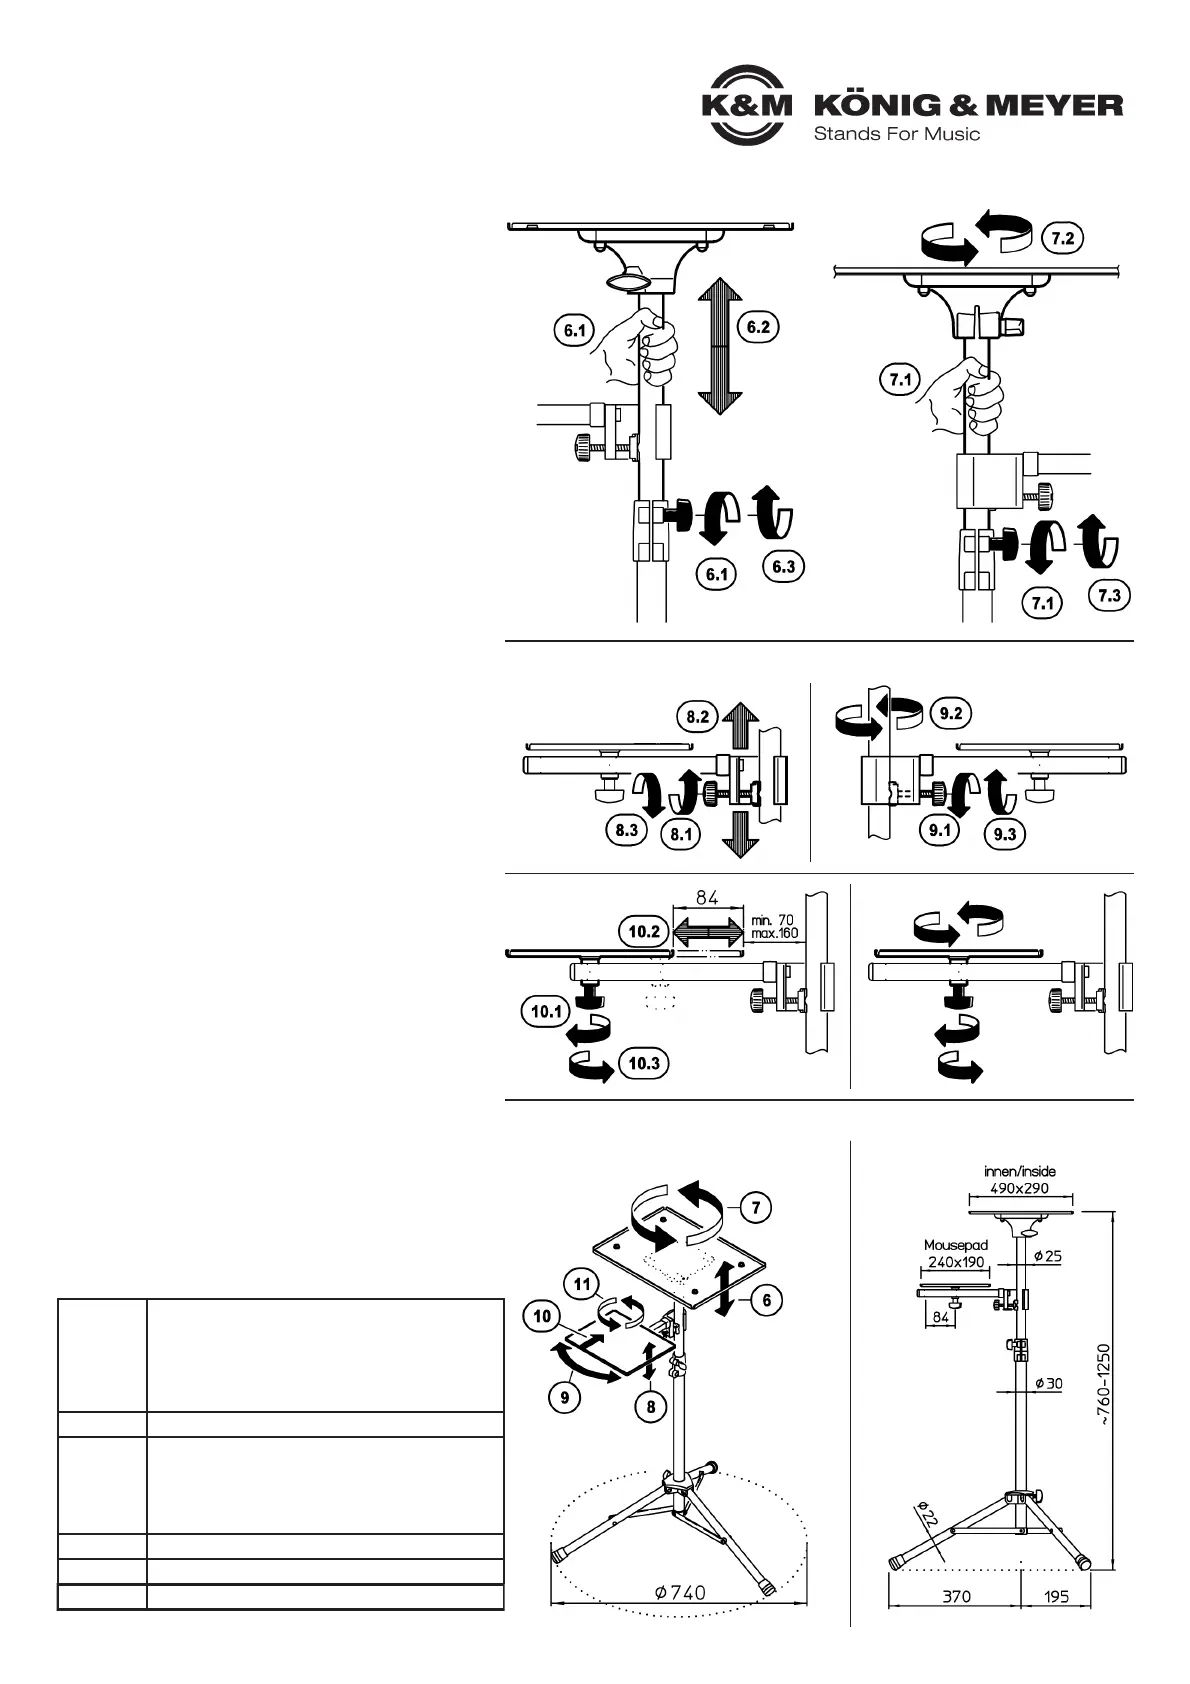
6. and 7. LAPTOP REST PLATE
NOTE
Changes to the settings (height/direction) may compromise the safety of
the load. We advise you to special caution and recommend removing
any load the from the laptop rest plate.
6. HEIGHT
6.1 Hold the extension tube and loosen the wing nut of the clamp
6.2 Adjust the extension tube to the desired height
6.3 Retighten wing nut
7. DIRECTION
7.1 Hold the extension tube and loosen the wing nut of the clamp
7.2 Align the extension tube (together with the laptop rest) as desired
7.3 Retighten wing nut
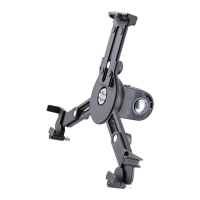
8., 9., 10. and 11. MOUSE REST
8. HEIGHT
8.1 Hold the support arm and loosen the knurled screw of the clamp
8.2 Move the clamp along the base or extension tube up to desired
8.2 height
8.3 Retighten knurled screw
9. DIRECTION - SUPPORT ARM
9.1 Hold the support arm and loosen the knurled screw of the clamp
9.2 Turn the support arm in the desired direction
9.3 Retighten knurled screw
10. DISTANCE
10.1 Hold the mouse rest and loosen the wing nut beneath
10.2 Move the mouse rest along the support arm (up to 84 mm)
10.3 Retighten wing nut
11. ROTATION - MOUSE REST
11.1 Hold the mouse tray and loosen the wing nut beneath
11.2 Rotate mouse rest (360°)
11.3 Retighten wing nut
12. and 13. OVERVIEWS
12. ADJUSTMENT OPTIONS
12. - Laptop support rest (see pos. 6., 7.)
12. - Mouse rest (see pos. 8. - 11.)
13. DIMENSIONS
6. and 7. LAPTOP REST PLATE
6. HEIGHT 7. DIRECTION
8., 9., 10. and 11. MOUSE REST
8. HEIGHT 9. DIRECTION - SUPPORT ARM
12. and 13. OVERVIEWS
12. ADJUSTMENT OPTIONS
12. Chapter 6. - 11.
13. DIMENSIONS in mm
10. DISTANCE 11. ROTATION - MOUSE REST
 Loading...